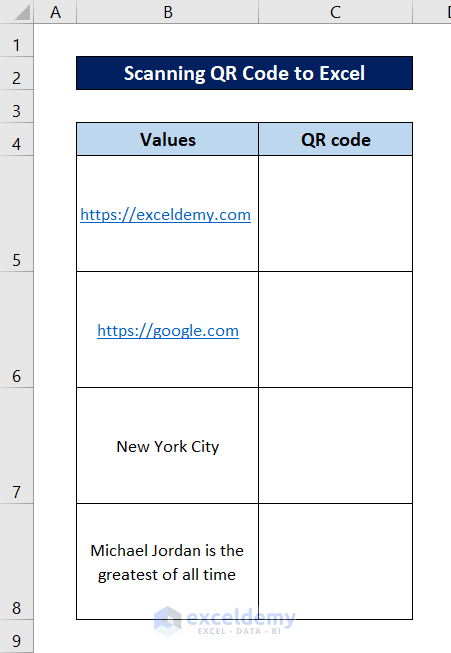
We are going to convert each entry in the following dataset into a QR code in an Excel spreadsheet and scan them to find if they are working as intended.
Step 1 – Install the QR Add-in
The add-in that can help us generate a QR code in an Excel spreadsheet is called the “QR4Office”
- Go to the Insert tab on your ribbon.
- Click on the Get Add-ins option from the Add-ins group.

- The Office Add-ins box will open up. Go to the Store tab in it.
- In the search box on the left, type in “QR4Office” and press Enter.
- Once the search result is up, click on Add beside the add-in.

- Click on Continue in the pop-up window.

Read More: Open Source QR Code Generator
Step 2 – Open the Add-in in Spreadsheet
When you add the add-in, it should open after installation, so you might be able to skip this step.
- Go to the Insert tab on your ribbon.
- Click on My Add-ins from the Add-ins group.

- The Office Add-ins box will open again. Go to the My Add-ins tab.
- Select “QR4Office” from your add-in list.
- Click on Add.
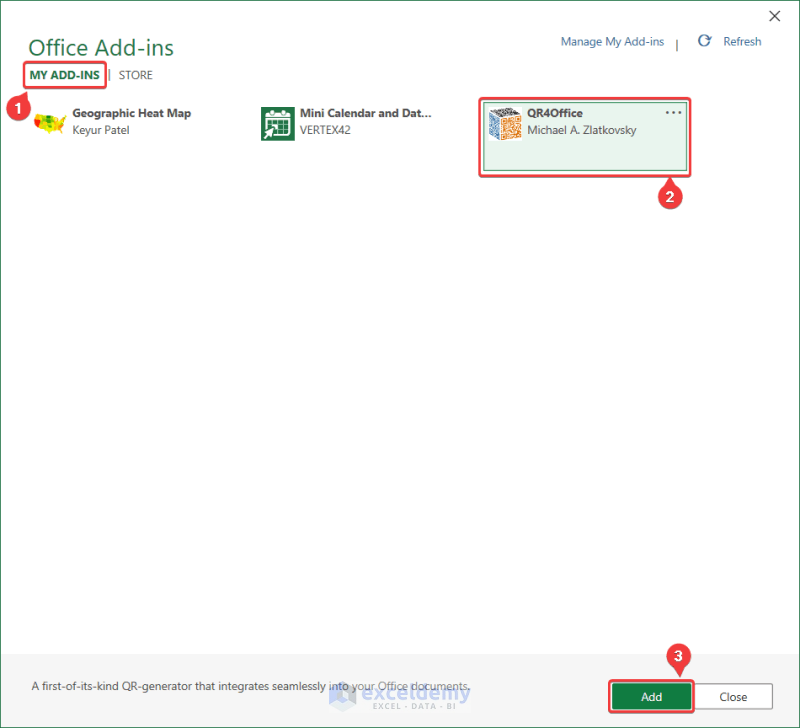
- QR4Office will now open in the Excel spreadsheet.
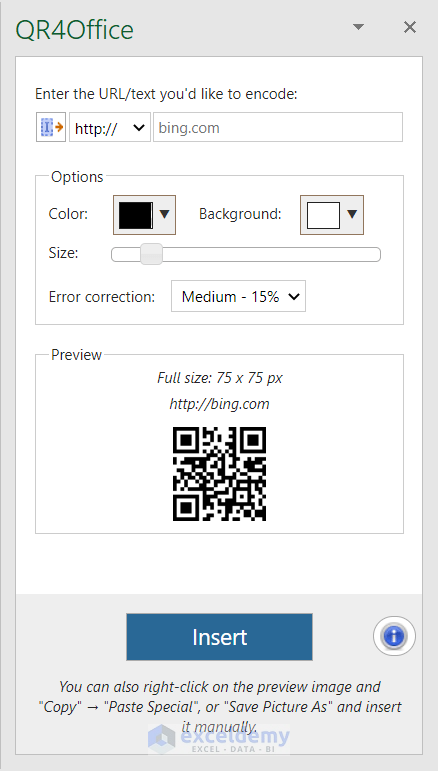
Step 3 – Select the Encoding Type
- You will find this option on top of the QR4Office window.
- For the first two entries in our dataset, we have two URLs. Select “http://” or “https://”.
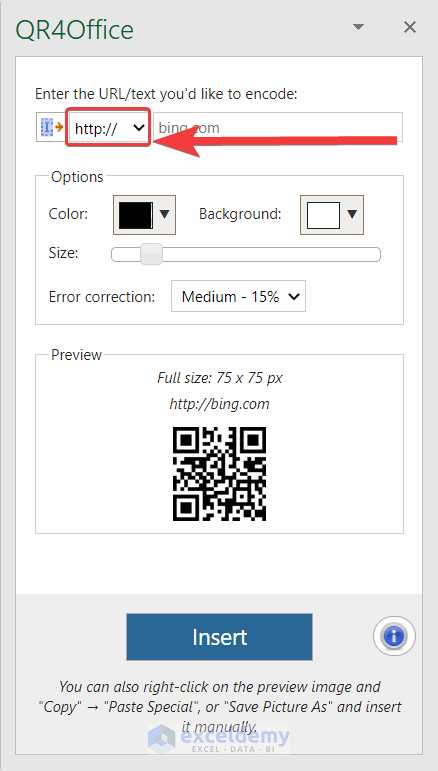
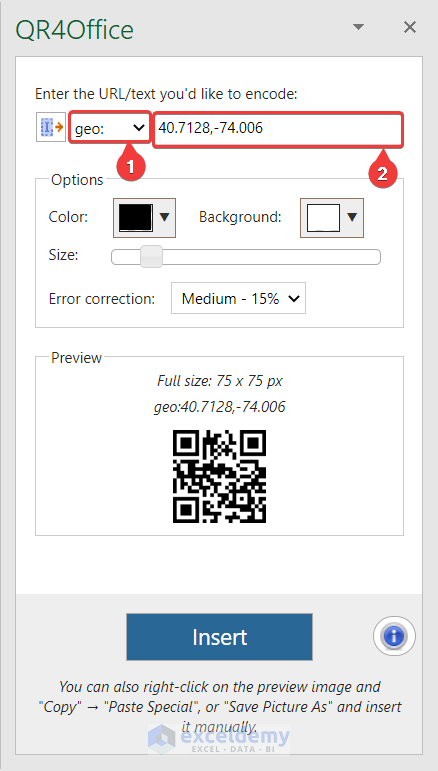
- For the third entry, we have ‘New York City”. If we want to open it on a map, we need to select the encoding type as geo: and enter the coordinates.
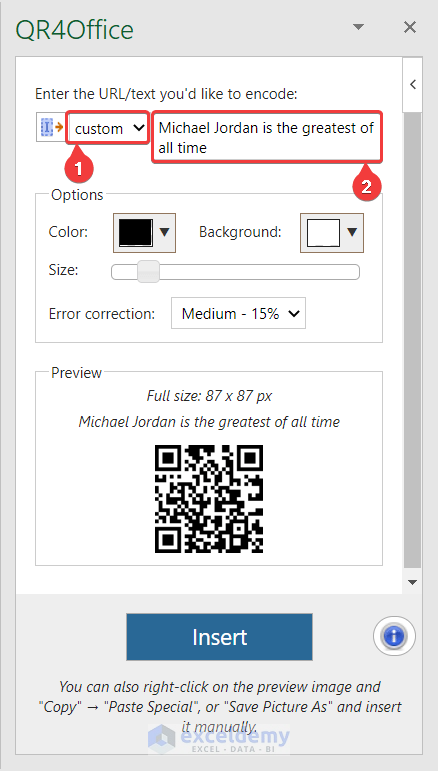
- If you want to encode these values as just a string (for example, the fourth entry of our dataset), select custom as the encoding type and then put the value in the entry box.
Step 4 – Customize the Options for the QR Code
After selecting the type and the text/code you want to encode, you can also customize your QR code in the add-in before generating.
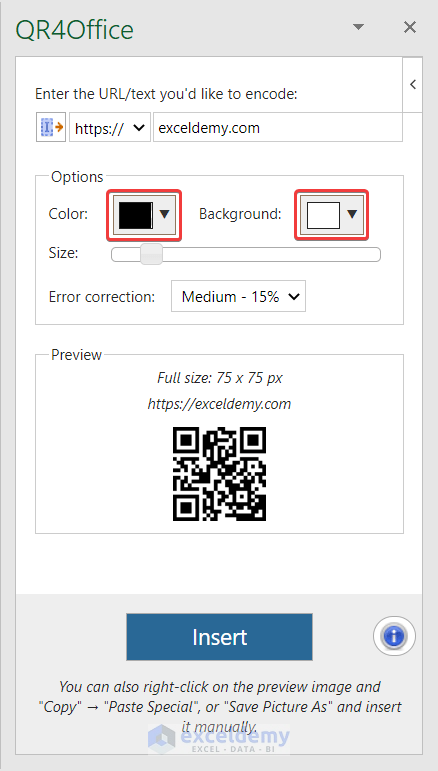
- Change the color of the QR code and the background from the Color and Background options under the Options section.
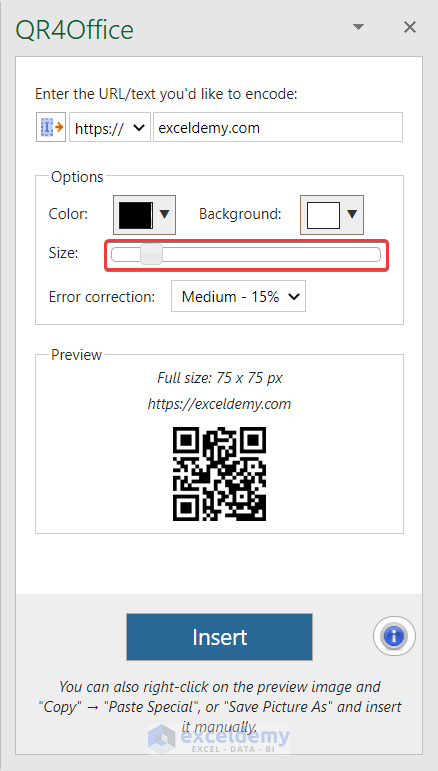
- Change the size of the generated QR code from the Size bar under the Options section. You can also resize the code after inserting it.
- Change the error correction from the option with that name under the Options section in case the QR code you are generating gets corrupted.
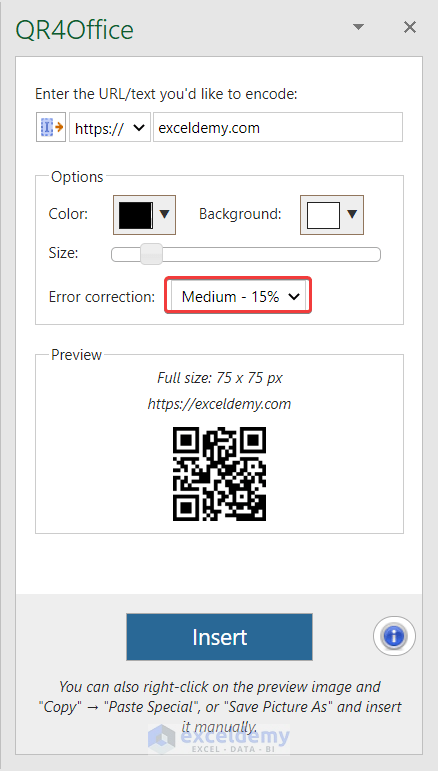
- We are selecting the default black and white as colors and medium as the error correction option for our demonstration.
Step 5 – Insert the QR Code
- Select a cell you want to insert the code to.
- Input your QR code information and encoding type (see Step 3).
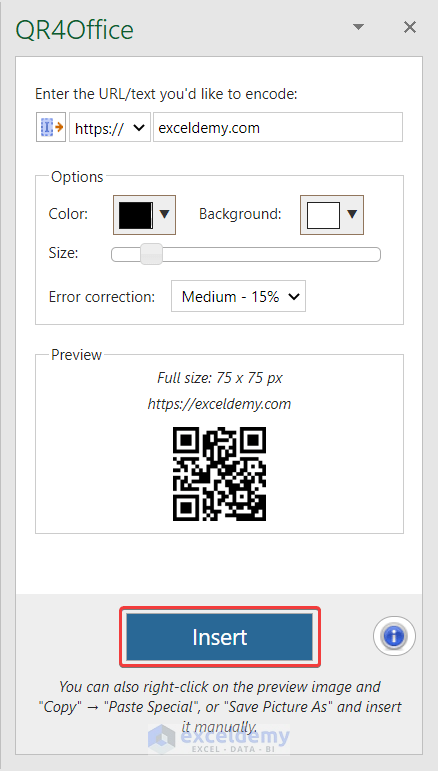
- Click on Insert on the bottom of the QR4Office window.
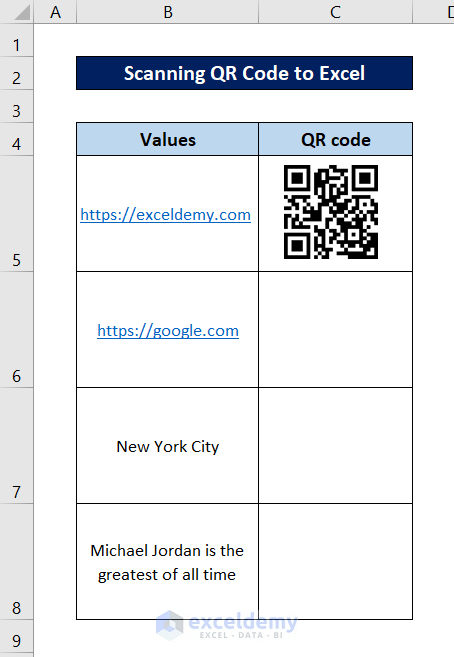
- The QR code will pop up on your spreadsheet.
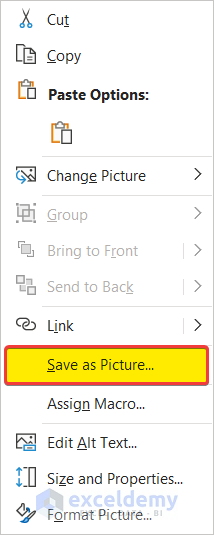
- You can also right-click on the QR code and save it as a picture from the context menu for external use.
Read More: Batch QR Code Generator from Excel
Step 6 – Scan the QR Codes
Excel can’t parse the QR code directly, and you’ll need an external app for that.
- Use your smartphone to scan the QR codes. You should have a stock QR app, or might need to download one from an app store.
- The final look of our dataset after generating all of the QR codes is like this.
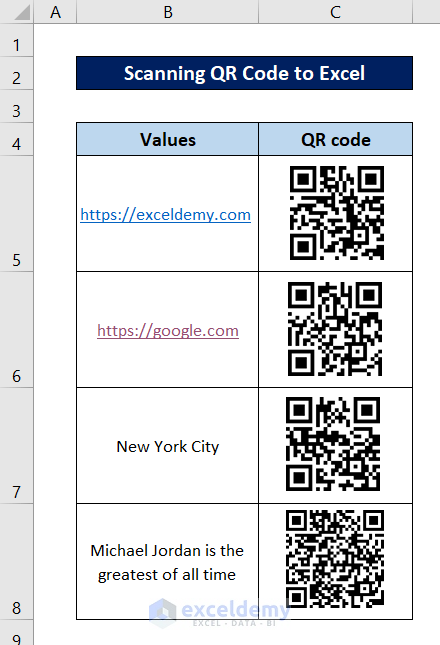
- By scanning the first QR code from the entry, we will open exceldemy.com in the browser.

- Scan the second QR code from this Excel spreadsheet to open google.

- Scanning the third QR code will direct us to the map of New York city at the co-ordinates we had entered.

- Scanning the fourth QR code will just show us the text.

Download Practice Workbook
You can download the workbook containing the dataset and QR codes for the demonstration from the download link below.
Related Article
<< Go Back To QR Code in Excel | Learn Excel
Get FREE Advanced Excel Exercises with Solutions!

