Method 1. Using the Context Menu
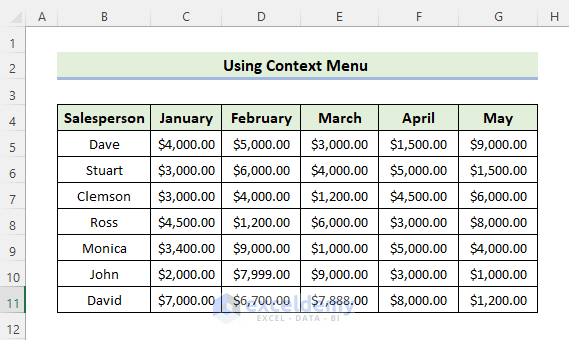
Steps:
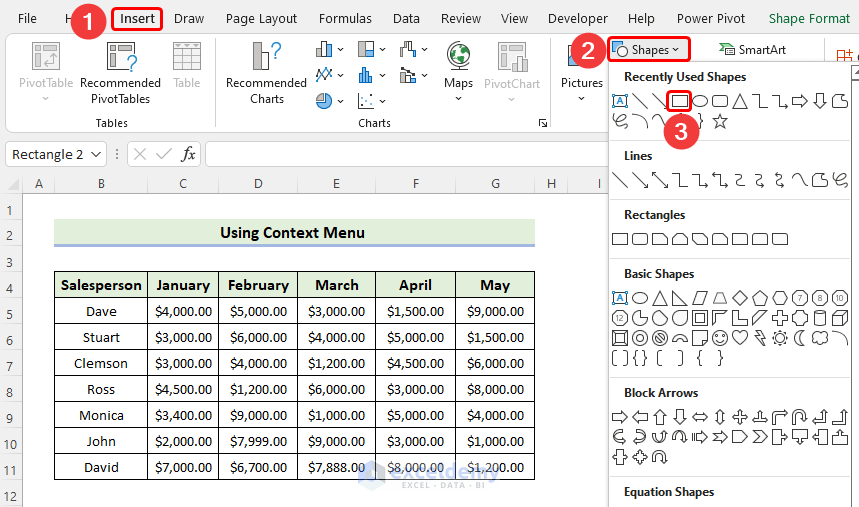
- Go to the Insert tab and select Shapes in Illustrations.
- Select Rectangle.
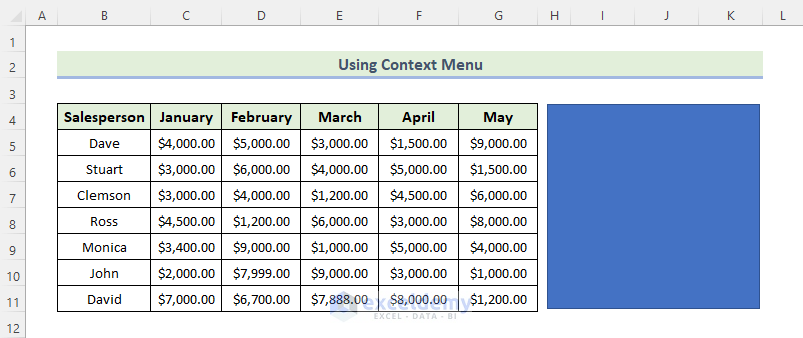
- Draw the shape as shown below.
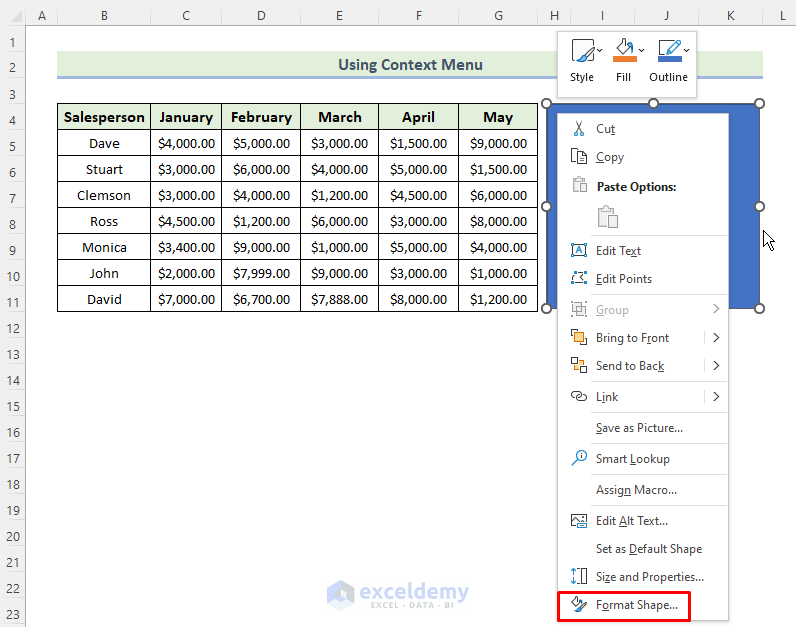
- Right-click the shape.
- Click Format Shape.
- The Format Picture dialog box will open.
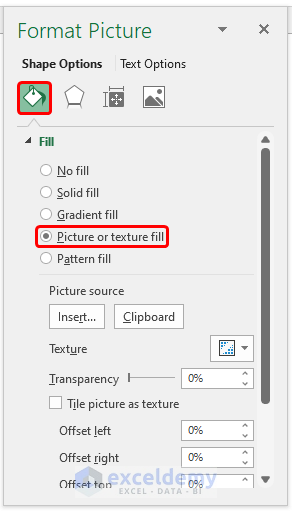
- Select Fill & Line, and click Picture or texture fill.
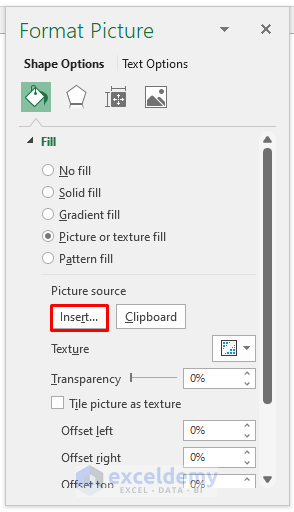
- Click Insert in Picture source.
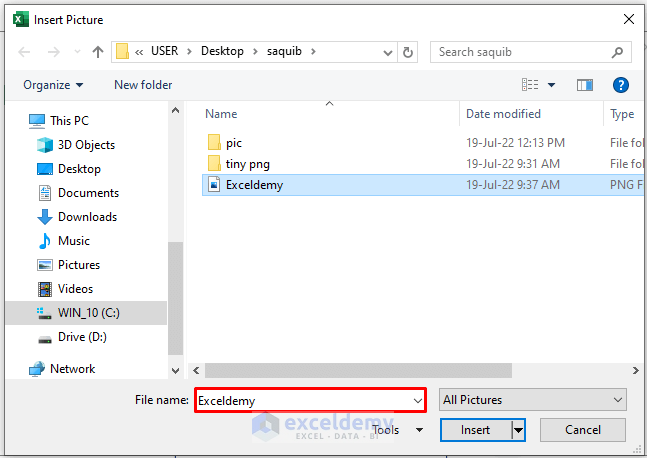
- In the dialog box, choose a picture from your saved file or online. Here, From a File.

- Select the picture in the File name box and click Insert.
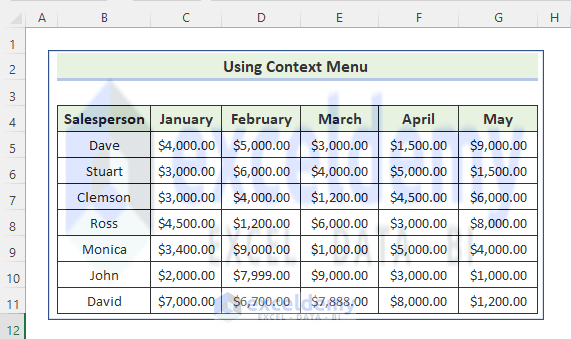
The image is automatically adjusted to the cell size as shown below.

The picture must be placed over the dataset as shown below.

- To make the picture background transparent, select Transparency, and set the transparency to 80%. You may increase or decrease this value.
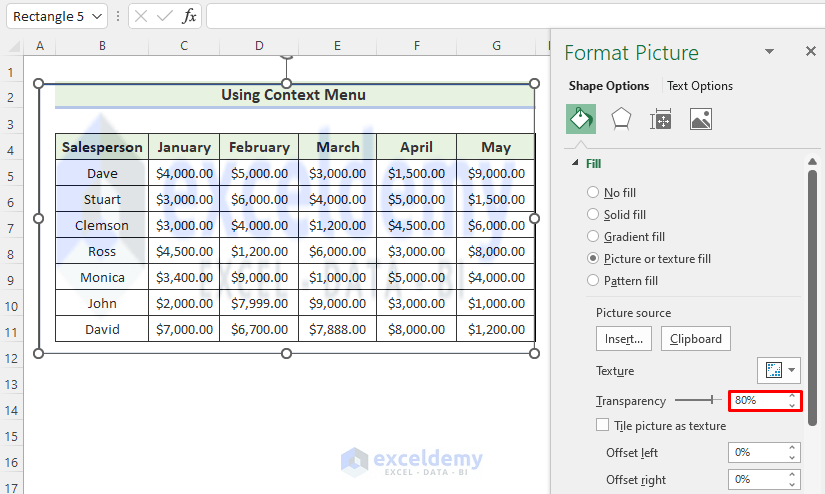
The picture background is transparent.
Read More: How to Make Excel Spreadsheet Colorful
Method 2 – Utilizing the Picture Transparency Option
Steps:
- To insert a shape, go to the Insert tab and select Shapes in Illustrations.
- Select Rectangle.
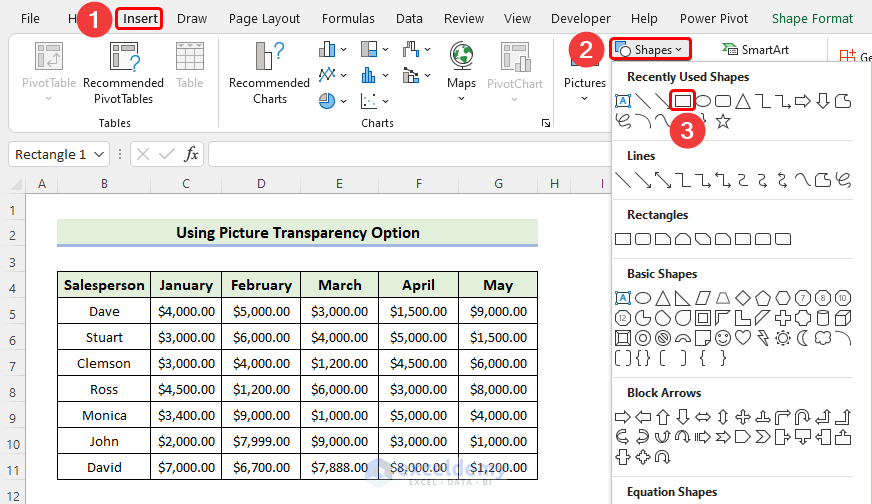
- Draw the shape as shown below.
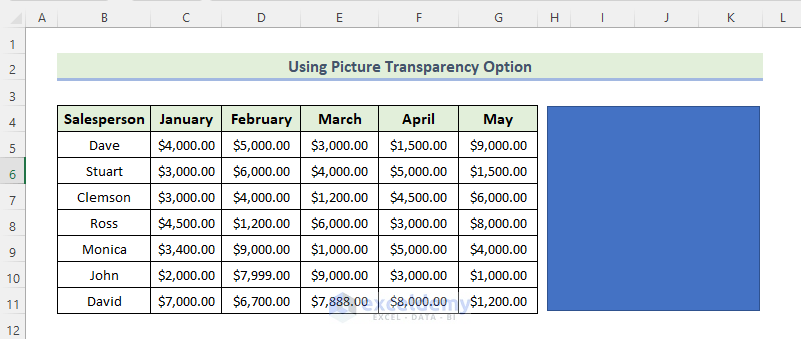
- Right-click the shape.
- Click Format Shape.
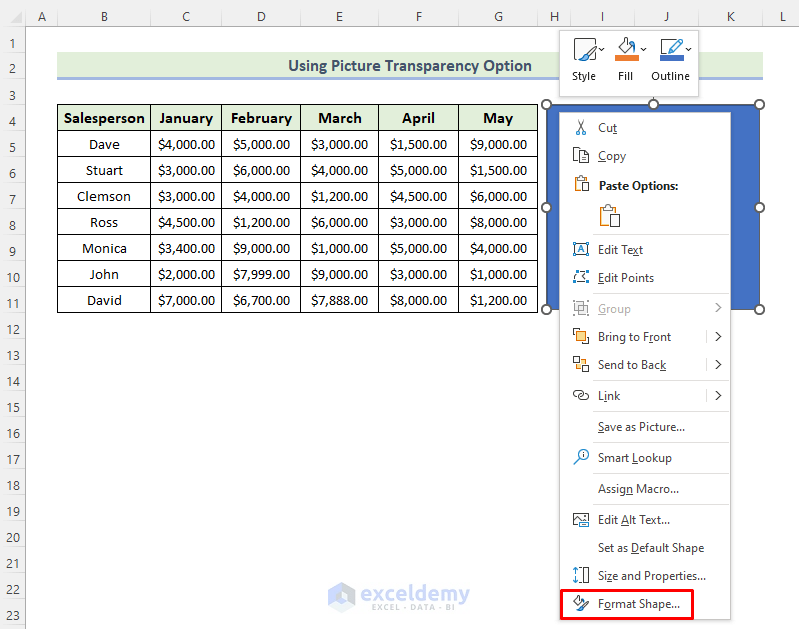
- The Format Picture dialog box will open.
- Select Fill & Line, and click Picture or texture fill.
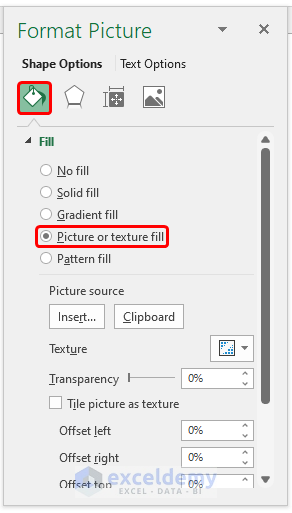
- To insert a picture, click Insert in Picture source.
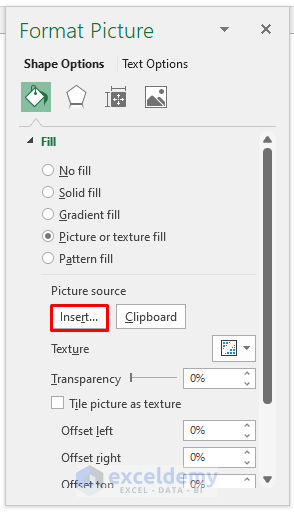
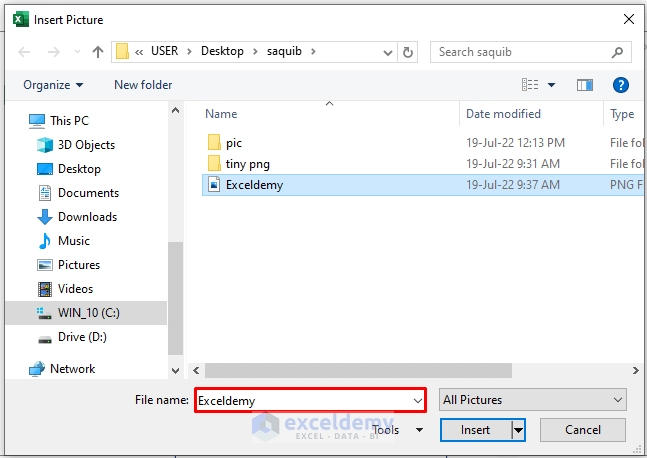
- In the dialog box, choose a picture from your saved file or online. Here, From a File.

- Select the picture in the File name box and click Insert.
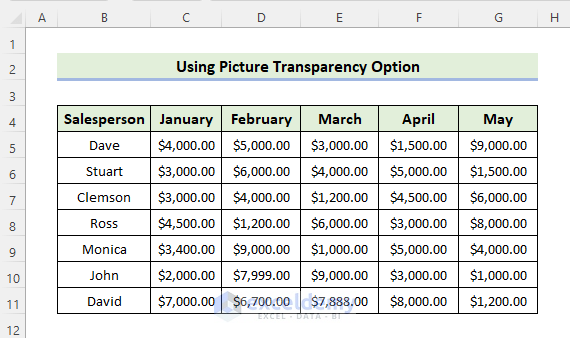
The image is automatically adjusted to the cell size as shown below.

The picture must be placed over the dataset as shown below.

- To make the picture background transparent, go to Picture Format, select Transparency, and choose a format.
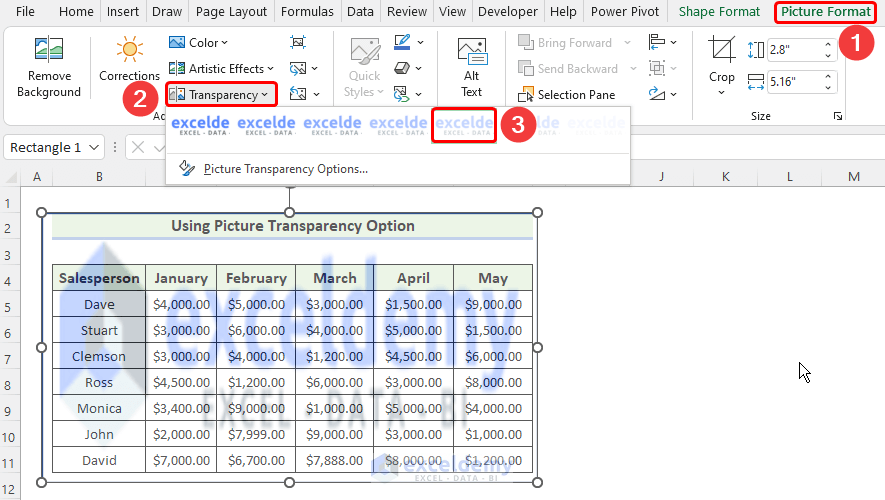
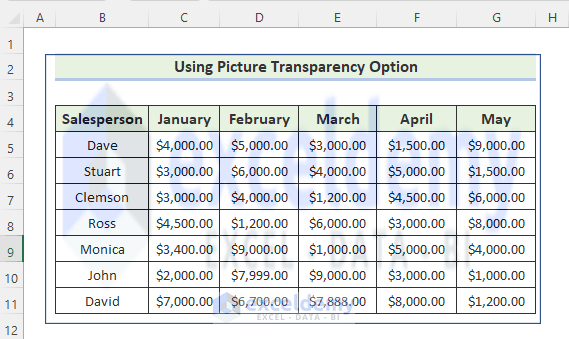
The picture background is transparent.
Download Practice Workbook
Download this practice workbook to exercise.
Related Articles
<< Go Back to Excel Background | Learn Excel
Get FREE Advanced Excel Exercises with Solutions!

