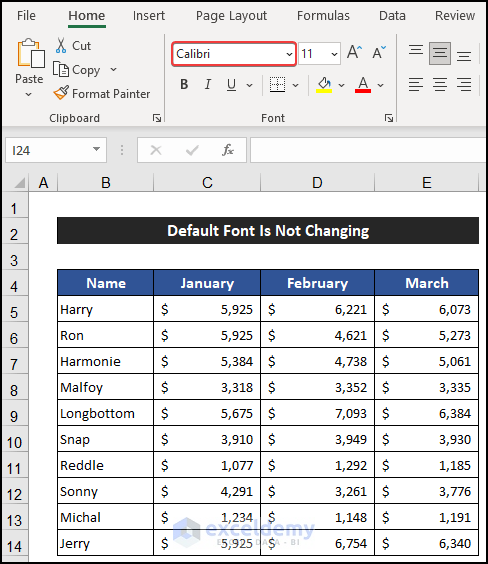
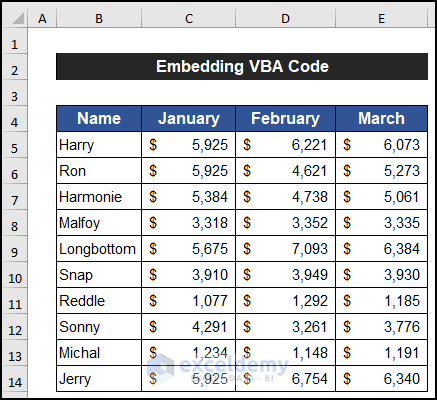
We’ll use the following simple dataset of 10 employees. The font is the default Calibri, and we want to change it to Arial.
Solution 1 – Change the Default Font in Excel Options
Steps:
- Go to the File tab.
- Select Options.

A dialog box called Excel Options will appear.
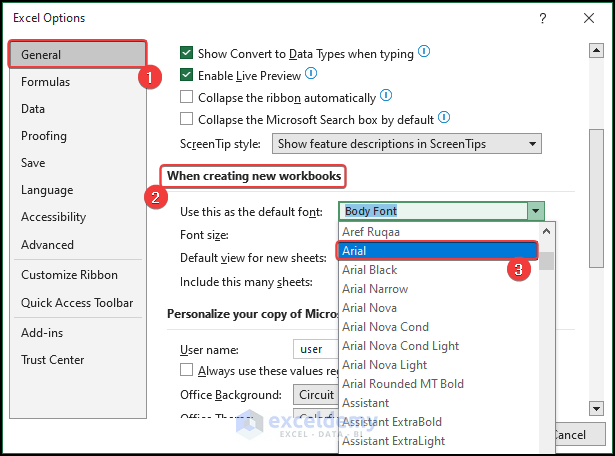
- In the General tab, from the When creating new workbooks section, click on the drop-down arrow of the Use this as the default font option.
- Choose your desired font style. Here, we choose the Arial font.
- Click OK.
Excel may display a message box about restarting the application.
- If it does, click OK.
- Click on the Close button to close the Excel Options window.

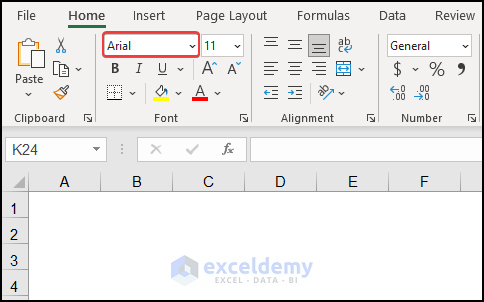
- If necessary, relaunch the application and the default font style will have changed to Arial.
Solution 2 – Modify the Font via the Font Group
Steps:
- Select the entire worksheet.
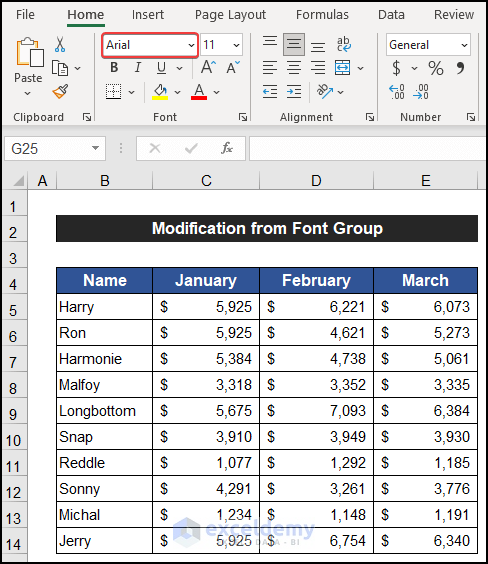
- In the Home tab, click on the drop-down arrow of the Font command in the Font group.
- Choose the text font as desired, for example Arial.
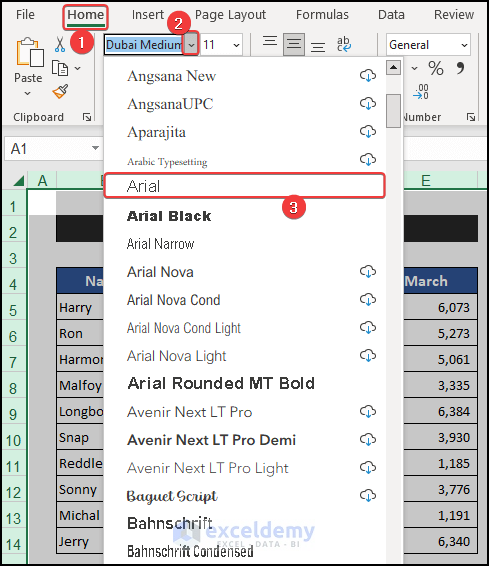
The font style of the data is converted to Arial.
Read More: How to Change Font Style in Excel
Solution 3 – Using the Format Cells Dialog Box
Steps:
- Select the entire worksheet.
- Right-click and select the Format Cells option from the Context Menu.

A small dialog box called Format Cells will appear.
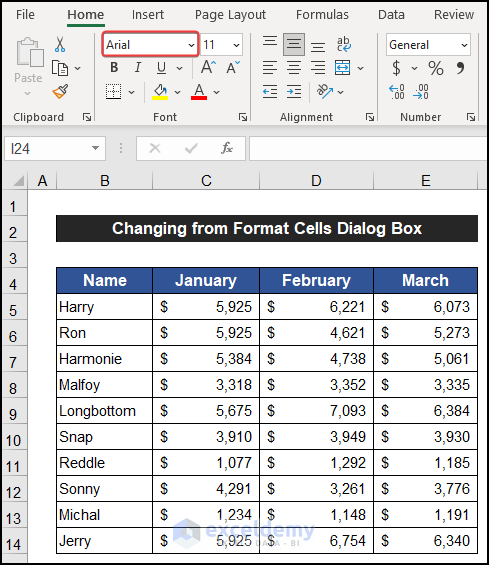
- In the Font tab, under the Font section, scroll down to find your desired font style and click on the font style, for example Arial.
- Click OK.

The font style changes to Arial.
Read More: How to Change Font in Excel for All Sheets
Solution 4 – Using VBA Code
Steps:
- If you don’t see the Developer tab on your ribbon, you’ll first have to enable it.
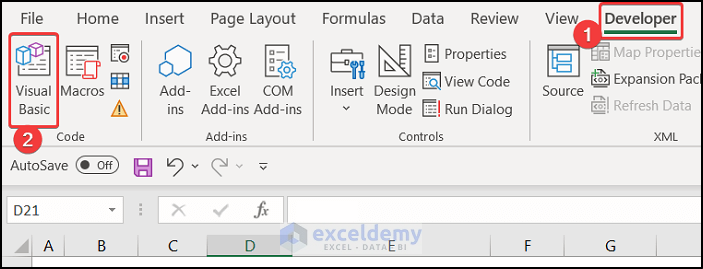
- Go to the Developer tab.
- Click on Visual Basic (or press Alt + F11) to open the Visual Basic Editor.
A dialog box will appear.
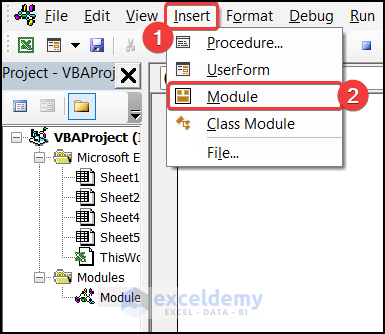
- From the Insert tab, click Module.
- Enter the following code in that empty editor box:

Sub Change_Default_Font()
    For Each Worksheet In Worksheets
        Worksheet.Activate
        ActiveSheet.UsedRange.Select
        Selection.Font.Name = "Arial"
    Next
End Sub- Press ‘Ctrl+S’ to save the code.
- Close the Editor window.
- In the Developer tab, click on the Macros option.

A new dialog box called Macros will appear.
- Select the Change_Default_Font option.
- Click on the Run button to run this code.

The default font style will change.
Read More: How to Change Font in Excel to All Caps
Besides the approaches described above, the default font theme can also be changed from the Font drop-down available on the Page Layout tab. Go to the Page Layout tab, click on the drop-down arrow of the Font command, and choose your desired font theme.
Download the Practice Workbook
Related Articles
- How to Increase Font Size for Printing in Excel
- How to Change Font Size in Excel
- How to Increase Font Size Using Keyboard in Excel
- How to Change Font Within Formula in Excel
- [Solved]: Font Changes Automatically in Excel
- [Fixed!] Unable to Change Font Color in Excel
<< Go Back to Excel Fonts | Excel Cell Format | Learn Excel
Get FREE Advanced Excel Exercises with Solutions!

