Observe the GIF.
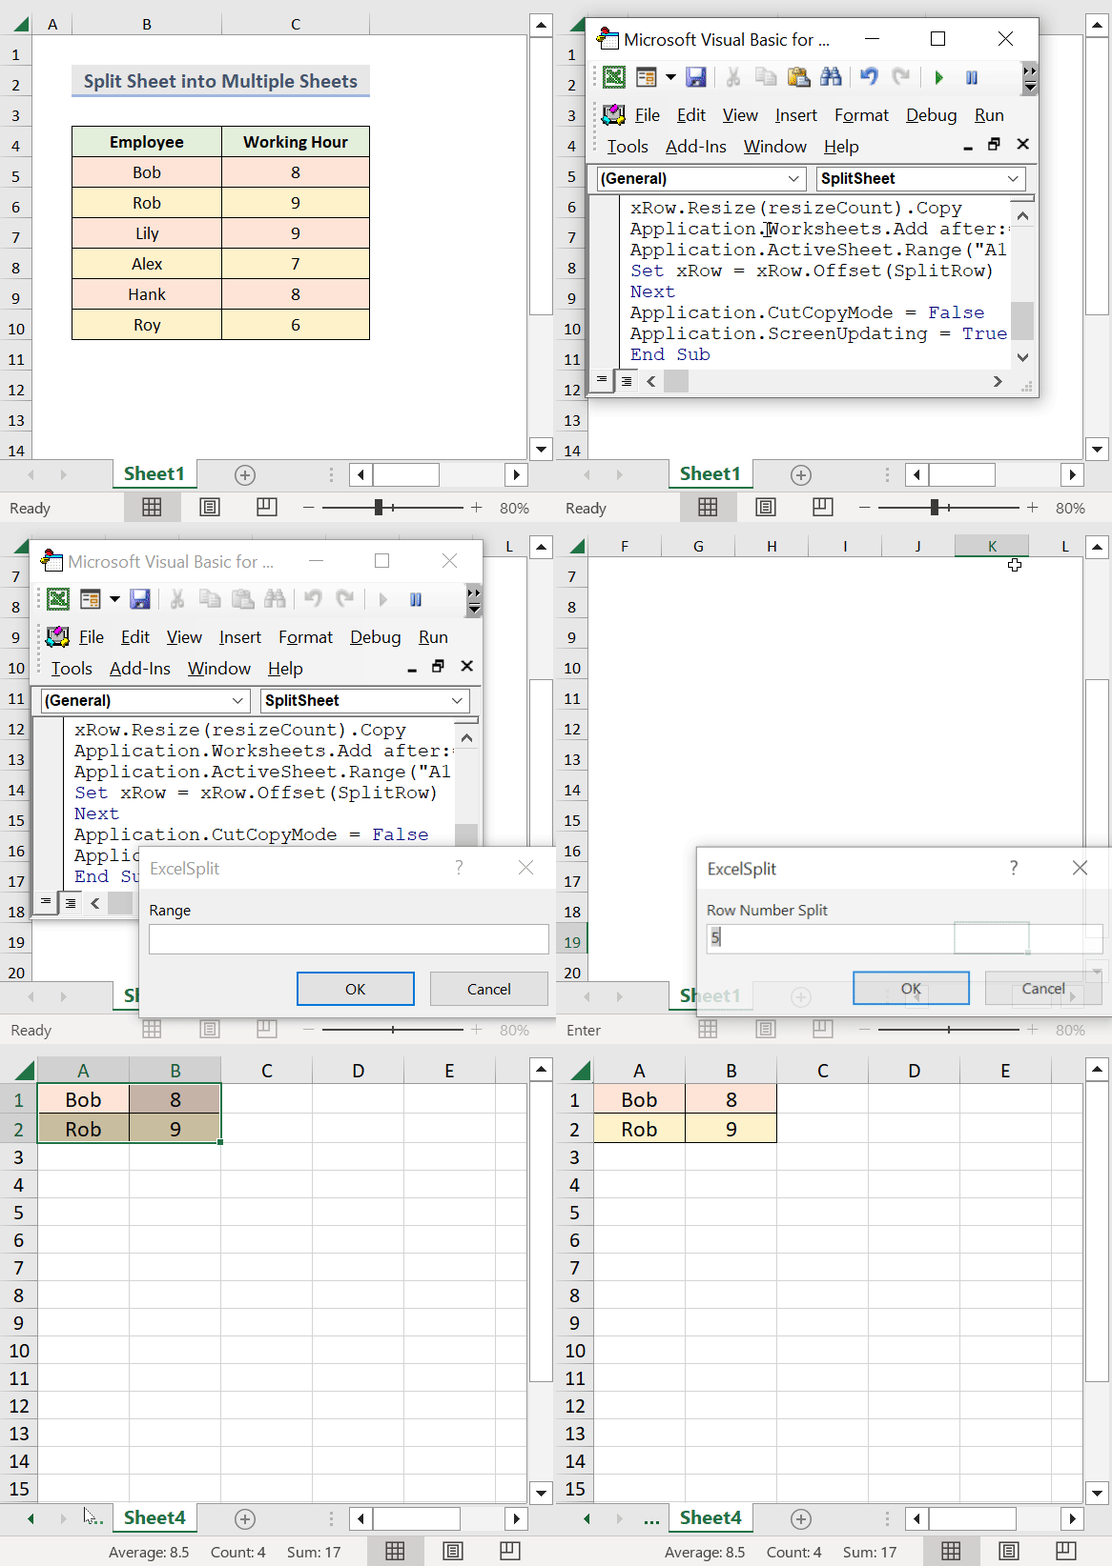
The sample dataset (B4:C10) showcases employees and their working hours in Sheet1. To split the sheet into multiple worksheets, each one containing two rows.
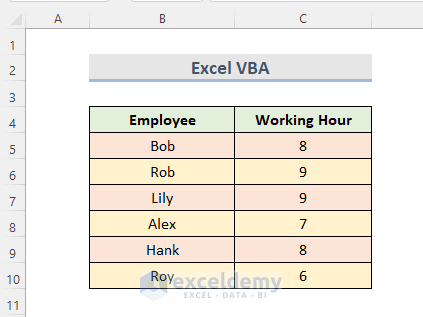
Step 1 – Launch the VBA Window to Split an Excel Sheet into Multiple Ones
- Select the worksheet.
- Right-click it.
- Select View Code.
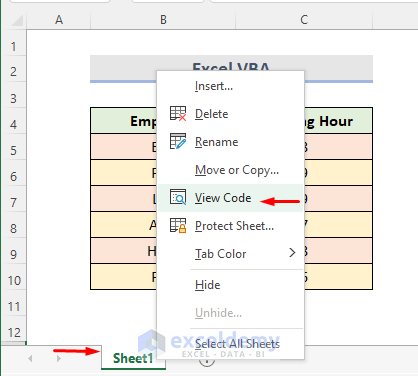
Step 2 – Enter and Run the VBA Codes
- A VBA Module window opens. (Alt + F11’will also open it)
- Enter the code:
Sub SplitSheet()
Dim Rng As Range
Dim xRow As Range
Dim SplitRow As Integer
Dim xSheet As Worksheet
On Error Resume Next
xTitleId = "ExcelSplit"
Set Rng = Application.Selection
Set Rng = Application.InputBox("Range", xTitleId, Rng.Address, Type:=8)
SplitRow = Application.InputBox("Row Number Split", xTitleId, 5, Type:=1)
Set xSheet = Rng.Parent
Set xRow = Rng.Rows(1)
Application.ScreenUpdating = False
For i = 1 To Rng.Rows.Count Step SplitRow
resizeCount = SplitRow
If (Rng.Rows.Count - xRow.Row + 1) < SplitRow Then resizeCount = Rng.Rows.Count - xRow.Row + 1
xRow.Resize(resizeCount).Copy
Application.Worksheets.Add after:=Application.Worksheets(Application.Worksheets.Count)
Application.ActiveSheet.Range("A1").PasteSpecial
Set xRow = xRow.Offset(SplitRow)
Next
Application.CutCopyMode = False
Application.ScreenUpdating = True
End Sub- Click Run option or press the F5 to run the code.
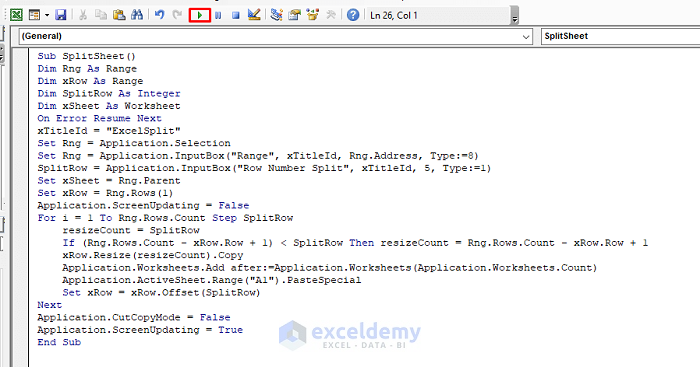
Step 3 – Name and Run the Macro to Split a Sheet into Multiple Ones Based on Rows
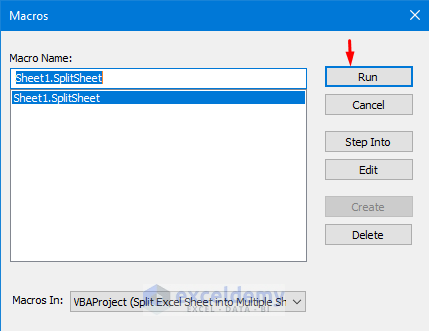
- In the Macros window, select the sheet name.
- Click Run.
Step 4 – Select the Data Range
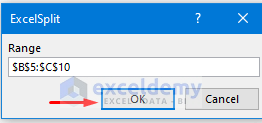
- Specify the data range in the ExcelSplit Range dialog box and click OK.
Step 5 – Specify the Number of Rows That Will Be Displayed in Each Sheet
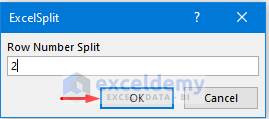
- Enter the number of rows you want to split in ExcelSplit Row Number Split dialog box. Here, ‘2’.
- Click OK.
The Final Output With Multiple Excel Sheets Based on Rows
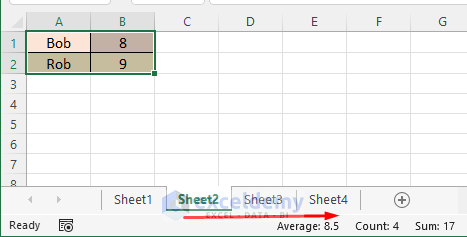
The original sheet is split into multiple sheets. Each containing two rows.
Download Practice Workbook
Download the following workbook and exercise.
Related Articles
- How to Split Excel Sheet into Multiple Worksheets
- How to Split Excel Sheet into Multiple Sheets Based on Column Value
- How to Split Excel Sheet into Multiple Files
- How to Enable Side-by-Side View with Vertical Alignments in Excel
- Excel VBA: Split Sheet into Multiple Sheets Based on Rows
- How to Split a Workbook to Separate Excel Files with VBA Code
<< Go Back to Split Excel Cell | Excel Worksheets | Learn Excel
Get FREE Advanced Excel Exercises with Solutions!


Hi Nuraida,
must say this is just what I was looking for. Was also wondering how to change the sheet names to a cell reference, rather than Sheet1, Sheet2, etc.
For example, I have a file with 1000 lines of addresses in Germany (DE).
Splitting them into files of 100, I get from Sheet 1 to Sheet 10. Would be great to have them automatically named, DE1 to DE10.
Dear SRECKO SELENDIC,
Thanks for your appreciation. It means a lot. In order to set sheet names based on cell reference, we can use a For loop along with Worksheets.name property. Here, I have written a code to split sheet and rename sheet split sheet keeping the main sheet name unchanged. Follow the following code to do so.
The output will be like the following image.
Hi, is there a way to use this exact code but to alter it so instead of splitting based on number of rows, you can split it based on certain row conditions?
For example, all rows that are green.
Dear MADI,
Thank you for following our article.
To split into sheets based on certain row conditions, we have to enter an IF condition that checks if the row is of a certain colour. Here, I have added the code to do this.
This code checks if the interior colour of the first cell in each row of the selected range is Green(RGB(0,255,0)). The entire row is copied and pasted into a new sheet if rows meet the condition. You can alter this colour condition according to your need.
Regards
Priti