In this article, we’ll reveal how to move around an Excel workbook using the arrow keys on the keyboard only, no mouse required.
To demonstrate, we’ll use the dataset below, containing information about different universities in the United States.
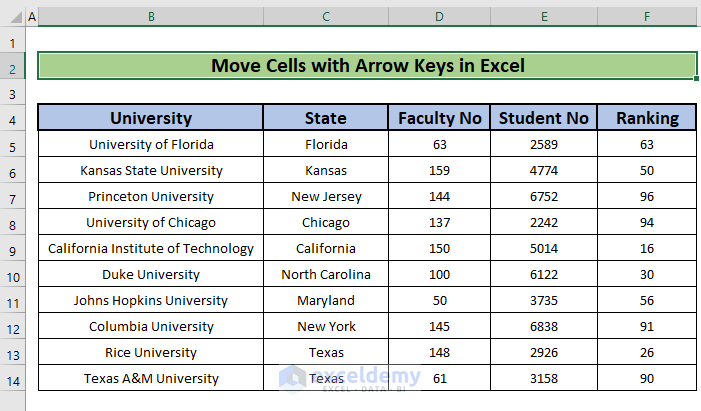
Example 1 – Move to the Next Cell with Arrow Keys
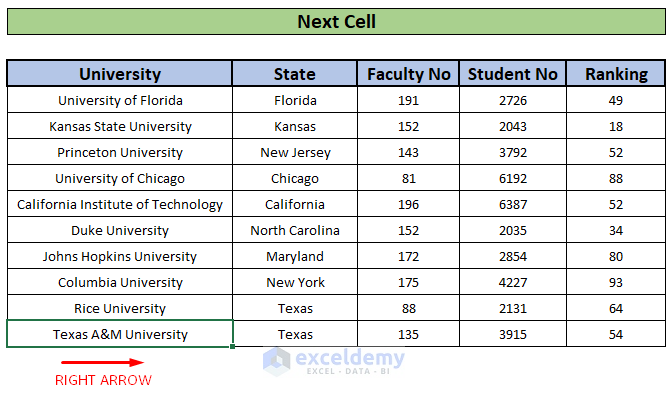
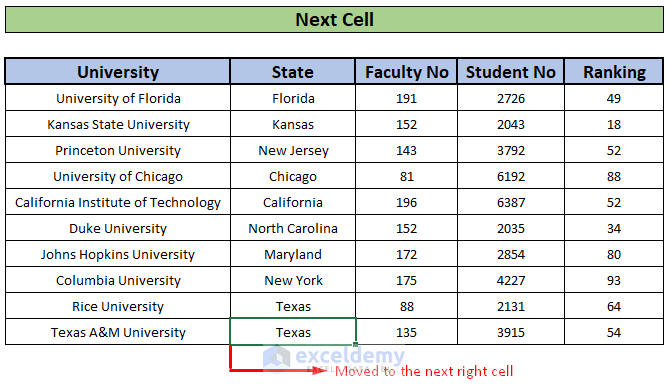
You can move to the next adjacent cell by just pressing one of the four arrow keys.
Steps:
- To move to the cell to the right of your current position, just press the RIGHT ARROW (→) key.
- To move to the cell to the left of the currently selected cell, press the LEFT ARROW (←).
- To move to the cell just below the current cell, press the DOWN ARROW (→).
- And to move up to the cell just above, press the UP ARROW (↑).
Read More: How to Make Excel Move Automatically to the Next Cell
Example 2 – Move to the End of Column or Row Range with CTRL + Arrow Keys
To move to the last column or last row of the data you are working on, simply hold down the CTRL and RIGHT ARROW keys together. This will scroll to the end of each range in a column or row.
Steps:
- In our worksheet, the first column is University (Column B) and the last column in this range is Ranking (Column F). So, to move to the Ranking column from University, select one of the cells in University.
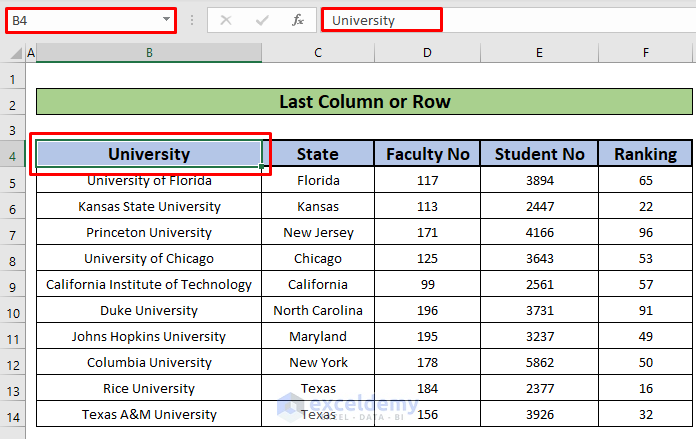
- Press the CTRL and RIGHT ARROW (→) keys together to move to the last column (Ranking) in this data range.
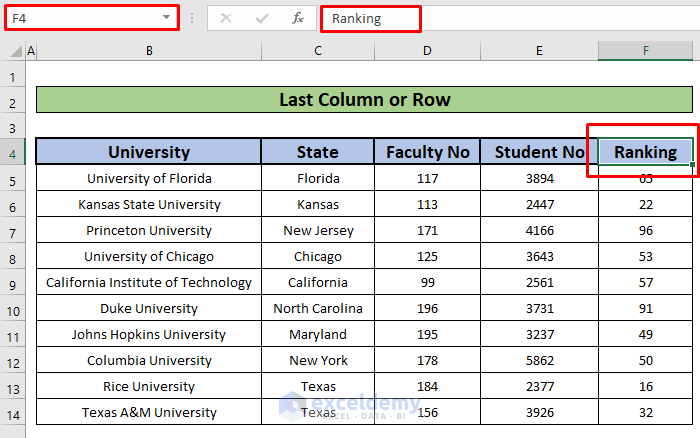
- To move back to our first column, press the CTRL and LEFT ARROW (←) keys together.
- To move down to the last row from the first row, select one of the cells in the first row. In our case, the first row is the header row containing the names of all the columns (University, State, Faculty No, Student No, Ranking). Select either a cell from this row or the entire row.
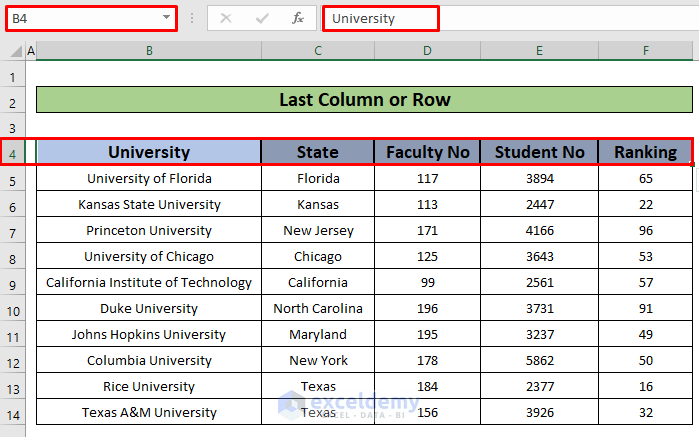
- Hold down the CTRL and DOWN ARROW (↓) keys together to move to the last row in this data range.
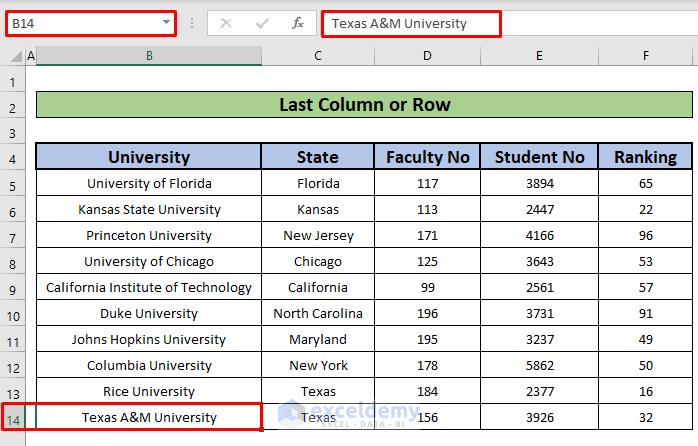
Read More: How to Move Cells without Replacing in Excel
Example 3 – Move One Row or One Column with Arrow Keys and Scroll Lock
Steps:
- Press Scroll Lock.
See the Things to Remember section down below to find out how to activate the Scroll Lock key on your keyboard if it is inactive.
A Scroll Lock bar will appear on the bottom of your worksheet.
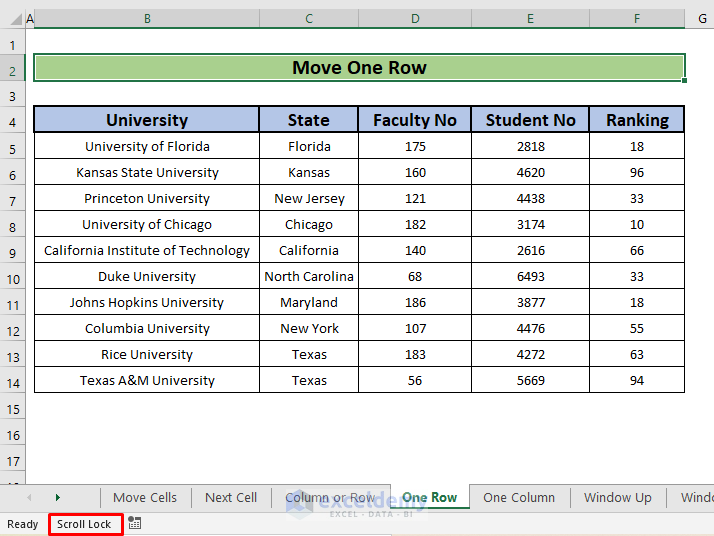
- Press the UP or DOWN ARROW key to scroll one row up or down, or the LEFT or RIGHT ARROW key to move one column left or right.
Read More: How to Move Cells with Keyboard in Excel
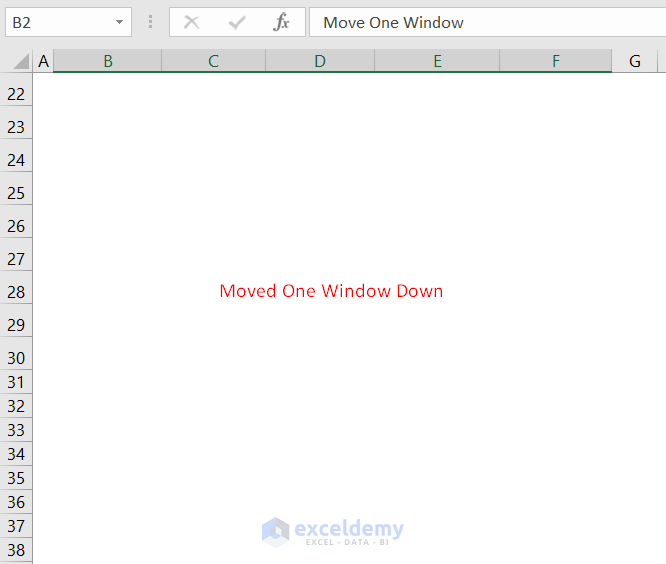
Example 4 – Move One Window Using SCROLL LOCK, CTRL, and ARROW Keys
We can also move one window up or down or slide one window left or right using the arrow keys.
Steps:
- Press the SCROLL LOCK key on your keyboard (or On-Screen Keyboard if you do not have that key on your keyboard).
- Hold down the CTRL key while you press the LEFT or RIGHT ARROW key to scroll one window left or right.
- To move one window up or down, press the UP or DOWN ARROW.
Using this technique, you can move quickly through a large distance in your worksheet.
Example 5 – Move between Sheets With Arrow Keys
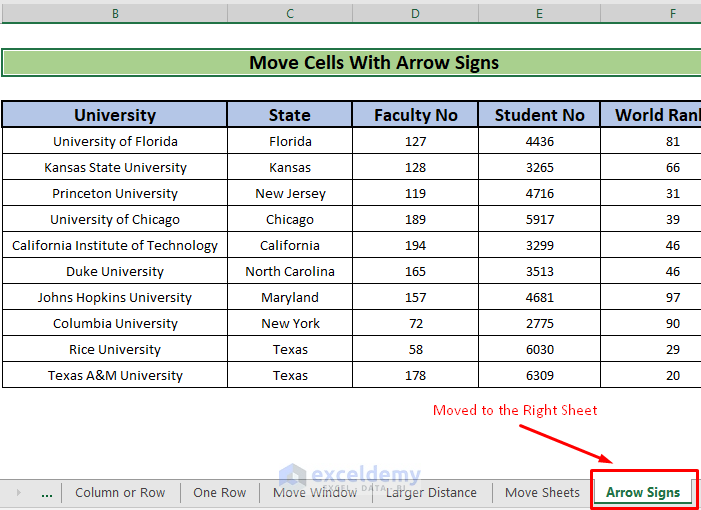
We can also jump between worksheets using the arrow keys.
Steps:
- To move to the sheet to the right of the current one, hold down CTRL, then press the PgDn key.
- To keep moving to the right, press the PgDn key again.
- To move to the sheet to the left of the current one, press the PgUp key while holding down the CTRL key.
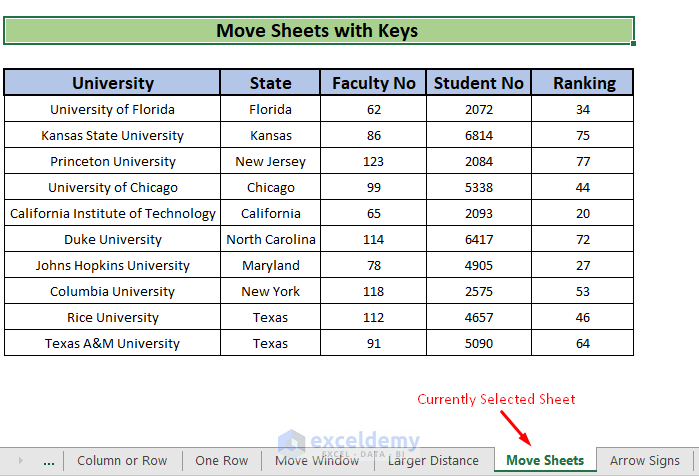
- To keep moving to the left, press the PgUp key again.
Example 6 – Move Cells Using Arrow Sign
In addition to moving around a workbook using the arrow keys, we can also move a single column or row of cells to another location using the arrow sign that appears when you select a cell, row, or column.
Steps:
- Select the cells you want to move.
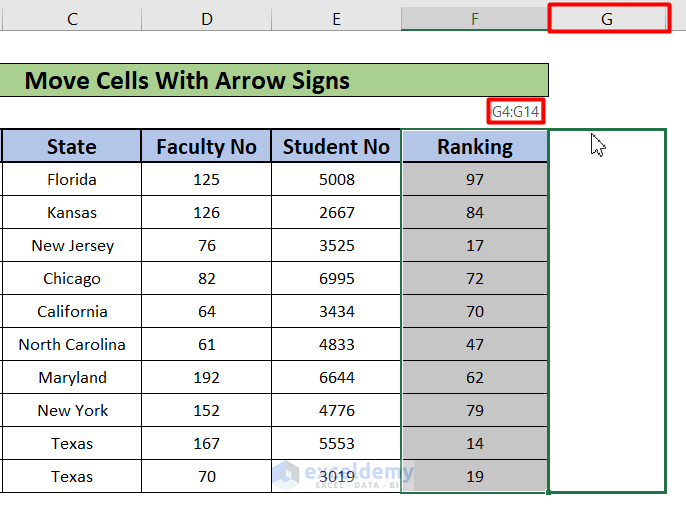
- Place your cursor over the edge of the selected cells. A four-sided arrow appears. We want to move the Ranking column (column F) over to column G, so we’ll select the Ranking column here.
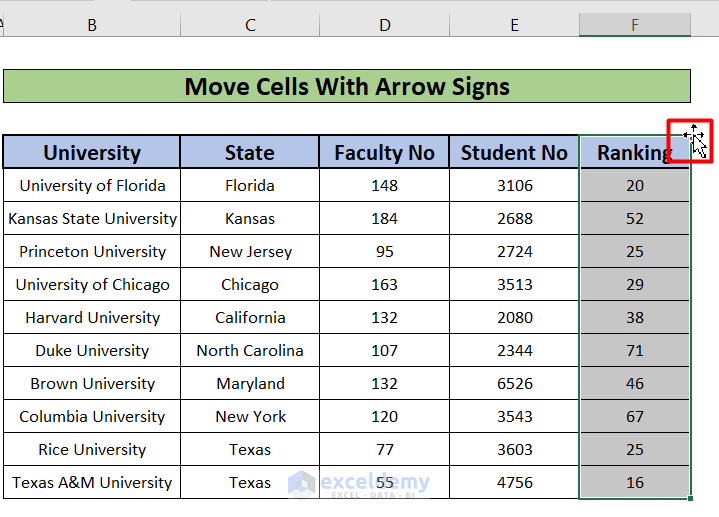
- Click and drag the cell to the location you want it to be.
As we drag the Ranking column (column F) to column G, a green outline of the cell displays in column G, and we can see the new reference display G4:G14.
- Release the cursor.
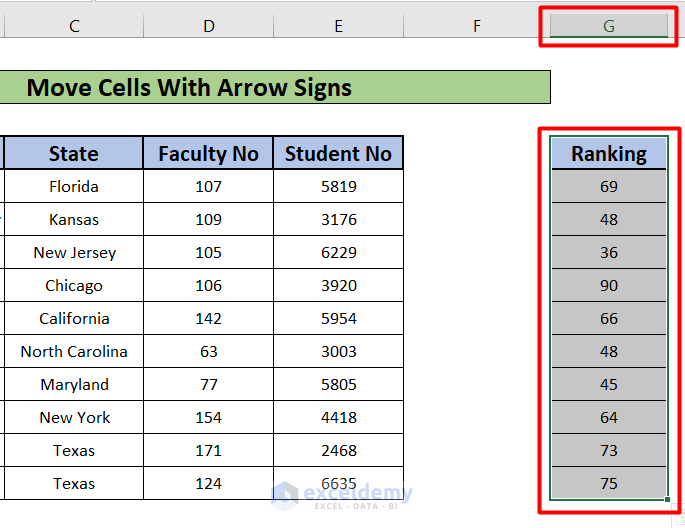
The Ranking column is moved to column G.
Read More: How to Move a Group of Cells in Excel
Things to Remember
- Some keyboards do not include SCROLL LOCK. If your keyboard does not have a Scroll Lock key, on your computer, click Start > Settings > Ease of Access > Keyboard. Click the On-Screen Keyboard button to turn it on. When the on-screen keyboard appears on your screen, click the ScrLk button.
- You can turn off SCROLL LOCK using the same On-Screen Keyboard. To turn off SCROLL LOCK, click the ScrLk, and then close the On-Screen Keyboard.
- When SCROLL LOCK is on, Scroll Lock is displayed on the status bar in Excel.
- To use the ARROW KEYs to shift between cells, you must toggle the SCROLL KEY on.
Download Practice Workbook
Related Articles
- How to Move Filtered Cells in Excel
- Move and Size with Cells in Excel
- [Fixed!] Unable to Move Cells in Excel
- How to Use the Arrows to Move Screen Not Cell in Excel
- How to Move Highlighted Cells in Excel
<< Go Back to Excel Cells | Learn Excel
Get FREE Advanced Excel Exercises with Solutions!

