This is an overview.

This is the sample dataset.
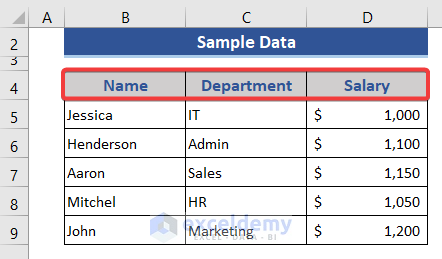
Example 1 – Change the Column Header Name Based on the Cell Property
This code is suitable for data in R1C1 style.
Steps:
- Go to Sheet Name and right-click.
- Choose View Code in the Context Menu.
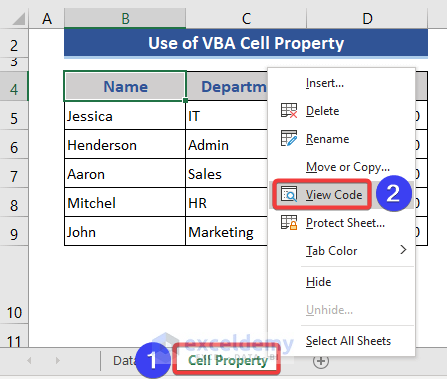
- The VBA window opens.
- Select Insert and choose Module.
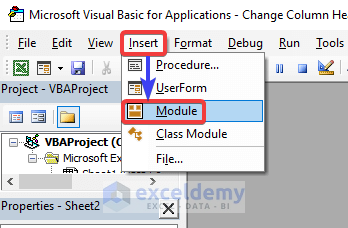
- The module window is displayed.
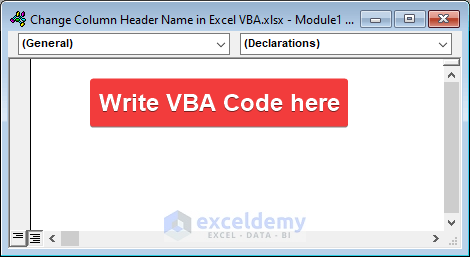
- Enter the code in the module.
Sub change_header_1()
Cells(4, 2).Value = "E_Name"
Cells(4, 3).Value = "E_ID"
Cells(4, 4).Value = "E_Salary"
End Sub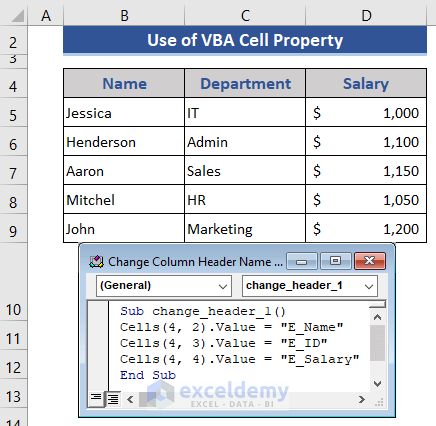
The first number indicates the row and the second number indicates the column.
- Press F5 to run the code.
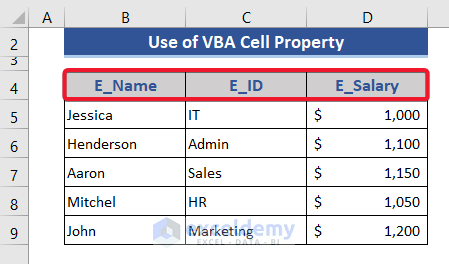
This is the output.
- You can also use this VBA code.
Sub change_header_2()
Cells(4, "B").Value = "E_Name"
Cells(4, "C").Value = "E_ID"
Cells(4, "D").Value = "E_Salary"
End Sub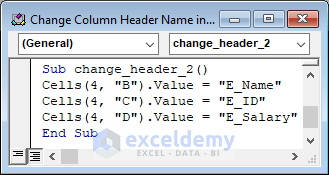
It will return the same result.
Read More: How to Create Column Headers in Excel
Example 2 – Change the Column Header Name Based on the Range Property
This code is suitable for data in A1 style.
Steps:
- Go to the VBA module.
- Enter the code.
Sub change_header_3()
Range("B4").Value = "E_Name"
Range("C4").Value = "E_ID"
Range("D4").Value = "E_Salary"
End Sub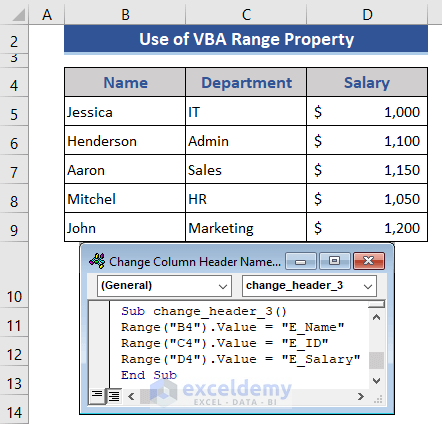
- Press F5.
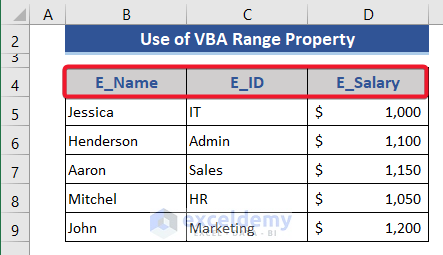
This is the output.
- You can also use this VBA code ( it declares a range without any property. Use the square ( [ ] ) or 3rd bracket and enter the cell reference).
Sub change_header_4()
[B4].Value = "E_Name"
[C4].Value = "E_ID"
[D4].Value = "E_Salary"
End Sub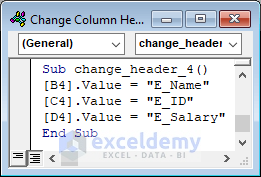
Read More: How to Change Column Headings in Excel
Example 3 – Use the VBA Split Function
Steps:
- Enter the following VBA code.
Sub change_header_6()
Range(Cells(4, 2), Cells(4, 4)).Value = Split("E_Name E_ID E_Salary")
End Sub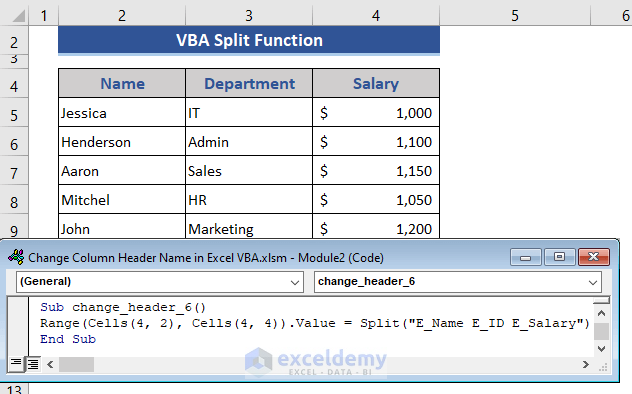
- Press F5.
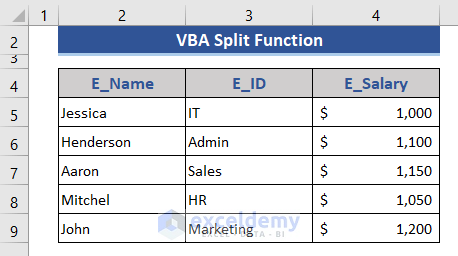
The header name changed.
- You can also use this VBA code.
Sub change_header_7()
Range(Cells(4, B), Cells(4, D)).Value = Split("E_Name E_ID E_Salary")
End Sub
Read More: How to Title a Column in Excel
Change the Column Header Name from Alphabet to Numeric and Vice-Versa
The columns contain alphabetical characters.

Steps:
- Use the ReferenceStyle property. Two styles are included: xlR1C1 and xlA1: the 1st one for numeric and the 2nd for alphabetical characters. A VBA code (containing xlR1C1) is used to transform alphabetical into numeric characters.
- Enter the following VBA code:
Sub change_header_8()
Application.ReferenceStyle = xlR1C1
End Sub
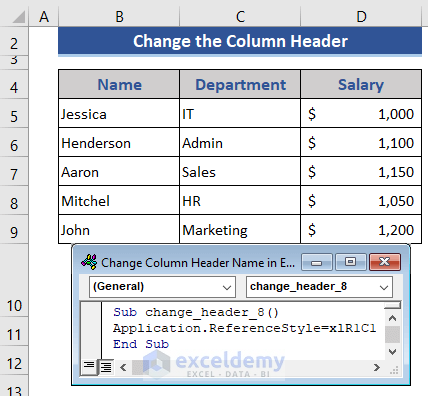
- Press F5.
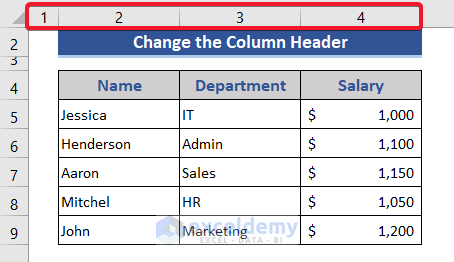
- You can change the column header from numeric to alphabetical with the following code.
Sub change_header_9()
Application.ReferenceStyle = xlA1
End Sub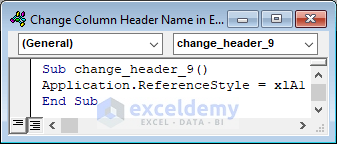
Read More: How to Change Excel Column Name from Number to Alphabet
Download Practice Workbook
Download this practice workbook to exercise.
Related Articles
- How to Rename Column in Excel
- How to Remove Column Headers in Excel
- How to Create Excel Table with Row and Column headers
- How to Remove Column1 and Column2 in Excel
- How to Repeat Column Headings on Each Page in Excel
- [Fixed] Excel Column Numbers Instead of Letters
<< Go Back to Rows and Columns Headings | Rows and Columns in Excel | Learn Excel
Get FREE Advanced Excel Exercises with Solutions!

