What Is an XML File?
An XML file can store data in a readable format for different applications and systems. XML stands for Extensible Markup Language. The XML file is mainly used for storing and transporting data that various applications use.
You can open an XML file with a text editor if it contains text data and make the necessary changes. You can extract the XML file to Excel if it contains tables.
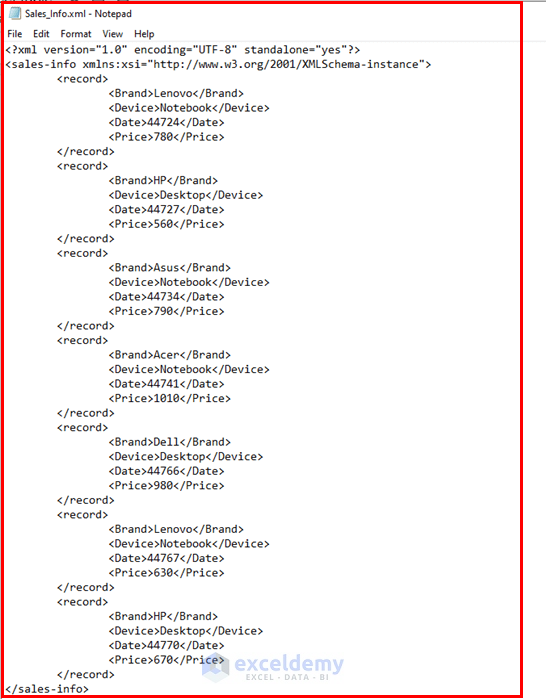
Here’s a sample of an XML file we will convert to Excel.
Method 1 – Using the Data Tab to Convert an XML to an Excel Table
Steps:
- From the Data tab, go to the Get Data menu.
- From the From File feature, select From XML.

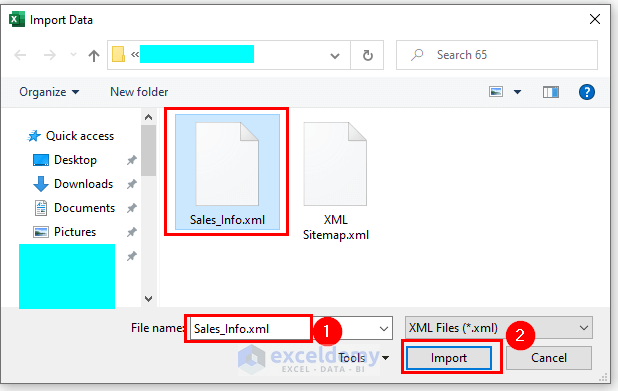
- You will get a new window named Import Data.
- Select your XML file.
- Click on Import.
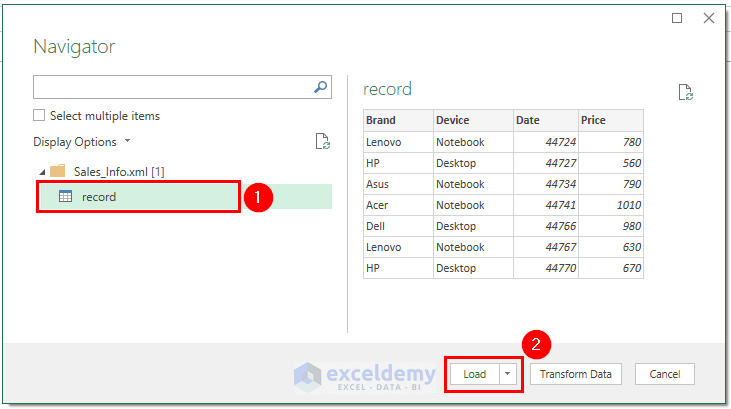
- You will see the window named Navigator.
- Select the record file.
- Click on Load.
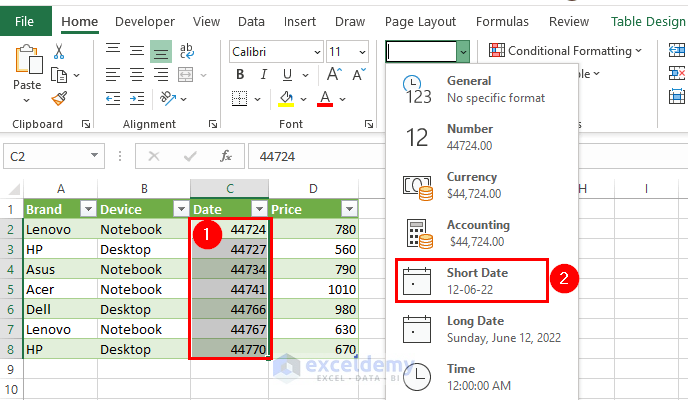
- You will see the following result. The Dates are in the General format.
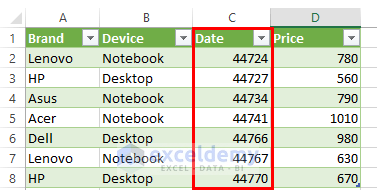
- Select the cells C2:C8.
- Choose Short Date from Number formatting which is in the Home tab.
- The dates are now in Date format.
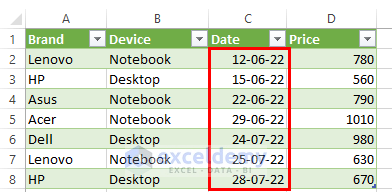
- You can format your Excel table, too.
Read More: How to Convert Large XML to Excel
Method 2 – Using a Web URL to Convert an XML to an Excel Table
Steps:
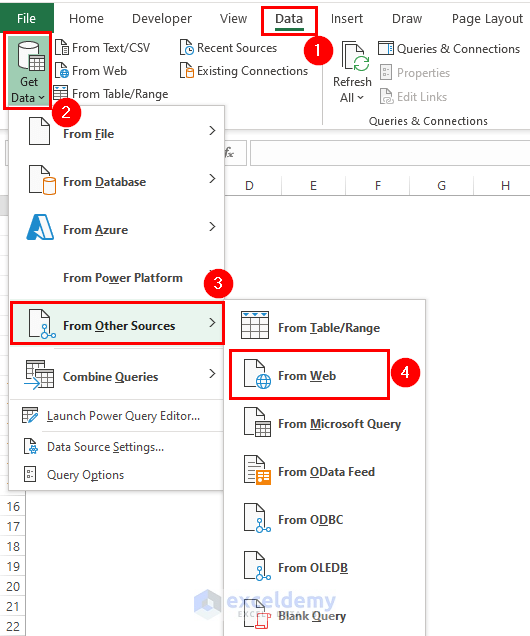
- From the Data tab, go to the Get Data menu.
- Choose From Other Sources and select From Web.
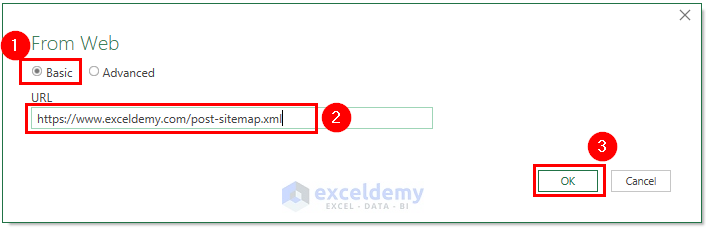
- A new dialog box named From Web will appear.
- Choose Basic.
- Paste your file link to the URL box. We used this XML File link.
- Press OK.
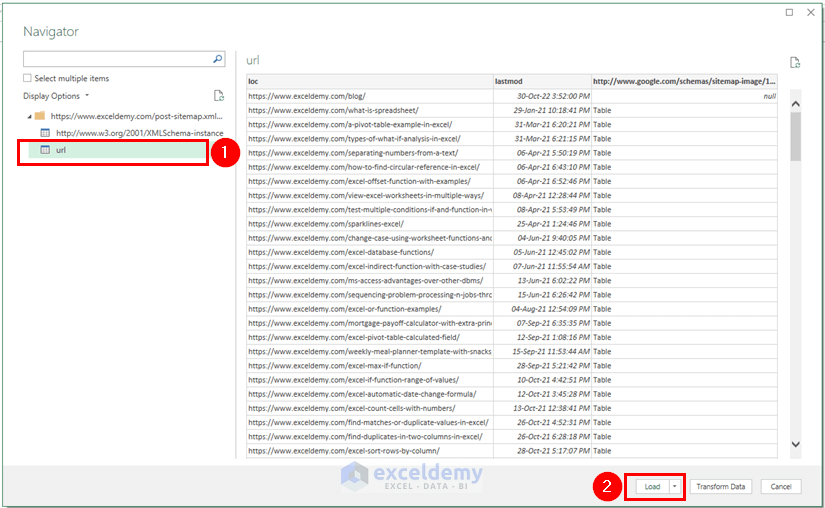
- You will see the window named Navigator.
- Select the url file.
- Click on Load.
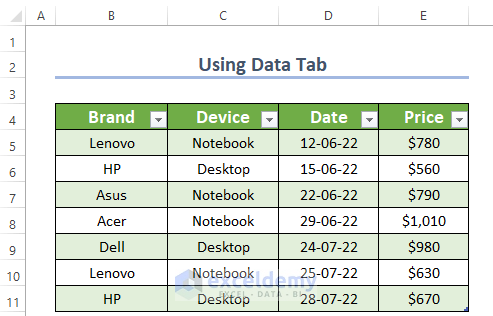
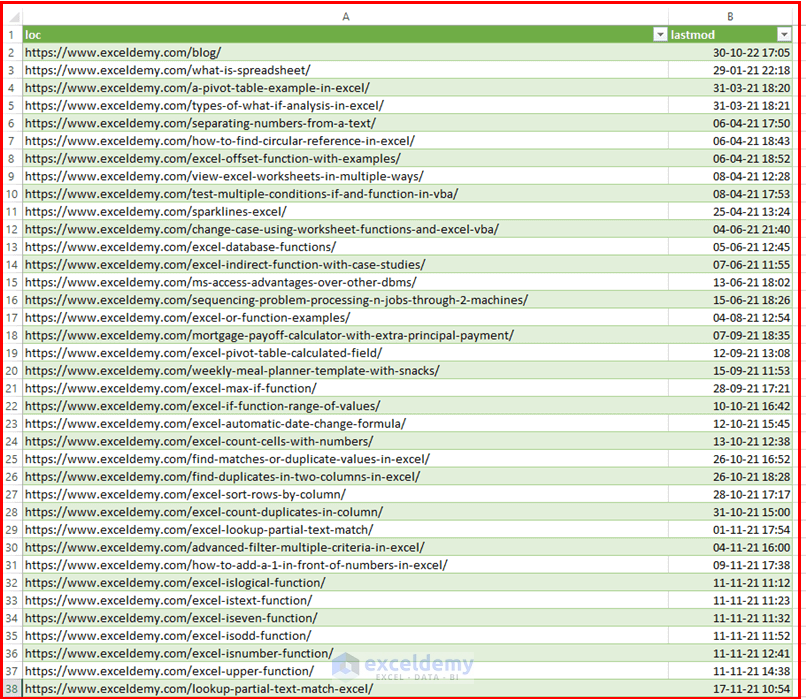
- You will get the converted Excel table.
Read More: How to Convert XML to Columns In Excel
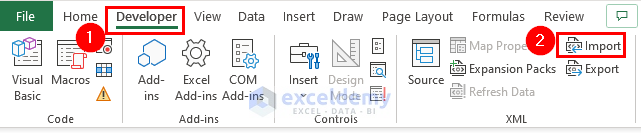
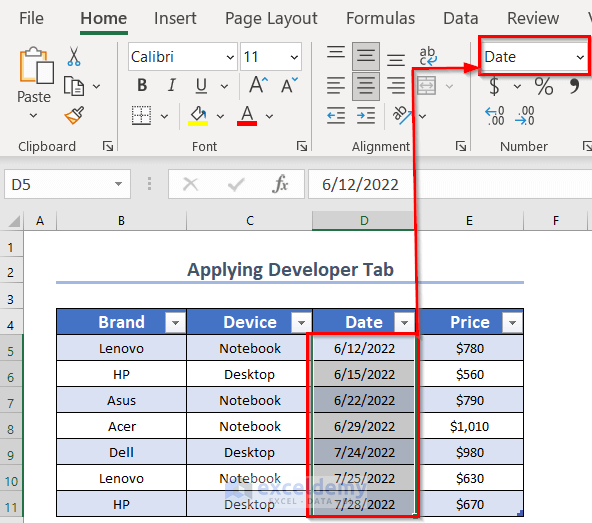
Method 3 – Using the Import Feature from the Developer Tab in Excel
Steps:
- From the Developer tab, choose the Import option.
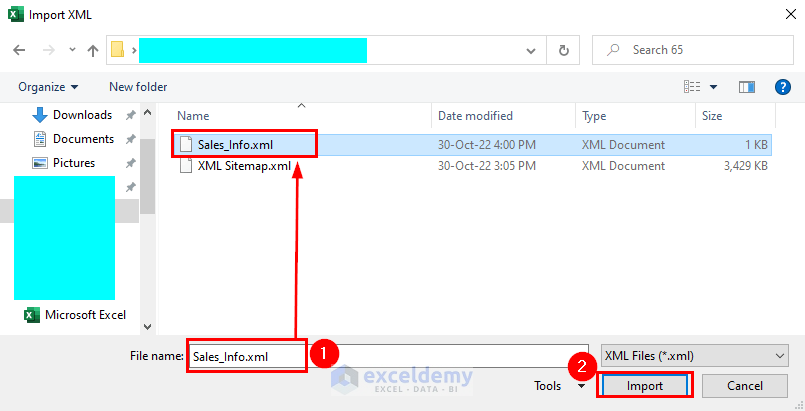
- A new window named Import XML will appear.
- Choose your XML file in the File name box.
- Click on Import.
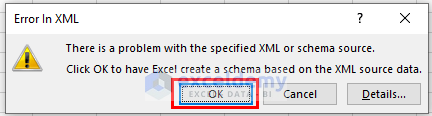
- You may see the following dialog box named Error In XML. If you do, press OK.
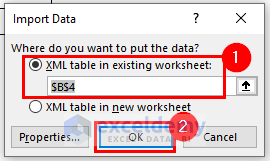
- Another dialog box named Import Data will appear.
- Input the starting cell in XML table in existing worksheet and select the option.
- Press OK.
- You will get the following data table. The Dates are in General format, so we’ll change this formatting to Date.
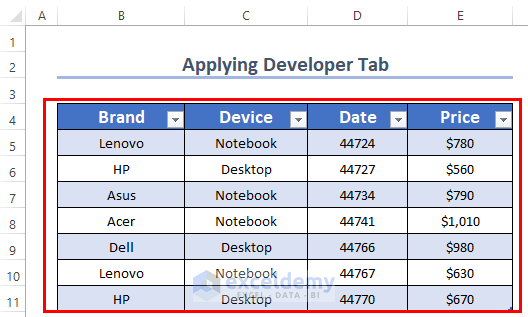
- Here’s the final result.
Download the Practice Files
Related Articles
- Difference Between XML and Excel Files
- [Solved]: XML File Not Opening in Excel
- How to Extract Data from XML File to Excel
- How to Edit XML File in Excel
- VBA Code to Convert XML to Excel
<< Go Back to Import XML to Excel | Importing Data in Excel | Learn Excel
Get FREE Advanced Excel Exercises with Solutions!
