What Is a Countdown Timer?
A countdown timer is a type of digital clock that starts counting down from a specific date or number. It’s commonly used to signal the beginning or end of a promotion or event. The primary goal of a countdown timer is to instill a feeling of urgency, conveying the message that “Your time is running out.”
Businesses employ countdown timers to demonstrate how much time remains before a specific price or offer becomes accessible.
Step 1 – Create a Basic Interface for the Countdown Timer
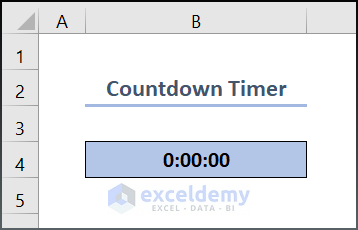
To make our countdown timer visually appealing, we’ll create a basic interface. Start by preparing an outline, similar to the one shown in the image.
Read More: How to Create a Timer with Milliseconds in Excel VBA
Step 2 – Incorporate VBA Code
We’ll use VBA code to create the countdown timer. Follow these steps:
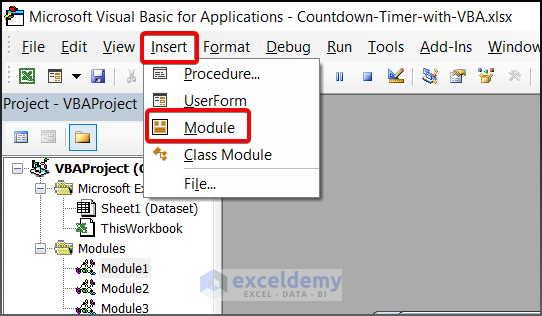
- Press Alt + F11 to open your Microsoft Visual Basic.
- Click Insert and select Module to open a blank module.
- Write the following VBA code in Module1.
Option Explicit
Public Clock As Date
Sub StartClock()
Clock = Now + TimeValue("00:00:01")
If Range("B4").Value = 0 Then Exit Sub
Range("B4") = Range("B4") - TimeValue("00:00:01")
Application.OnTime Clock, "StartClock"
End Sub
Sub ResetClock()
Range("B4") = TimeValue("00:00:15")
End Sub
Sub StopClock()
Application.OnTime EarliestTime:=Clock, Procedure:="StartClock", Schedule:=False
End Sub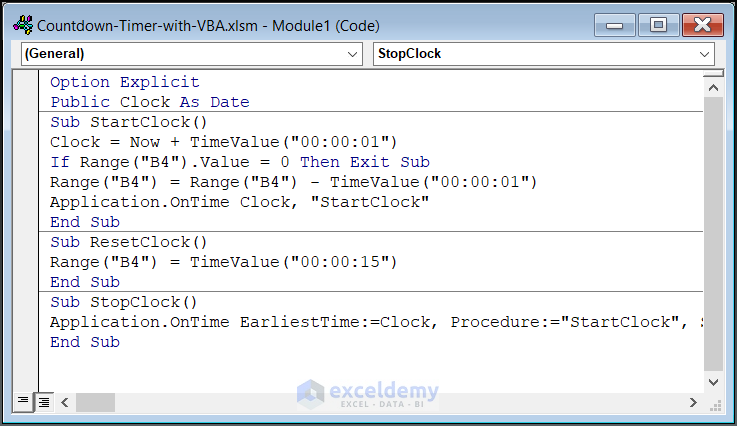
This code initiates the countdown, updates the timer, and allows resetting or stopping it.
- The code is segmented into three parts:
- In the initial segment, we start with sub StartClock to initialize the countdown.
- We utilize the VBA Now function to retrieve the current time and date from our computer.
- Additionally, we employ the VBA TimeValue function to generate the string “00:00:01” as a time value.
- These two time values are then summed, and their data is returned in the Clock.
- The loop established in lines 5 and 6 retrieves data based on the information in cell B4.
- We invoke Application.onTime to continuously run the timer until the value in B4 is met. The data for B4 is specified in the second segment of the VBA code. As indicated in line 7, when the data in Range(“B4”) is decremented by 00:00:01, the clock will count down in reverse and ultimately reach 00:00:00.
- The second segment of our code is dedicated to providing a reset button for the countdown timer, enabling us to reset the timer if necessary. This action resets the clock to 00:00:15.
- In the third segment of our VBA code, we define another sub-function named StopClock, which will be linked with another button named Stop to halt our timer.
- Press F5 to run the VBA Code.
- Close your VBA window.
Read More: Excel VBA to Create Timer Loop
Step 3 – Set Timer Buttons
Add three buttons (Start, Stop, and Reset) to operate the countdown clock:
- Closely look at the GIF (Graphics Interchange Format) that we have attached below for your understanding.
- Go to Developer, choose Insert and select Tab.
- Select the region where you want to place the buttons.
- In the dialog box, choose StartClock for the Start button, StopClock for the Stop button, and ResetClock for the Reset button.
- Press OK.
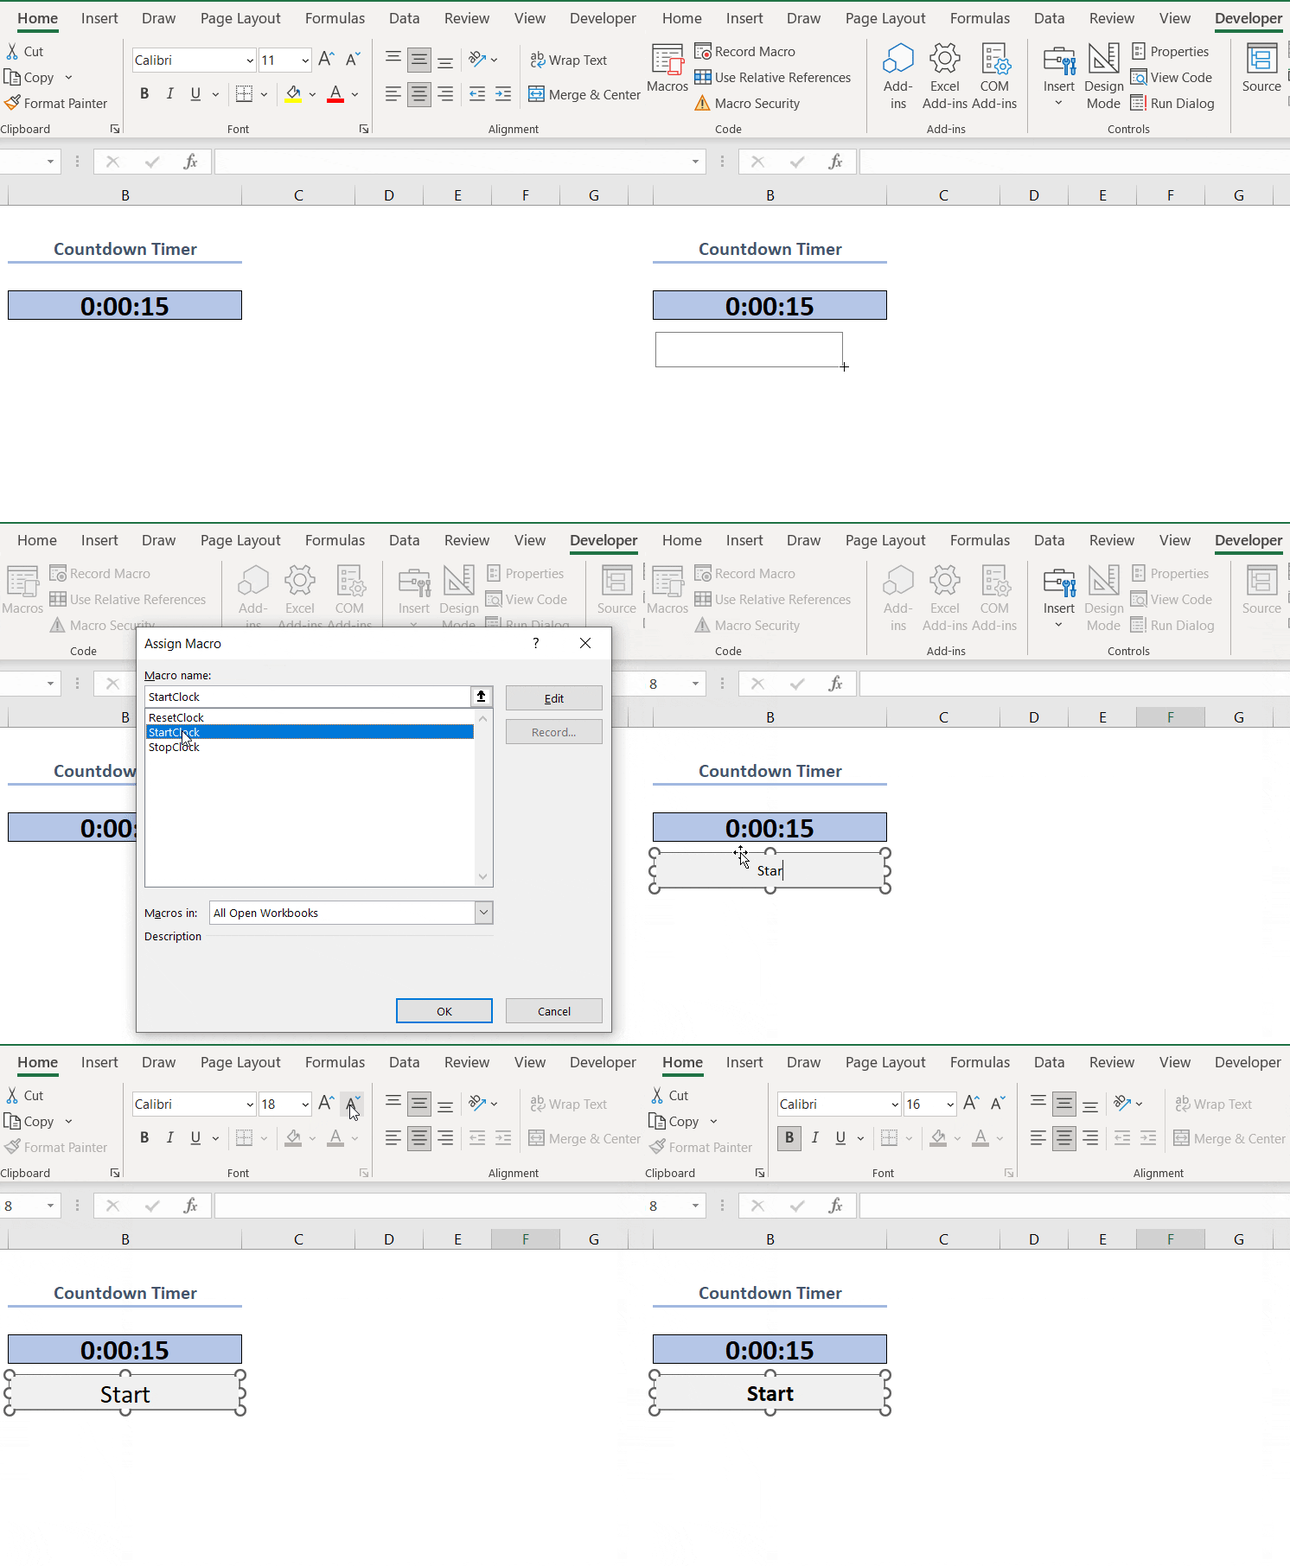
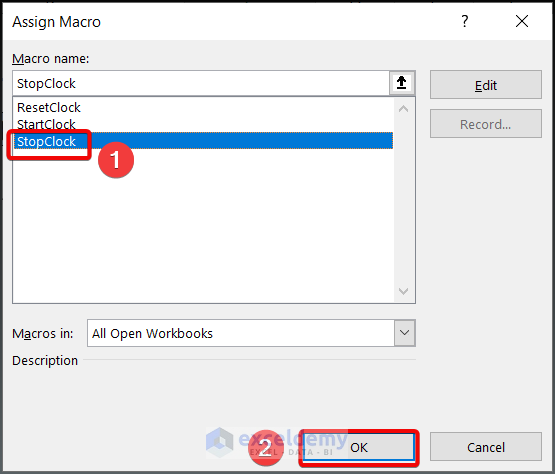
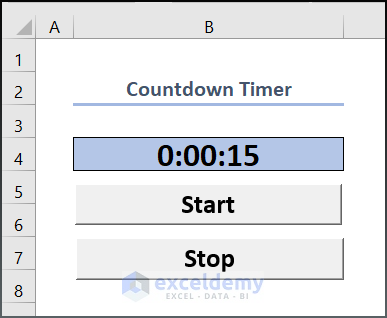
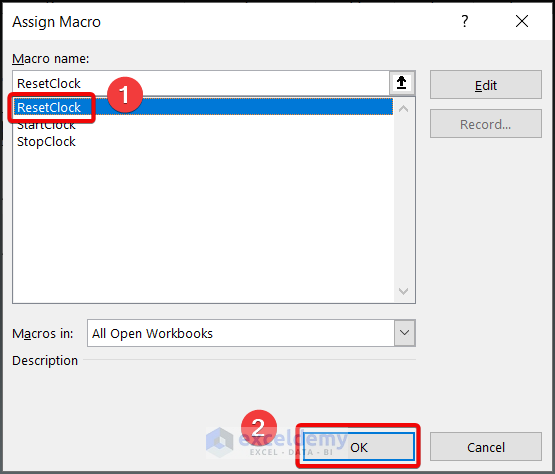
- Your interface should now include these buttons, allowing you to control the countdown timer.
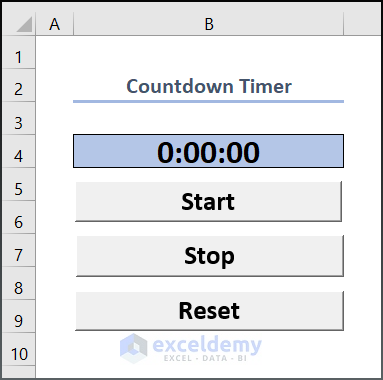
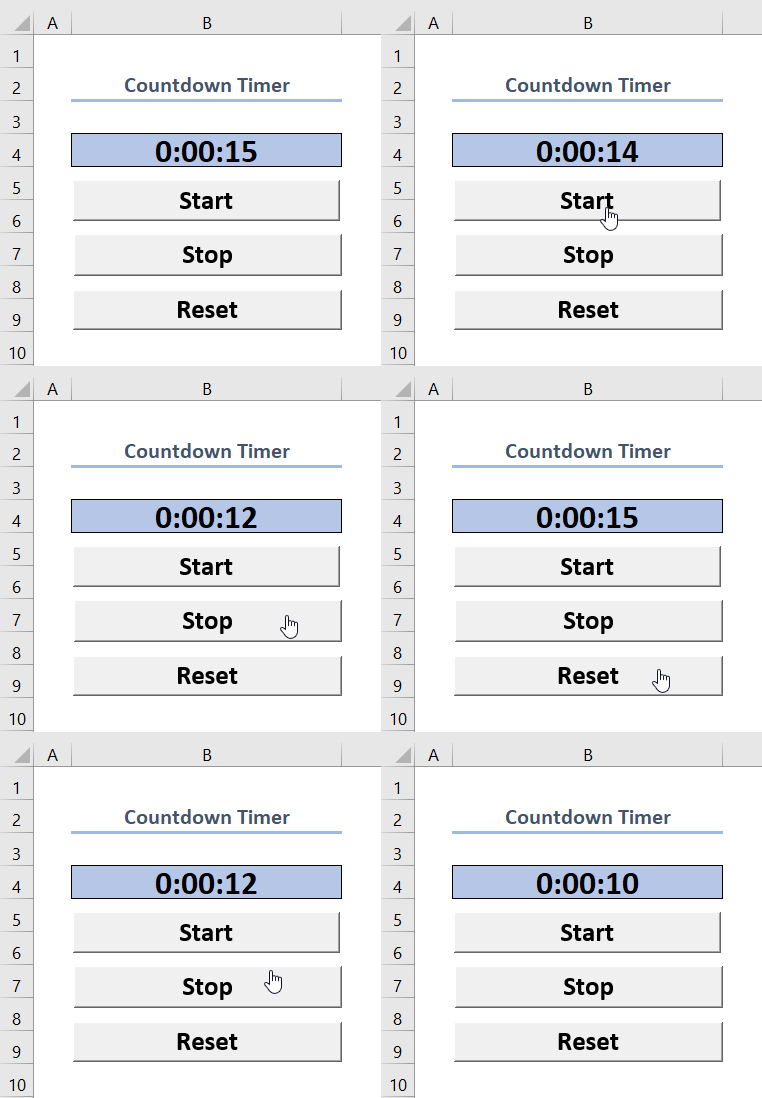
Step 4 – Test the Countdown Timer
Let’s test our countdown timer. You’ve already learned how to create the basic interface, incorporate VBA code, and add buttons. Now, it’s time to play with our creation!
- Click on the buttons to see the timer in action.
Read More: How to Create Timer Event with VBA in Excel
Things to Remember
- Once you’ve assigned the buttons to your Excel sheet, avoid modifying your VBA code. If you do make changes, you’ll need to set up your clock buttons (Start, Stop, or Reset) again. Otherwise, the code won’t run as expected.
Download Practice Workbook
You can download the practice workbook from here:
Get FREE Advanced Excel Exercises with Solutions!


