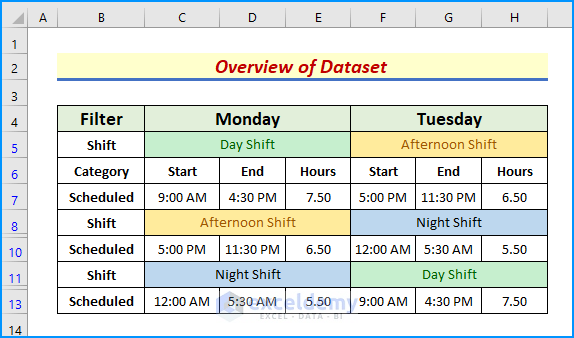
The dataset represents a duty roster. Advanced Filters were applied. To know if a dataset is Advanced filtered, look at the row index numbers. If they are blue, it means they are filtered.
Method 1 – Applying the Clear Feature to Remove the Advanced Filter
Steps:
- Select B4:H13.
- Go to the Data tab and click Clear in Sort & Filter.
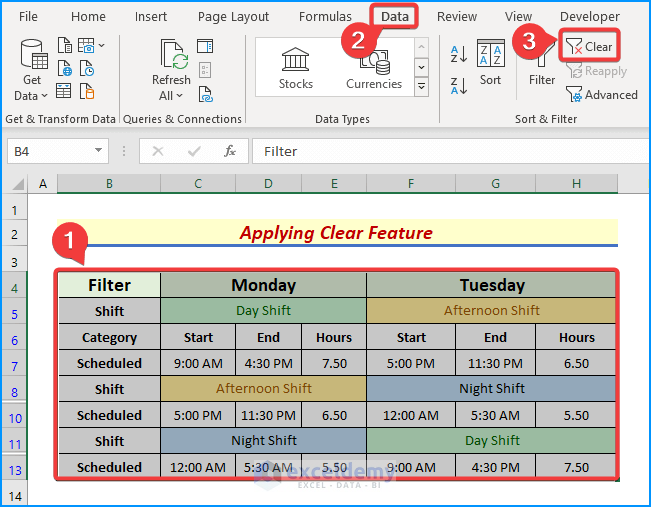
The filter is removed: the row index numbers are black.
Hidden rows are visible in the dataset.

Method 2 – Use a Keyboard Shortcut to Delete Advance Filters in Excel
Steps:
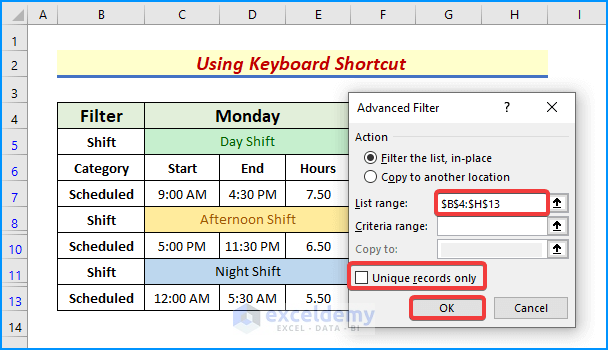
- Open the active sheet and press Alt + D + F + A .
- In the Advanced Filter dialog box, select the range you want to filter in List range.
- Uncheck Unique records only.
- Close the dialog box by clicking OK.
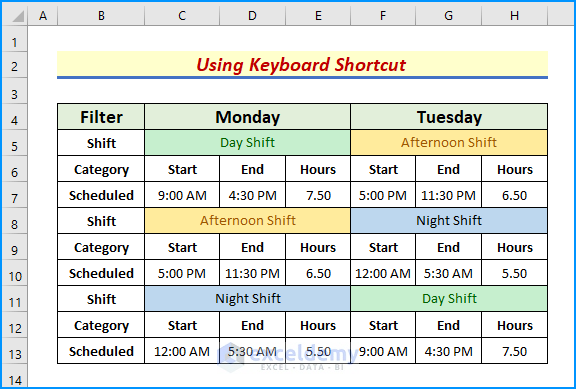
Hidden rows are displayed.
The advanced filters were removed.
Method 3 – Manually Unhide Rows to remove the Advanced Filter from Specific Rows
Steps:
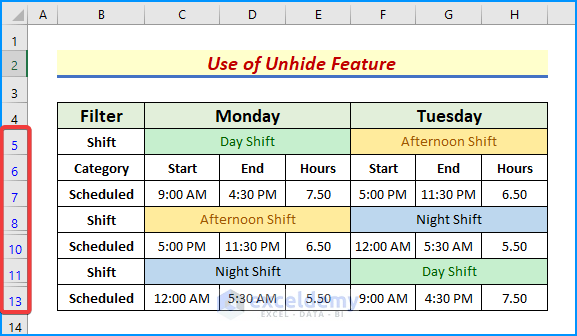
- Right-click the gap between rows 8 and 10.
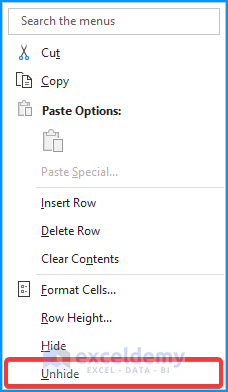
- In the context menu, click Unhide.
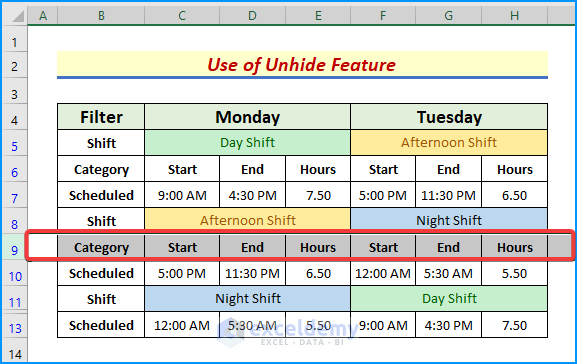
Hidden cells are visible.
The Advanced filter was removed.
Method 5 – Using the Filter Tool to remove the Advanced Filter in Excel
Steps:
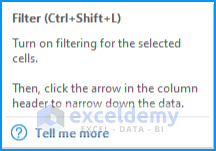
- Go to the Data tab and click Filter in Sort & Filter.

- You can also press Ctrl + Shift + L to access the Filter feature.
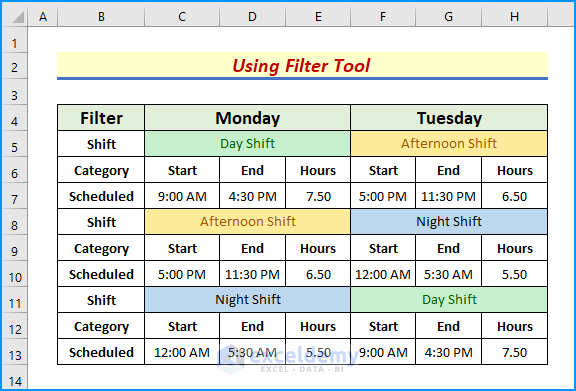
Hidden cells are visible after removing the advanced filters.
Method 5 – Running a VBA Code to Remove the Advanced Filter in Excel
Steps:
- Go to the Developer tab and click Visual Basic.

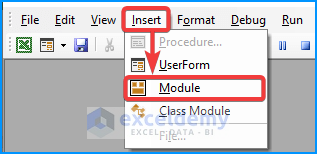
- In the Visual Basic window, click Insert and choose Module to create a module.
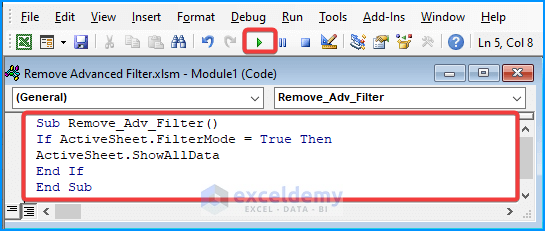
- Enter the following VBA code:
Sub Remove_Adv_Filter()
If ActiveSheet.FilterMode = True Then
ActiveSheet.ShowAllData
End If
End Sub
- Click Run.
- Save the code in an Excel Macro-Enabled Workbook and close the window.
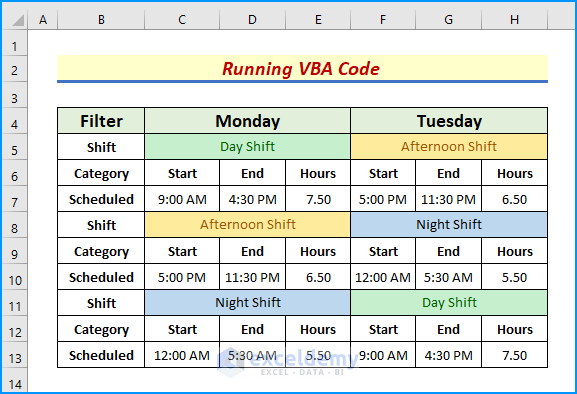
Hidden cells are visible.
The macro removes the advanced filters.
Download Practice Workbook
Download the practice workbook.
<< Go Back to Advanced Filter | Filter in Excel | Learn Excel
Get FREE Advanced Excel Exercises with Solutions!

