Method 1 – Using Insert Picture Feature to Insert Multiple Pictures at Once in Excel
Steps:
Go to the Insert tab and then click on Pictures.

- In the dialog box, look for the folder where your pictures are kept. Navigate to the folder and find the pictures. Select multiple pictures by clicking them and holding the Ctrl button.
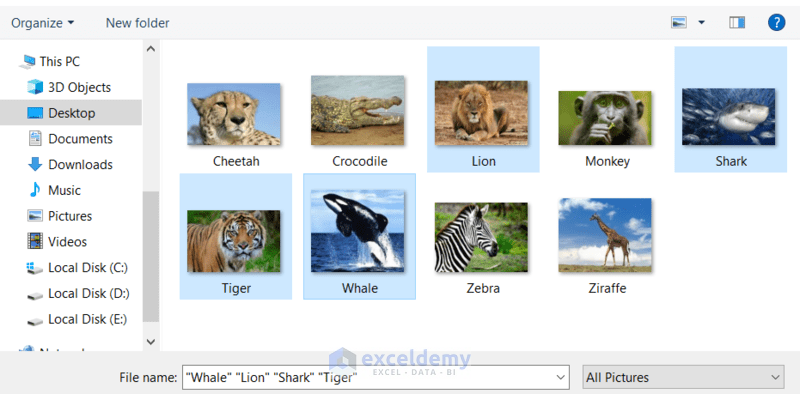
- Click the Insert button.

- All the pictures will be inserted into the worksheet.
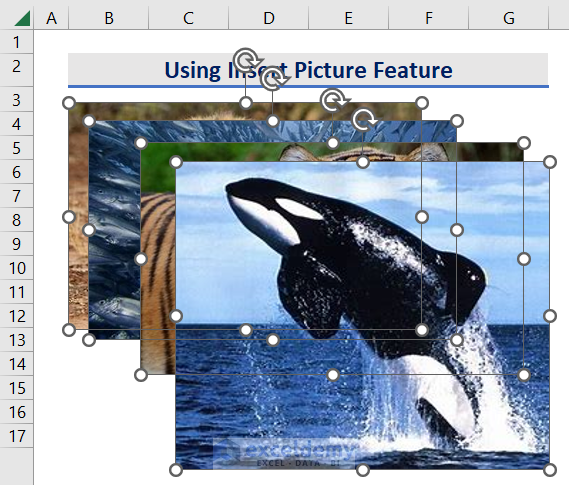
- To resize them in an identical shape. keep these pictures selected, and put Width and Height values in the Picture Format tab.

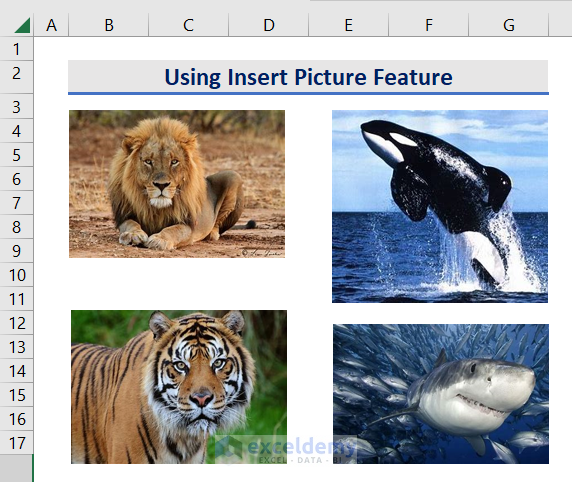
- Move the pictures into separate cells.
Read More: How to Insert Picture in Excel Cell Automatically
Method 2 – Applying VBA code to Insert Multiple Pictures at Once in Excel
Steps:
- Select the cell where you want your first picture to be (the imported pictures will have the same size as the size of the cell).
- Go to the Developer tab and click on Visual Basic (or, press Alt+F11) to open Microsoft Visual Basic for Applications.

- Click on Insert > Module.
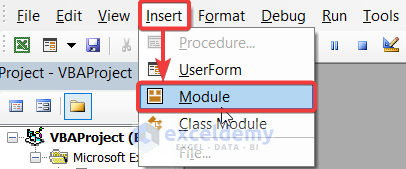
- Enter the following VBA code and press F5 to run it.
Sub InsertPictures()
Dim myPICLt() As Variant
Dim ImageFormat As String
Dim PicRng As Range
Dim PicShape As Shape
On Error Resume Next
myPICLt = Application.GetOpenFilename(ImageFormat, MultiSelect:=True)
myColInd = Application.ActiveCell.Column
If IsArray(myPICLt) Then
    myRowInd = Application.ActiveCell.Row
    For lLoop = LBound(myPICLt) To UBound(myPICLt)
        Set PicRng = Cells(myRowInd, myColInd)
        Set PicShape = ActiveSheet.Shapes.AddPicture(myPICLt(lLoop), msoFalse, msoCTrue, PicRng.Left, PicRng.Top, PicRng.Width, PicRng.Height)
        myRowInd = myRowInd + 1
    Next
End If
End Sub
- ‘Define the Variables
Dim myPICLt() As Variant
Dim ImageFormat As String
Dim PicRng As Range
Dim PicShape As Shape- ‘Set variable to select multiple pictures from the application
myPICLt = Application.GetOpenFilename(ImageFormat, MultiSelect:=True)- ‘Command to activate last used from a column
myColInd = Application.ActiveCell.Column- ‘Apply the If condition for a variable with pictures
If IsArray(myPICLt) Then
myRowInd = Application.ActiveCell.Row- ‘Apply For loop to take pictures one by one
For lLoop = LBound(myPICLt) To UBound(myPICLt)- ‘Set Range for the pictures
Set PicRng = Cells(myRowInd, myColInd)- ‘Set shapes for the pictures
Set PicShape = ActiveSheet.Shapes.AddPicture(myPICLt(lLoop), msoFalse, msoCTrue, PicRng.Left, PicRng.Top, PicRng.Width, PicRng.Height) 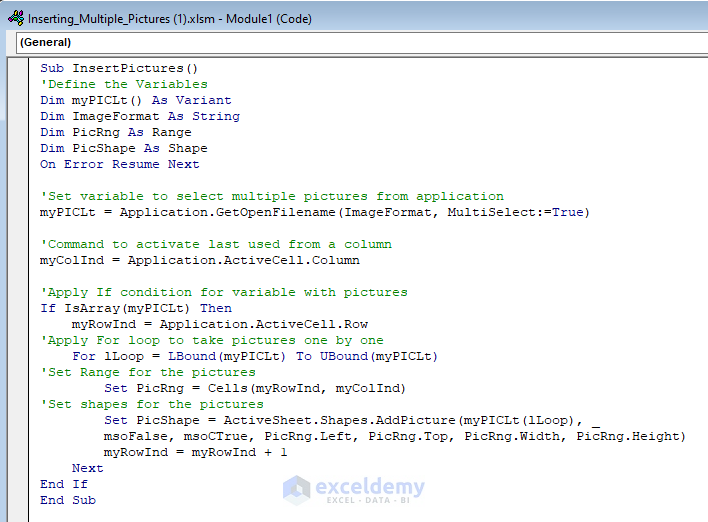
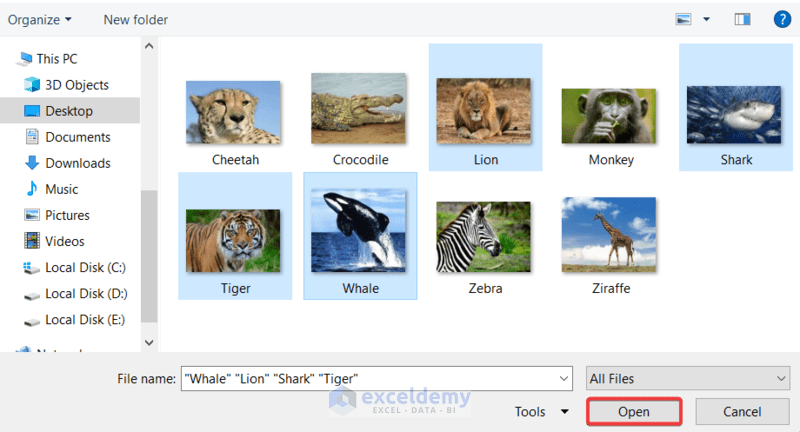
- Select the pictures you want to import and click Open.
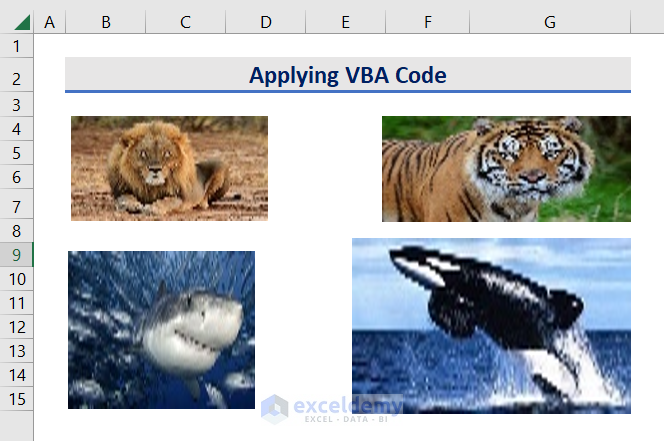
- The selected pictures will be imported into the worksheet. You can now rearrange the pictures into your preferred cells.
Read More: How to Link Picture to Cell Value in Excel
Download Practice Workbook
Related Articles
- How to Insert Pictures Automatically Size to Fit Cells in Excel
- How to Insert Picture in Excel Cell Background
- How to Insert Picture in Excel Cell with Text
- How to Insert Image in Excel Cell as Attachment
- How to Lock Image in Excel Cell
- How to Insert a Picture in Excel Header
- How to Insert Picture in Excel Using Formula
- How to Insert Clipart in Excel
<< Go Back to Excel Insert Pictures | Learn Excel
Get FREE Advanced Excel Exercises with Solutions!

