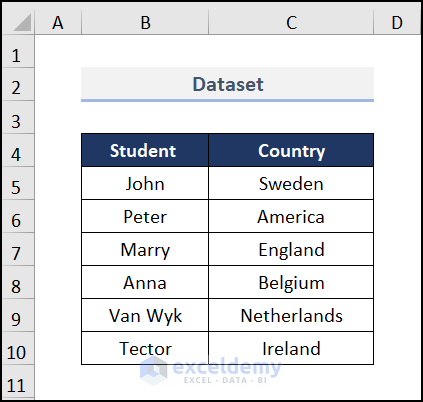
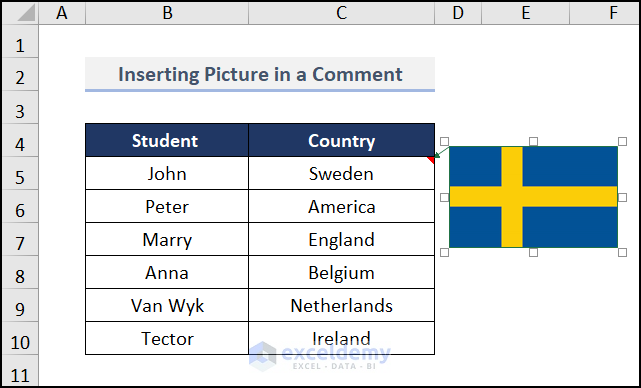
We’ll use a dataset of some Students along with their Country of origin.
Note: In the Microsoft Excel 365 version, Comments are called Threaded Comments where you have the opportunity to reply and discuss the data with other users. Notes add remarks or interpretations of the data and work like Comments in previous versions of Excel.
Step 1 – Insert a Comment
- Select a cell where you want to add a picture comment.
- Go to the Review tab, select Notes, and choose New Note.
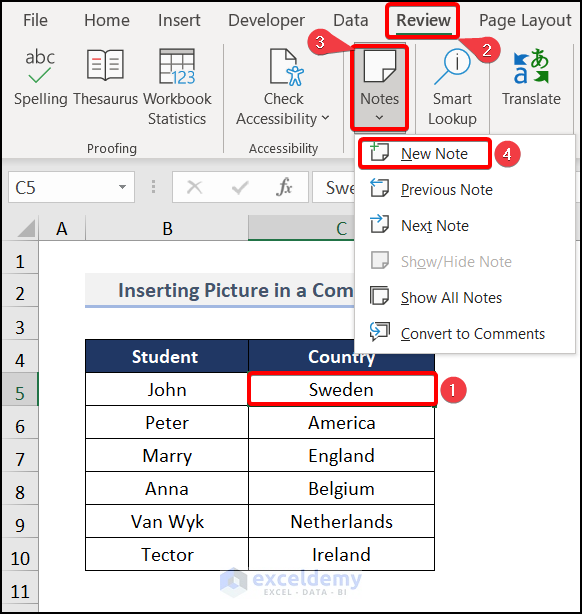
- You can see a box where you can put a comment just like in the image below.

Read More: Creating and Editing Comments in Excel
Step 2 – Choose the Format Comment Option
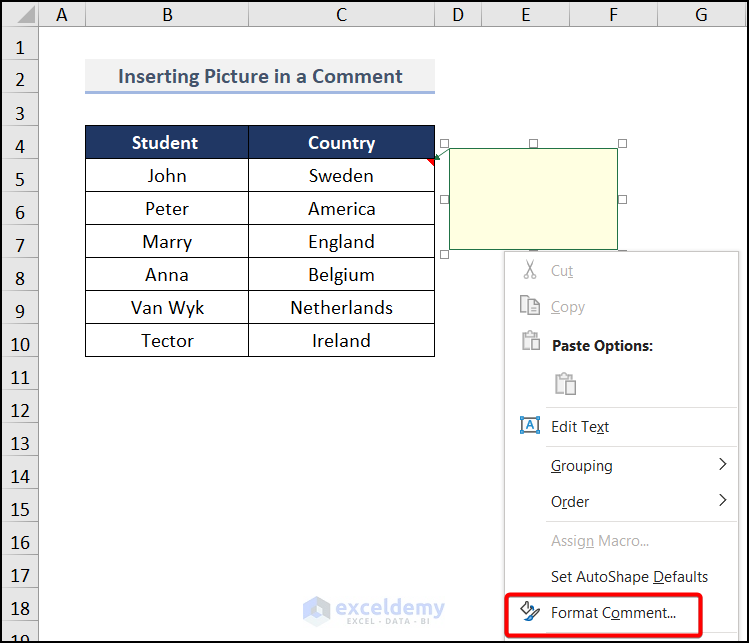
- Hover your cursor on the edge of the note box.
- Right-click when the cursor turns into a four-arrow sign.
- Select Format Comment to insert a picture in your comment.
Step 3 – Use the Colors and Lines Tab
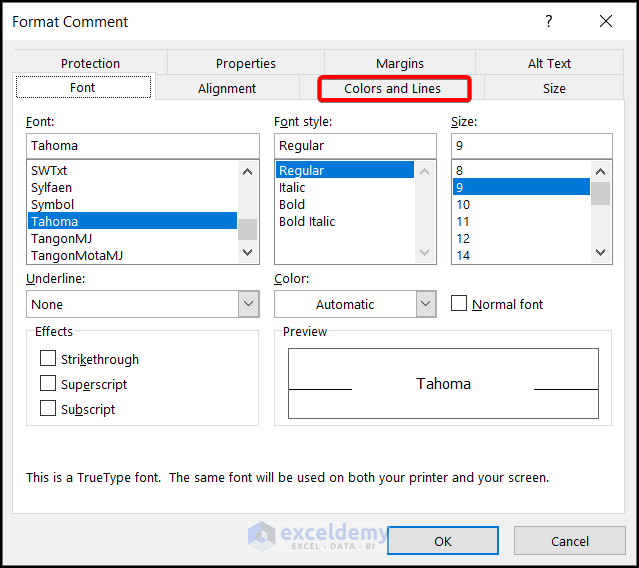
- A dialog wizard named Format Comment appears.
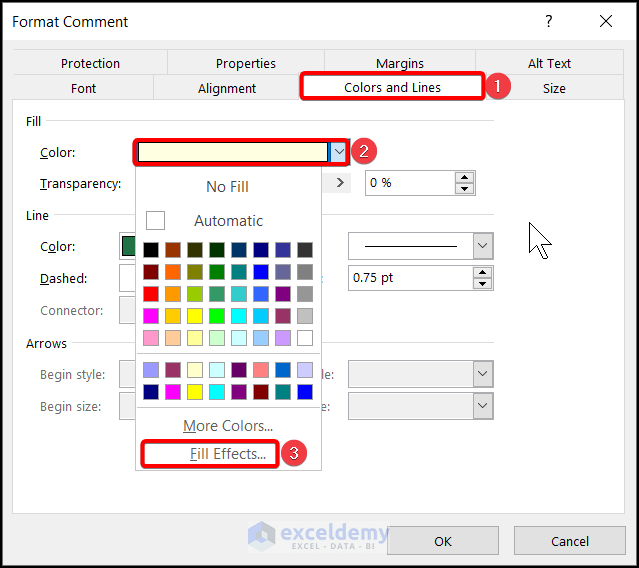
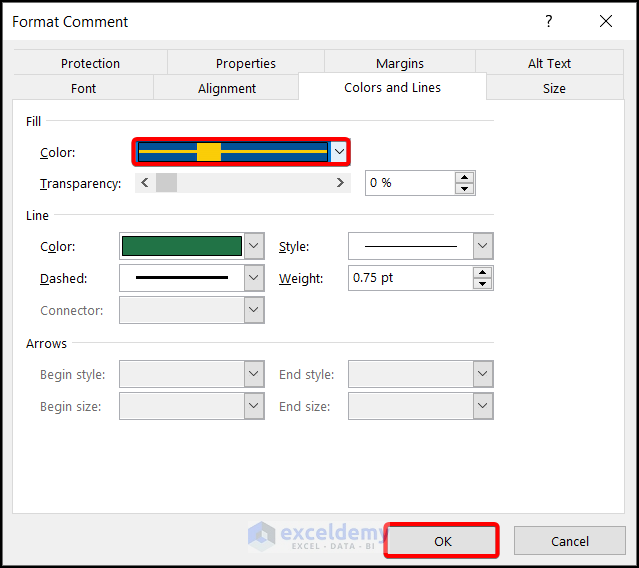
- Select Colors and Lines from the window.
Step 4 – Select the Fill Effects Option
- Choose the Color dropdown and pick Fill Effects.
Step 5 – Insert the Picture
- The Fill Effects dialog box pops up.
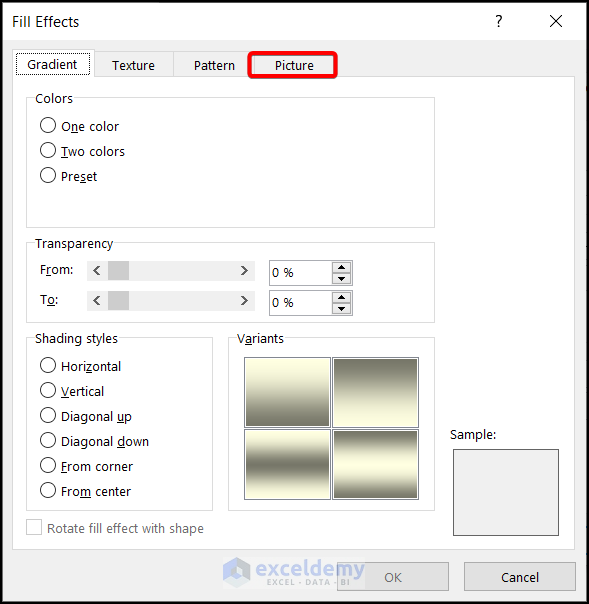
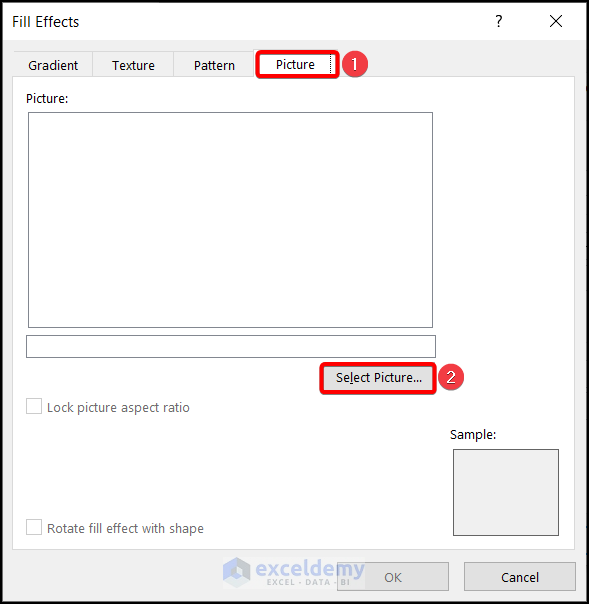
- Choose Picture and go to Select Picture.
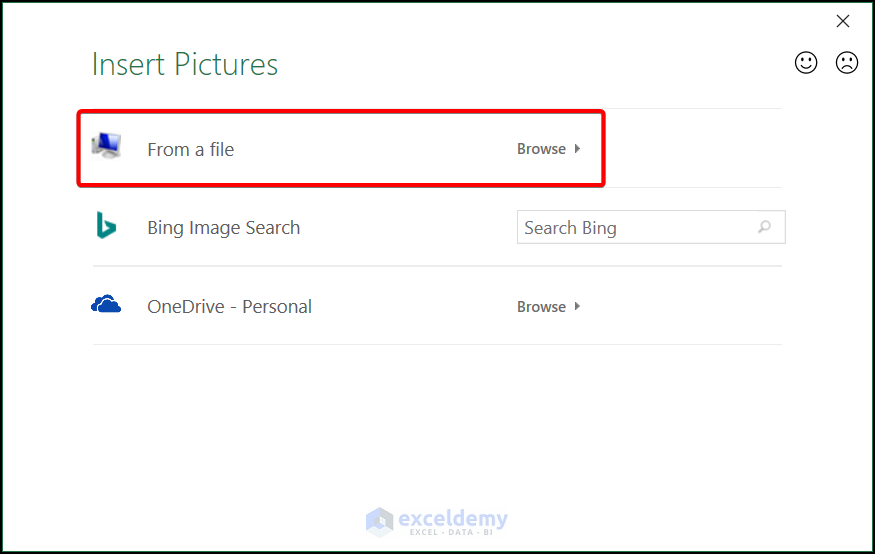
- The Insert Pictures window pops up. Pick From a file if you want to add an image that exists on your computer.
- Choose a picture from your folder.
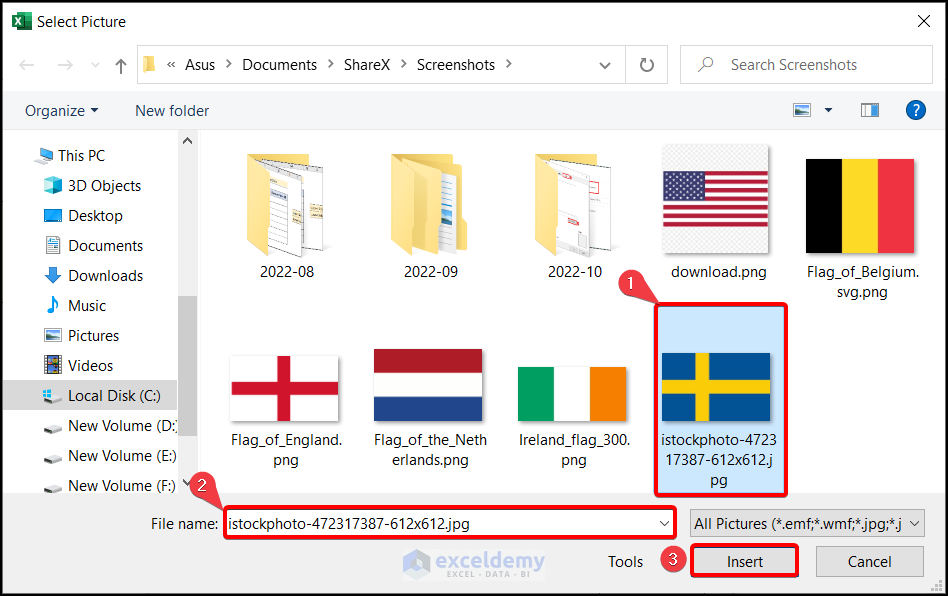
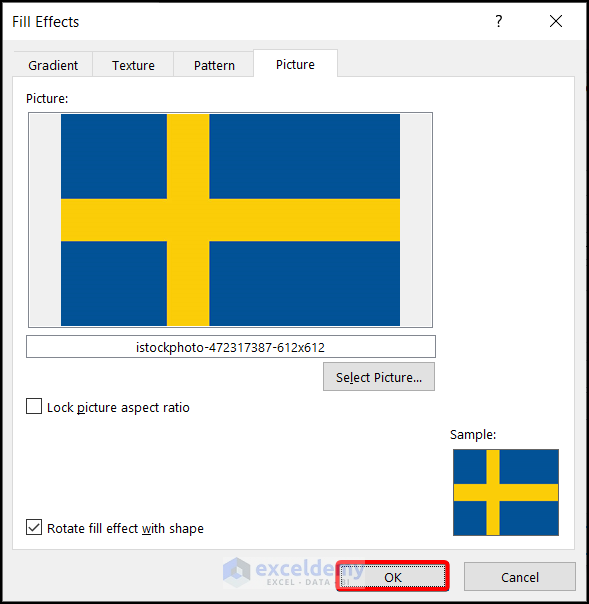
- The Fill Effects window reappears with a preview. Hit OK.
- The Format Comment box appears, so click on OK.
- You can see the picture has been inserted into your comment just like in the image below.
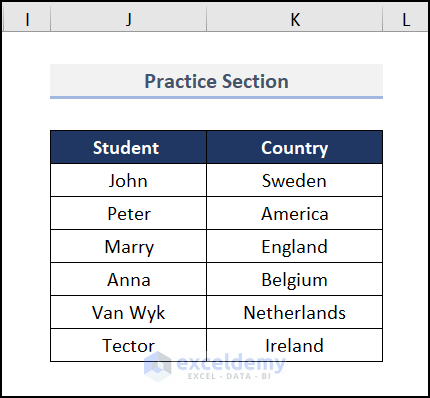
Practice Section
We have provided a practice section on each sheet on the right side for your practice.
Download the Practice Workbook
Related Articles
- How to Add Comment in Excel Formula
- How to Add Floating Comment in Excel
- How to Use Excel VBA to Add Comment to Cell
<< Go Back to How to Edit Comment in Excel | Comments in Excel | Learn Excel
Get FREE Advanced Excel Exercises with Solutions!

