Method 1 – Insert a Horizontal Scrolling Text Box
Steps:
- Go to the Developer tab.
- Select Insert.
- Select Text Box.
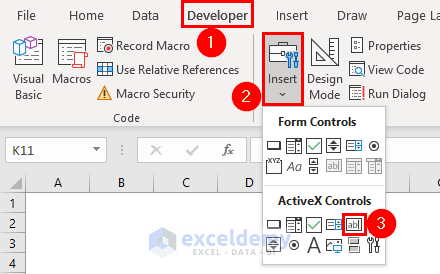
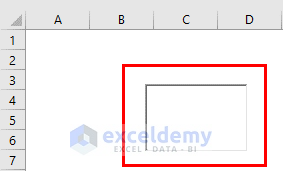
- Draw the text box.
The design mode should be activated, and the box should be selected.
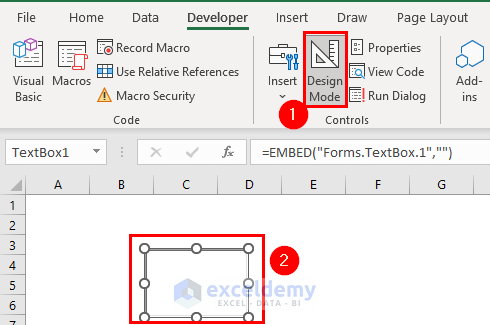
- Go to Properties.

- A Properties box will appear.
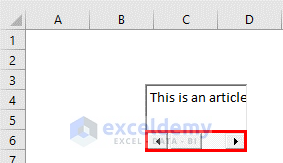
- From the ScrollBars, activate the one for the horizontal bar.
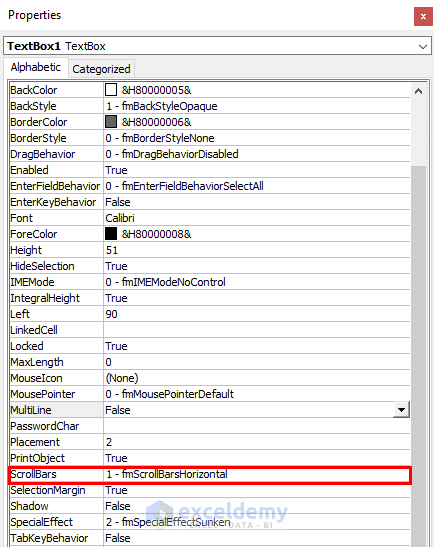
- Close the properties box.
- Click on Design Mode to deactivate it.

- Write something in the box. If the length of the text exceeds the text box, a horizontal scrolling bar will appear.
Read More: How to Create Floating Text Box in Excel
Method 2 – Insert a Vertical Text Box
Steps:
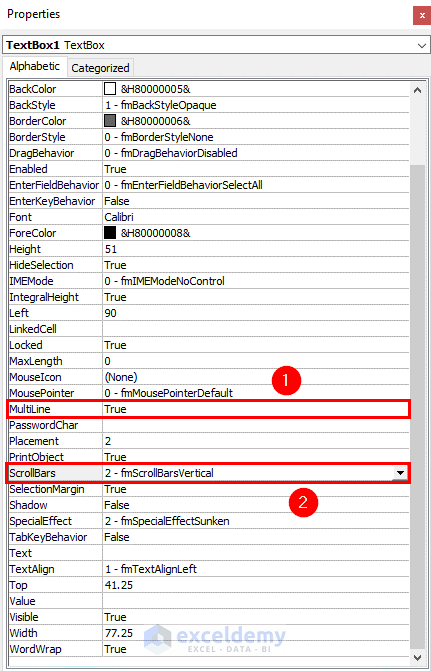
- Open the Properties box using the previous method.
- Set the MultiLine option to True.
- From the ScrollBars, activate the one for the vertical bar.
- Close the properties box.
- Click on Design Mode to deactivate it.

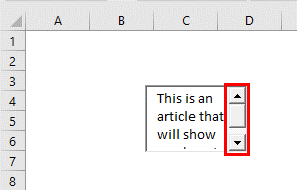
- Wwrite something in the box. If the length of the text exceeds the text box, a vertical scrolling bar will appear.
Read More: How to Add a Dynamic Text Box in Excel
Things to Remember
- The scrolling bar will appear only if the text length exceeds the box.
- You must deactivate the design mode to write something in the text box.
Download the Practice Workbook
Related Articles
- How to Put Space in Text Box in Excel
- How to Anchor Text Box in Excel
- How to Convert Text Box to Cell in Excel
<< Go Back to TextBox | Learn Excel
Get FREE Advanced Excel Exercises with Solutions!

