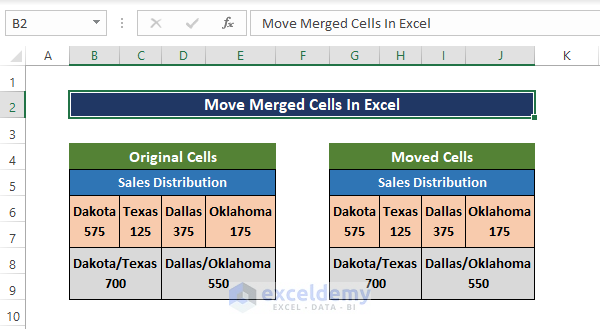
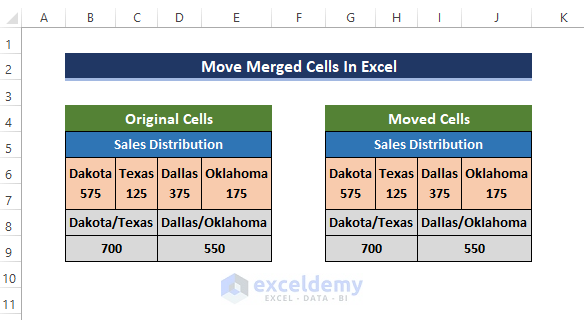
This is the sample dataset.
Method 1 – Using the Paste Special Command to Move Merged Cells
Steps
- Move B5:E9 to the empty range G5:J9:
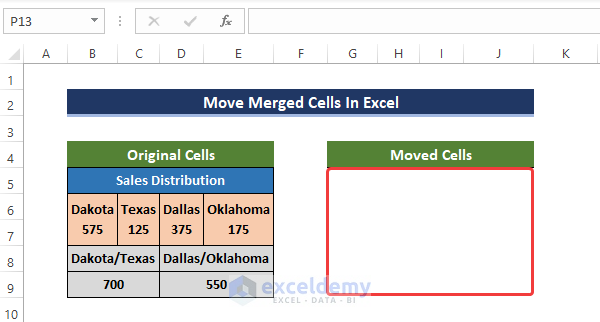
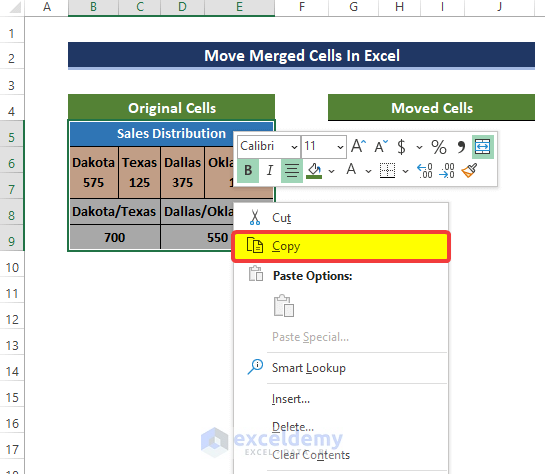
- Select B5:E9 and right-click.
- Click Copy.
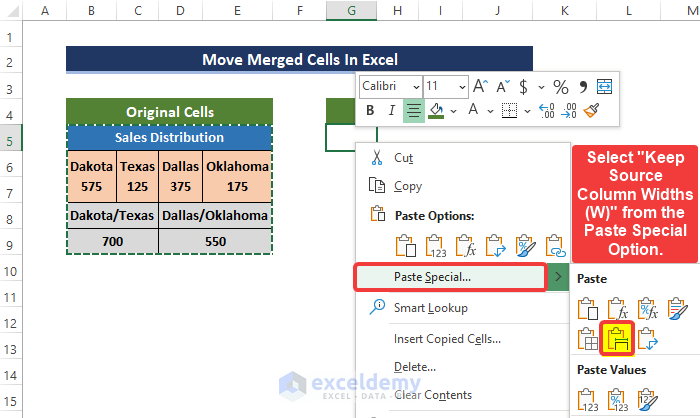
- Select G5, and right-click.
- Go to Paste Special.
- Click Keep Source Column Widths(W).
The merged range B5:E9 moved to G5:J9.
Method 2 – Move Merged Cells by Changing Text Alignment
Steps
To move B5:E9 to the empty range G5:J9, moving cells won’t work:
- Select B5:E9 and try to move it by dragging the selection border.
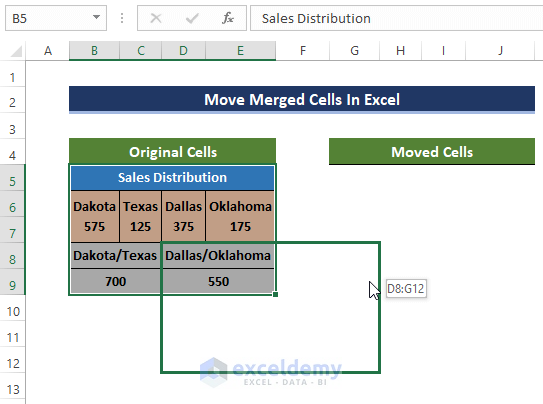
- A warning window will be displayed.
- Click OK.
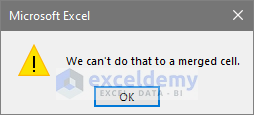
To move cells, the source and destination cell size has to be equal.
- Select B5:E5 and right-click.
- Click ‘Merge & Center’ or go to Merge and Center in Alignment.
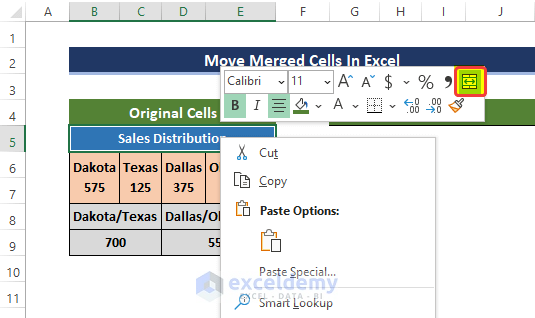
- After unmerging the cells, the text is only in B5.
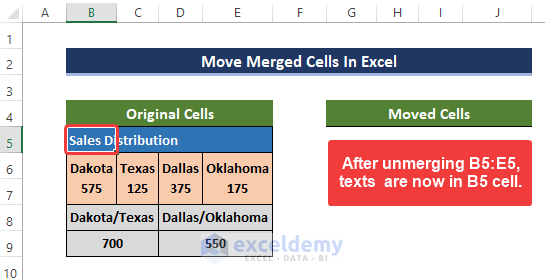
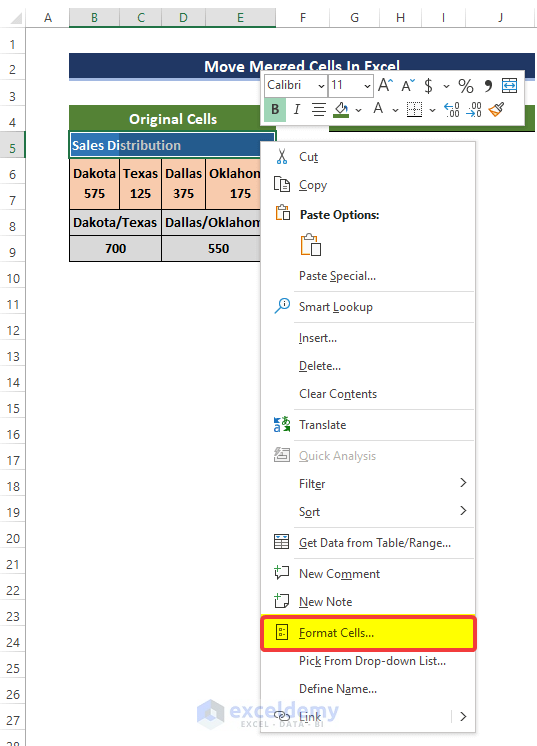
- Select B5:E5 again and right-click.
- Select Format Cells.
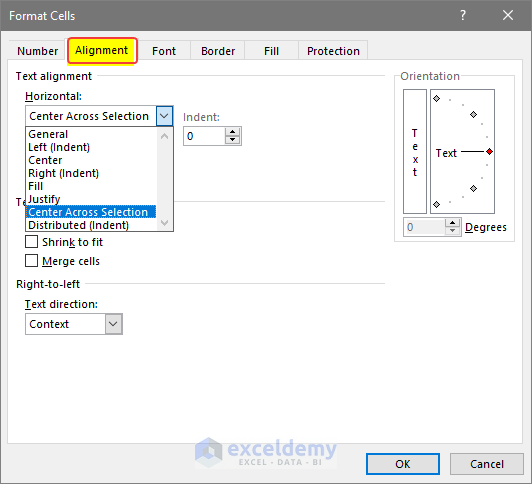
- Go to Alignment.
- In Text alignment, select Center Across Selection in Horizontal.
- Click OK.
- Repeat the same process for the rest of the merged cells.
- Click OK.
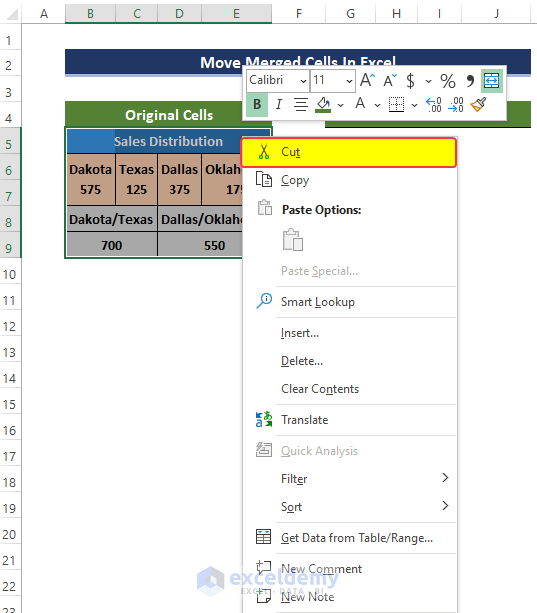
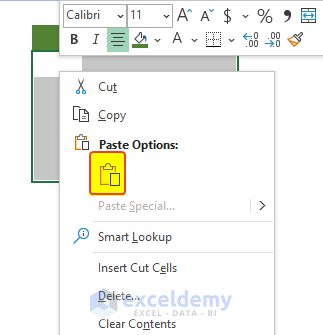
- Select B5:E9, right-click, and click Cut.
- Select G5 and right-click.
- Click Paste in Paste Options.
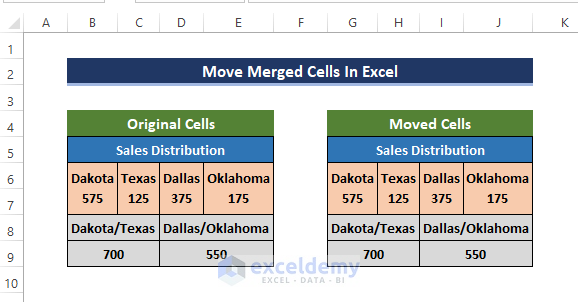
- The merged range B5:E9 moved to G5:J9.
Method 3 – Embedding a VBA Macro
Steps
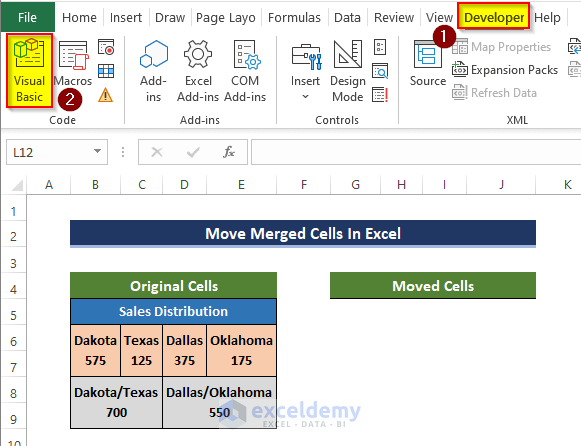
- Go to the Developer tab.
- Click Visual Basic.
- Click Insert > Module.
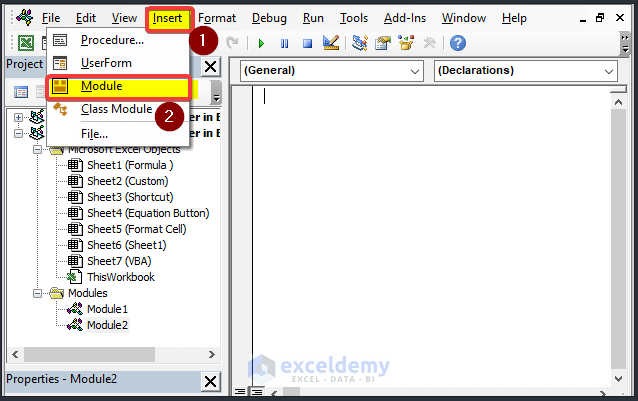
- In the module window, enter the following code.
Sub move_merged_cells()
Selection.Cut Range("G5")
End Sub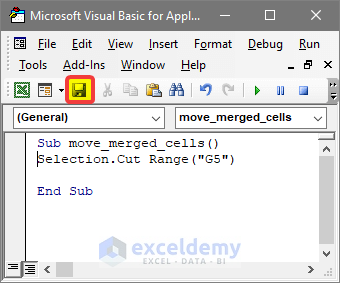
Note :
Range(” G5”) in the code window, line 2 in the Selection.Cut is the destination cell. If you need to paste the cell content to another location, edit it.
- Close the Module window.
- Select B5:E9.
- Go to View > Macros(Double click).
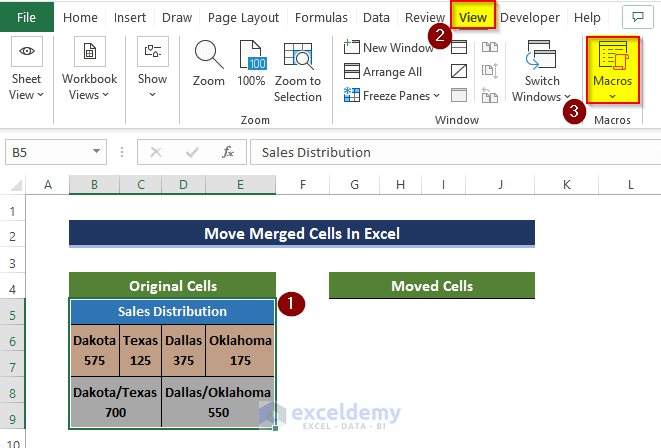
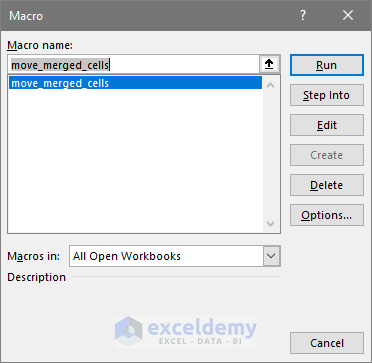
- Click View Macros, select the macro you created: move_merged_cells.
- Click Run.
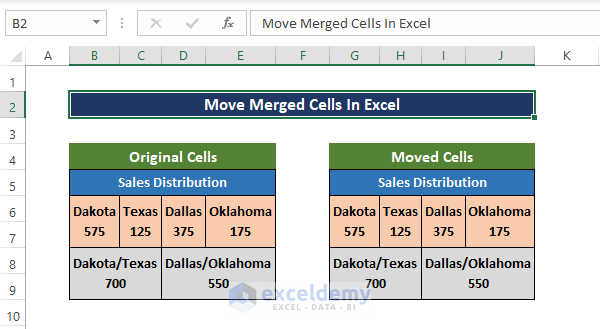
- The merged range B5:E9 moved to G5:J9.
Download Practice Workbook
Download the practice workbook below.
<< Go Back to Cells | Merge | Learn Excel
Get FREE Advanced Excel Exercises with Solutions!

