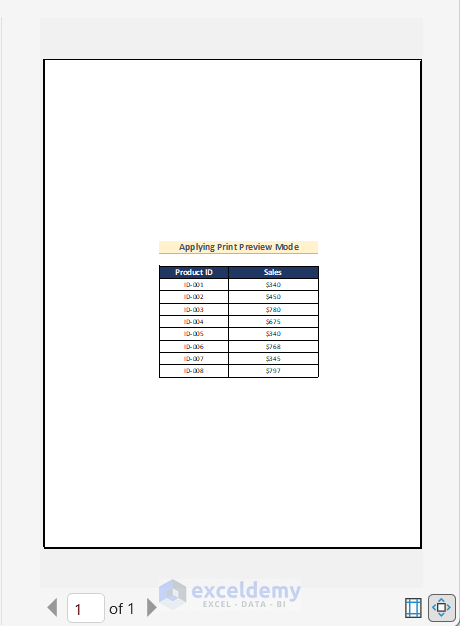
Method 1 – Using the Custom Margins Feature to Center Selected Worksheets in Excel
Case 1.1 – Selecting Multiple Worksheets
Steps:
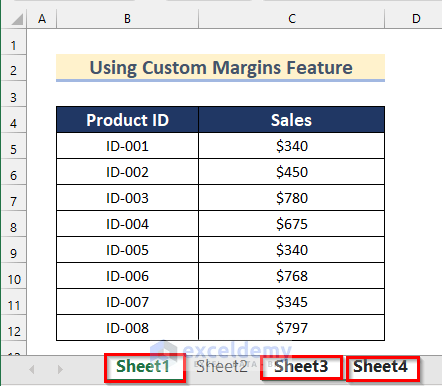
- Go to the bottom side of your workbook where the Sheet names are provided.
- Press Ctrl and select the worksheets Sheet1, Sheet2, and Sheet4 one by one.
Case 1.2 – Choosing Sequential Worksheets
Steps:
- Select the first sheet of your choice. We will select Sheet1.
- Press and hold Shift.
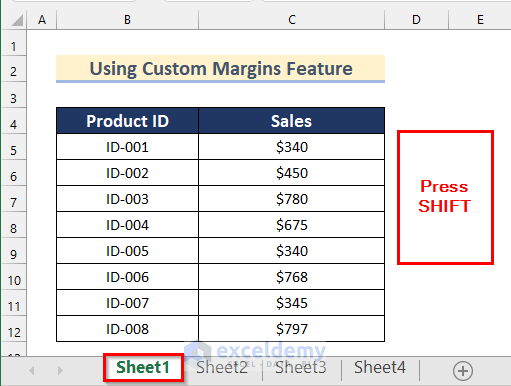
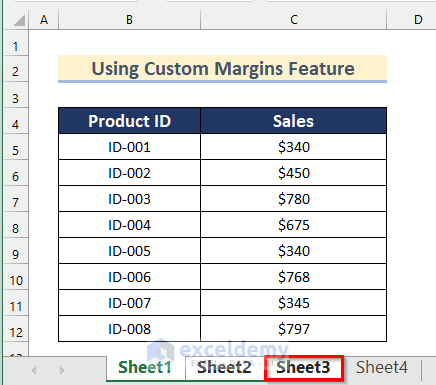
- Select the last worksheet of your choice. We selected Sheet3.
- All the worksheets from Sheet1 to Sheet3 have been selected.
Case 1.3 – Selecting All Worksheets
Steps:
- Right-click on a sheet name and click on Select All Sheets.
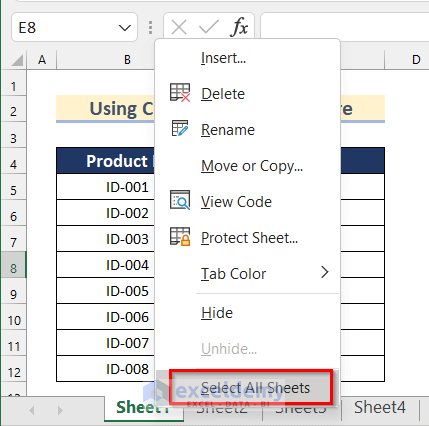
- All the worksheets have been selected from that workbook.
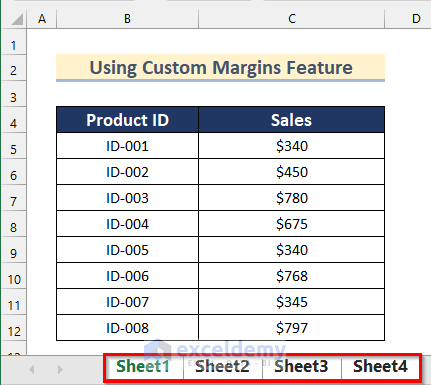
Centering the Sheets:
Steps:
- Go to the Page Layout tab, click on Margins, and select Custom Margins.
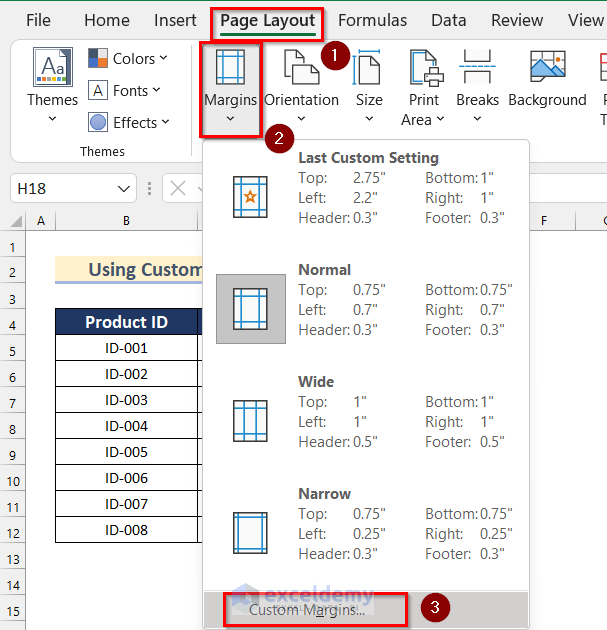
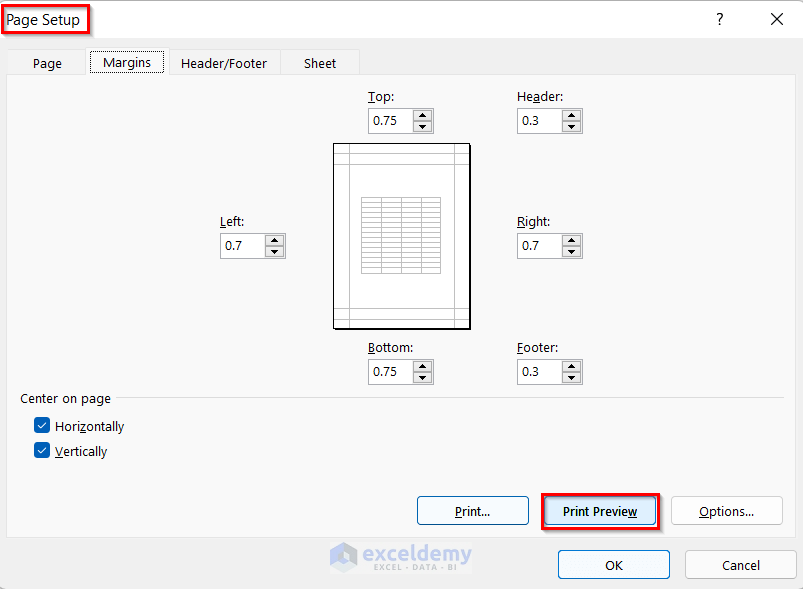
- The Page Setup box will open.
- Select the Horizontally and Vertically options from the Center on page.
- Click on OK.
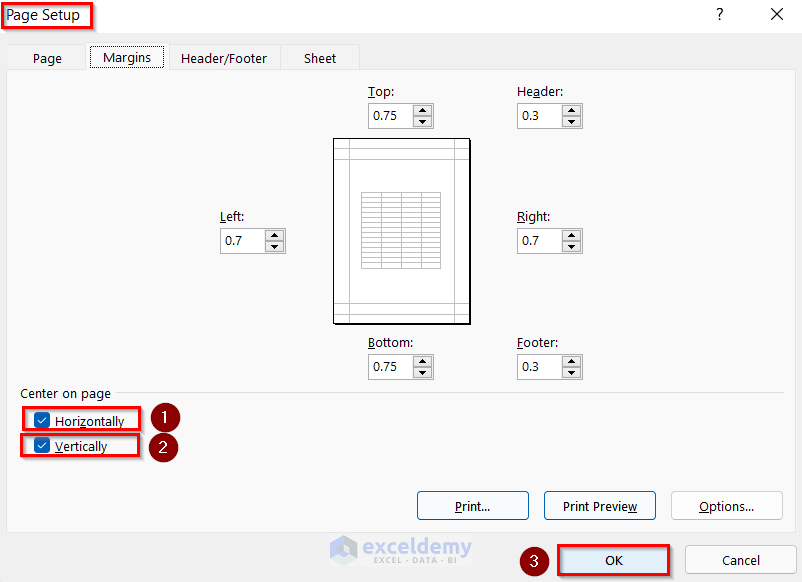
- Click on Print Preview from the Page Setup box.
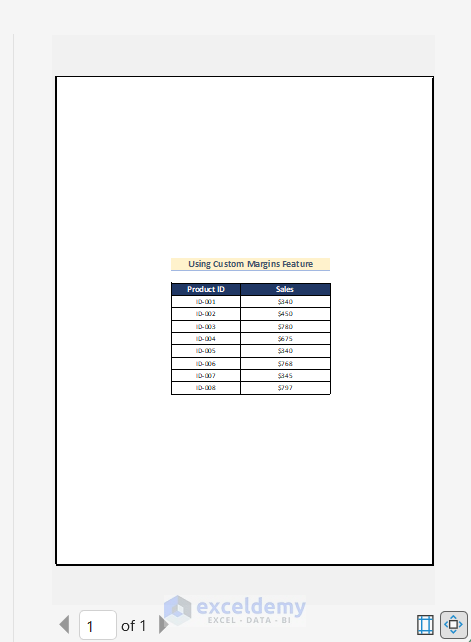
- You will see that the dataset is placed in the center.
Read More: How to Add Margin in Excel
Method 2 – Use the Page Setup Button to Center the Selected Worksheets
Steps:
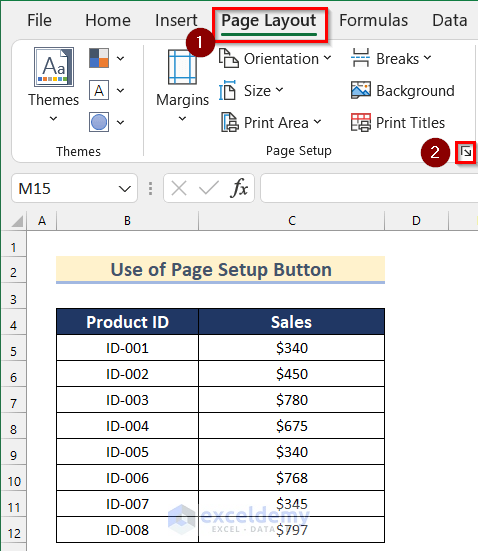
- Go to the Page Layout tab.
- Click on the Page Setup button shown below.
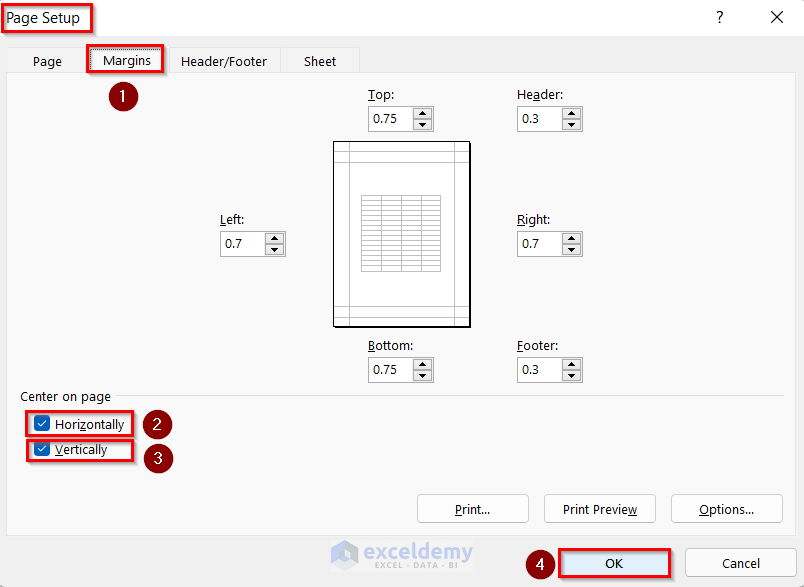
- The Page Setup box will open.
- Go to the Margins option.
- Check the Horizontally and Vertically options from the Center on page.
- Click on OK.
Read More: How to Change Page Margins to Wide in Excel
Method 3 – Applying the Print Preview Mode to Center Selected Worksheets
Steps:
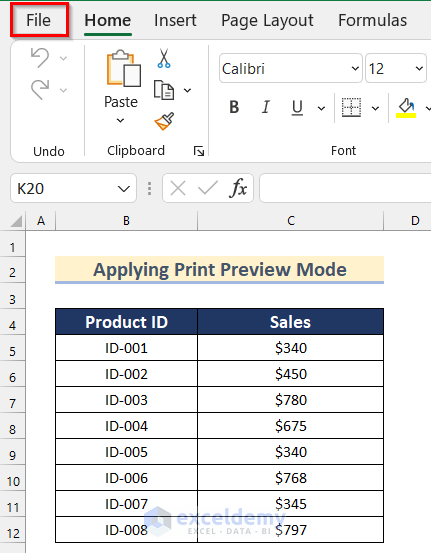
- Click on the File tab.
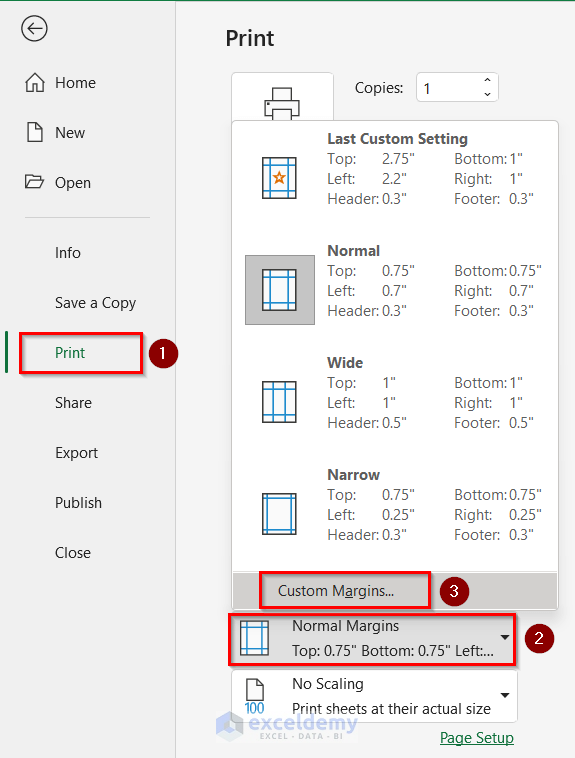
- Click on Print, then click on Normal Margins and select Custom Margins.
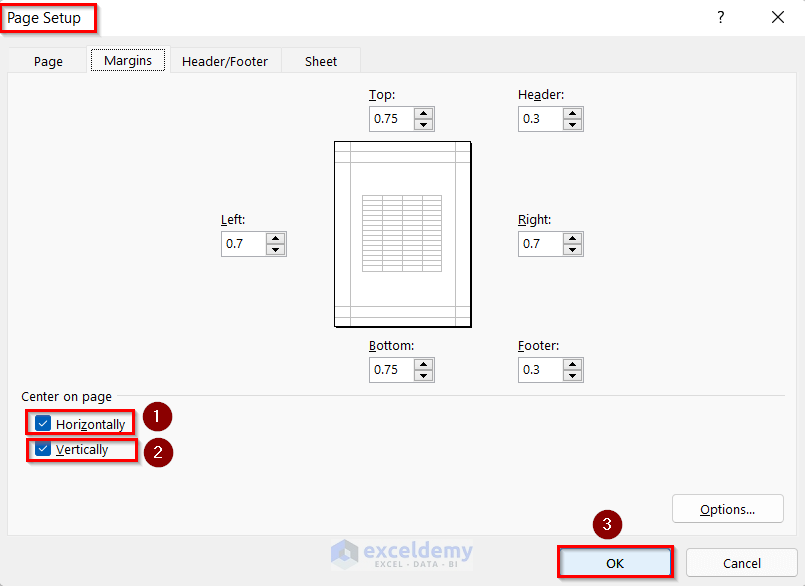
- The Page Setup box will open.
- From Center on page, select the Horizontally and Vertically options.
- Click on OK.
- The dataset is placed in the center.
Method 4 – Manually Setting the Margins to Center Selected Worksheets in Excel
Steps:
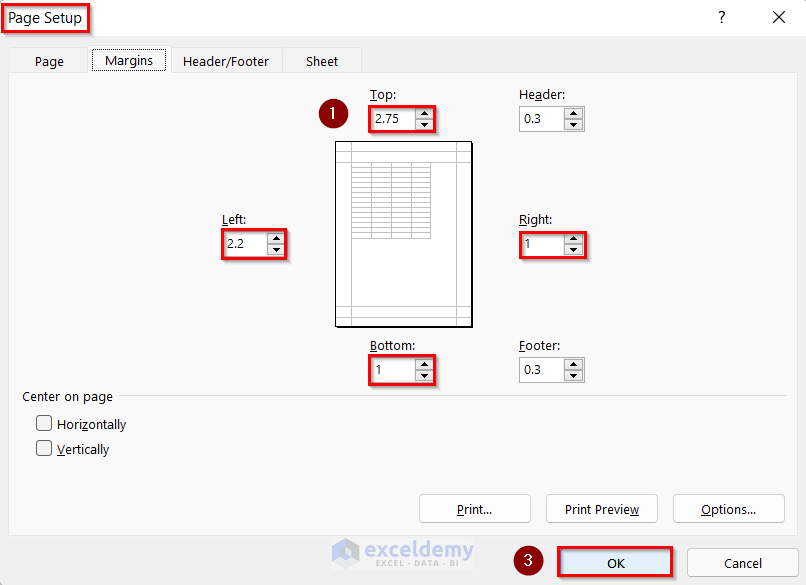
- Go through the steps shown in Method 1 to open the Page Setup box.
- Change the values on the boxes named Top, Left, Right, and Bottom. We will insert 2.75 as Top, 2.2 as Left, 1 as Right, and 1 as Bottom.
- Click on OK.
Download the Practice Workbook
Related Articles
- How to Change Margins in Excel
- How to Apply Margin Setting in Excel
- How to Remove Print Margins in Excel
- [Fixed] Excel Margins Not Printing Correctly
<< Go Back to Adjust Margin | Page Setup | Print in Excel | Learn Excel
Get FREE Advanced Excel Exercises with Solutions!
