Method 1 – Using the Info Option
We will use a dataset containing sellers’ sales amounts for the first five months.
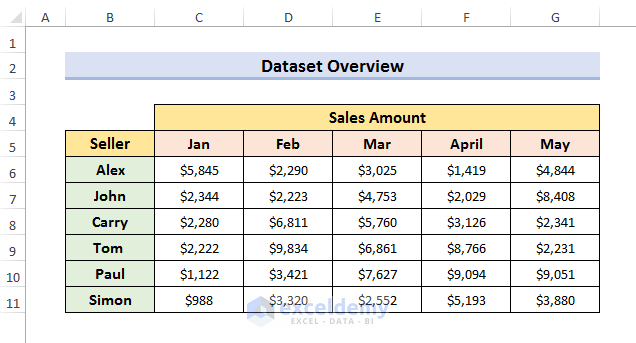
1.1 Secure a Workbook with a Password
STEPS:
- Go to the FILE tab at the left-top corner of your screen.

- Select Info.
- Select Protect Workbook and select Encrypt with Password.
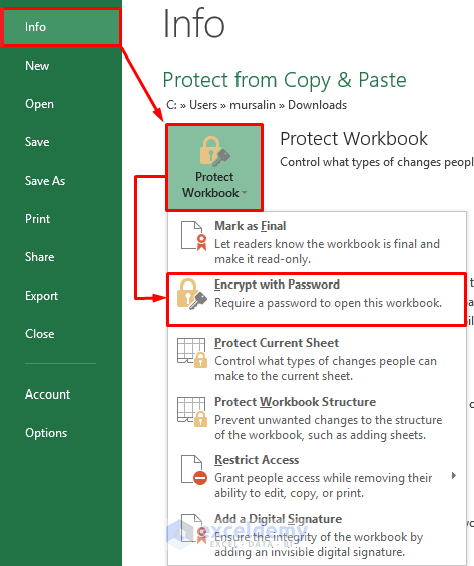
- Now, the Encrypt Document window will appear.
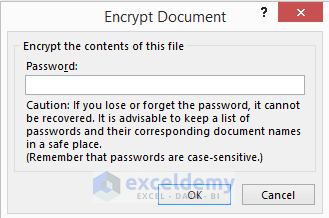
- Enter the password you want to set and click OK.
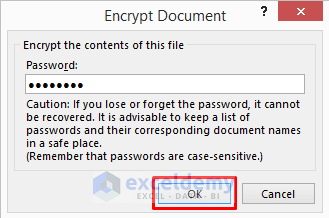
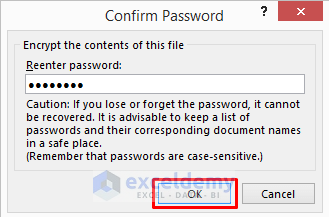
- Reenter the password to confirm. Click OK.
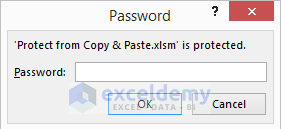
- If someone opens your workbook, it will show a message like the one below.
1.2 Make an Excel Sheet Read-Only
STEPS:
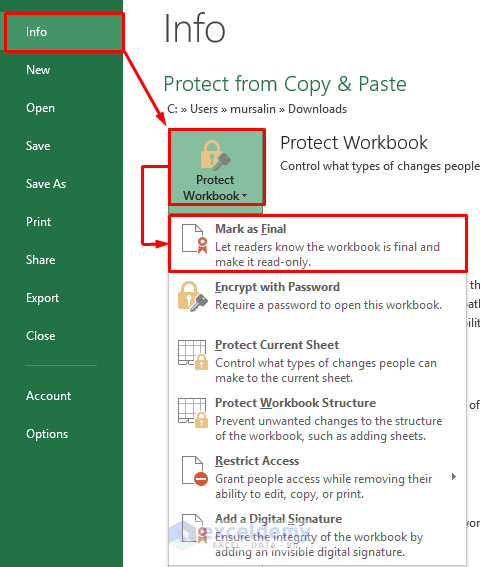
- Go to the File tab and select Info.
- Select Protect Workbook and select Mark as Final.
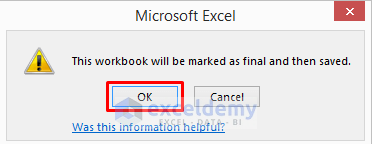
- Now, Microsoft Excel will open. Click OK to proceed.
- If someone opens the file, they will see a message at the top of the sheet.
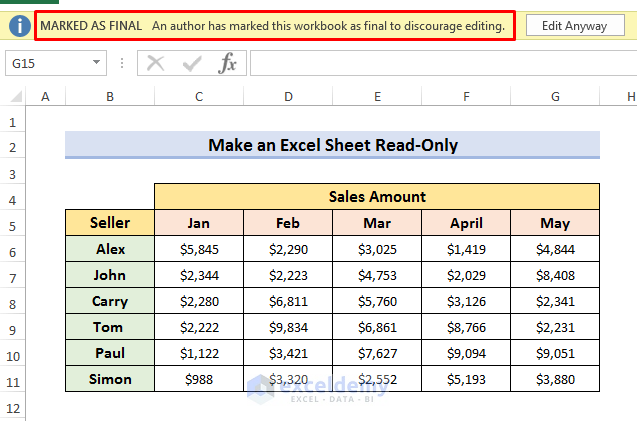
Alternatively, you can also make your workbook a read-only file while saving. For that purpose, follow the steps below.
STEPS:
- Select Tool.
- Select General Options.
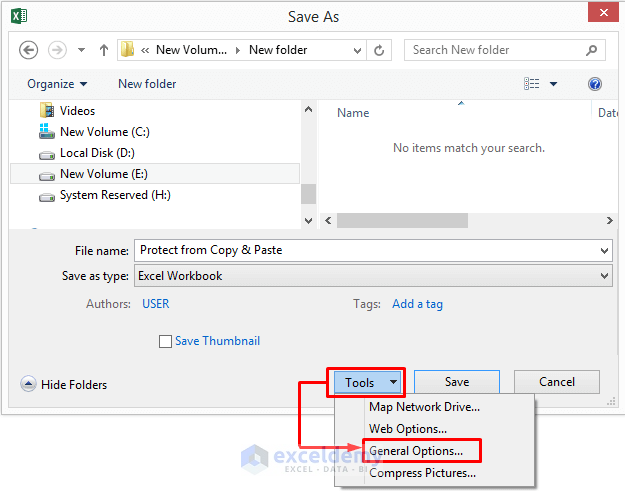
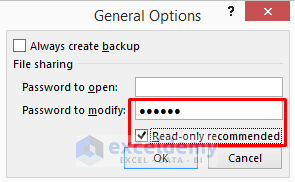
- The General Options window will open. Enter a password there and check the ‘Read-only recommended’ box.
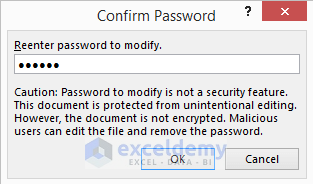
- Reenter the password to confirm and click OK.
Read More: How to Protect Excel Sheet from Editing
Method 2 – Using the Review Tab
STEPS:
- Go to the Review tab and select Protect Sheet.

- A Protect Sheet window will open. Enter the password you want to set. Click OK to proceed.
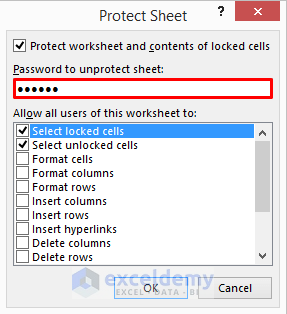
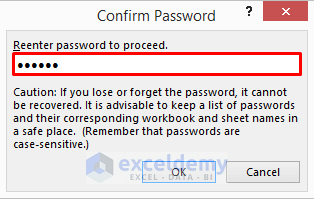
- Reenter the password to confirm.
- If someone wants to copy-paste, excel will show a message like this.

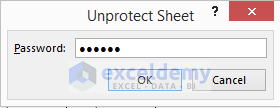
- To unprotect the sheet, go to the Review tab and select Unprotect Sheet.

- Enter your password and click OK to unprotect the sheet.
Method 3 – Applying VBA
STEPS:
- Go to the DEVELOPER tab and select Visual Basic. The Visual Basic window will open.

- Double click on the sheet you want to apply the VBA.
- Select Worksheet in the (General) field.
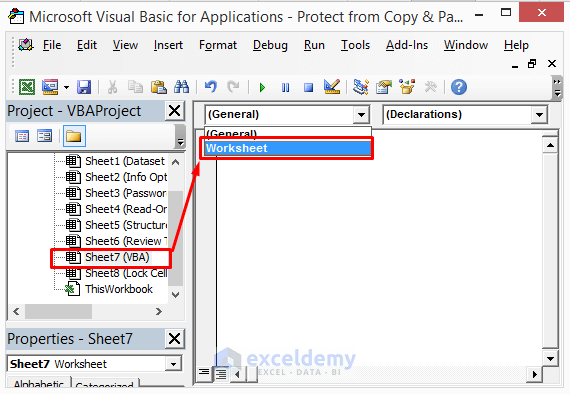
We selected the Worksheet in the General field to set the code for the specific excel sheet, otherwise, it would work for the whole workbook.
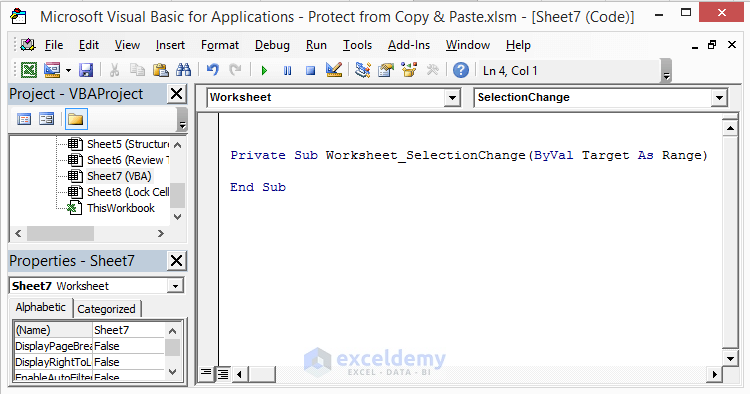
- You will see some code in the window, like below.
- Enter the code below:
Application.CutCopyMode = False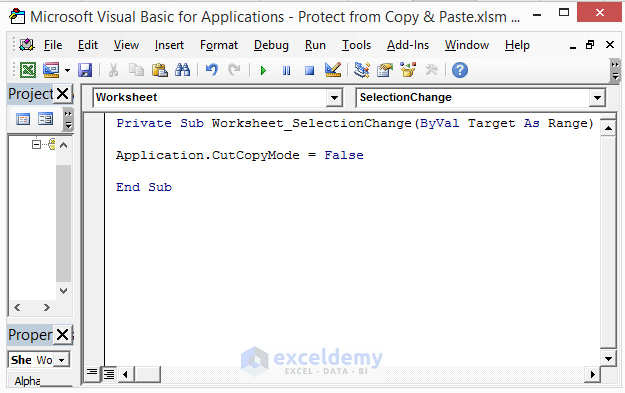
- It is a command that will disable the copy-paste option in the desired sheet.
Read More: How to Protect Excel Sheets from Deleting
Method 4 – Locking Cells to Secure an Excel Sheet
STEPS:
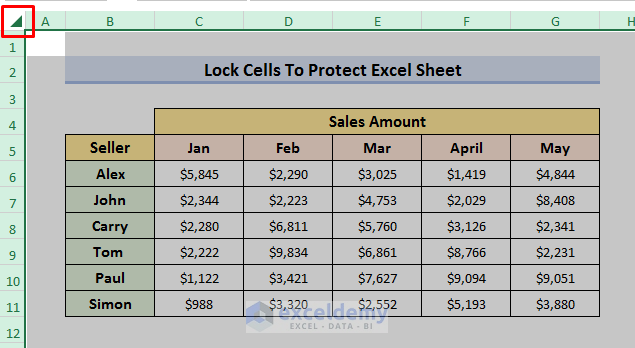
- Click the Select All button.
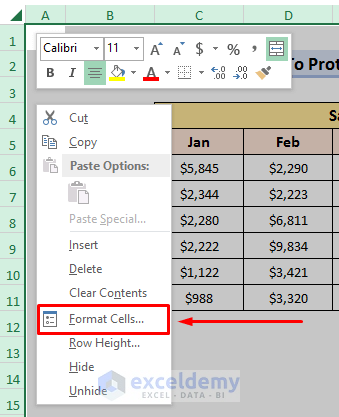
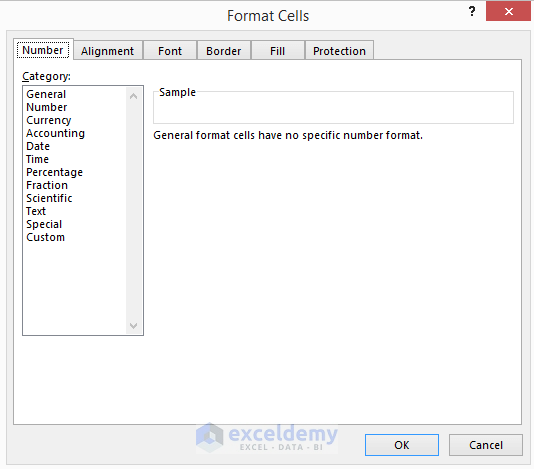
- Right-click your mouse and select ‘Format Cells’ from the drop-down menu.
- The Format Cells window will open.
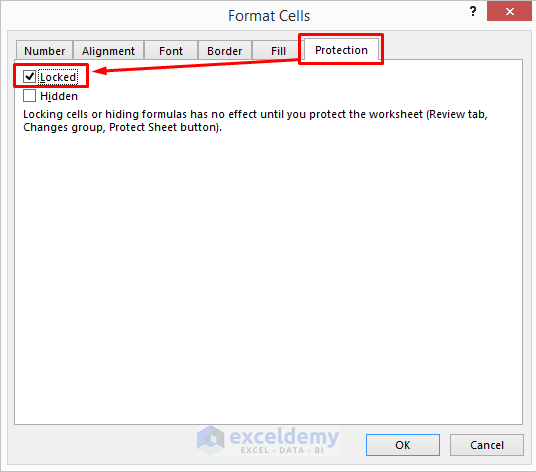
- Go to Protection and check the Locked option. Click OK to proceed.
Download the Practice Book
Download the practice book here.
Related Articles
<< Go Back to Protect Excel Sheet | Excel Protect | Learn Excel
Get FREE Advanced Excel Exercises with Solutions!


Is there a way for me to sell a workbook to customers A, B, C etc. that prevents any customers from sending a working copy to others?
Hi Scott. Unfortunately, no, there isn’t. If you pass your password to a client and if he chooses to share it with anyone else they will be able to access the file too. It’s a limitation like any other login service.
hi Abrar,
Please help me how to forbid copy in an excel sheet that more user edits online.
regards
Andras
Dear, Thanks for your question! Unfortunately, it isn’t possible to disable copying directly within Excel Online. Excel Online offers some control over how users interact with a shared workbook, but it doesn’t provide a direct way to turn off copying explicitly. You can set the workbook to Read Only for users who cannot copy data.
Regards
Lutfor Rahman Shimanto
ExcelDemy