In the dataset, we have a .csv file that contains sales information of a store in a week. We will apply protection on this file.
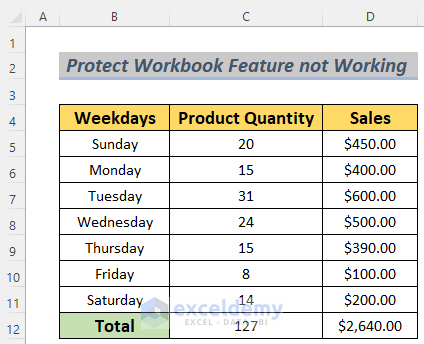
Protect Workbook Not Working in Excel! (2 Simple Steps to Solve)
- Open the file with a .csv extension. The file will open without requiring any password. There will be a loss of some formats too.
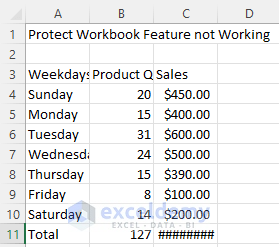
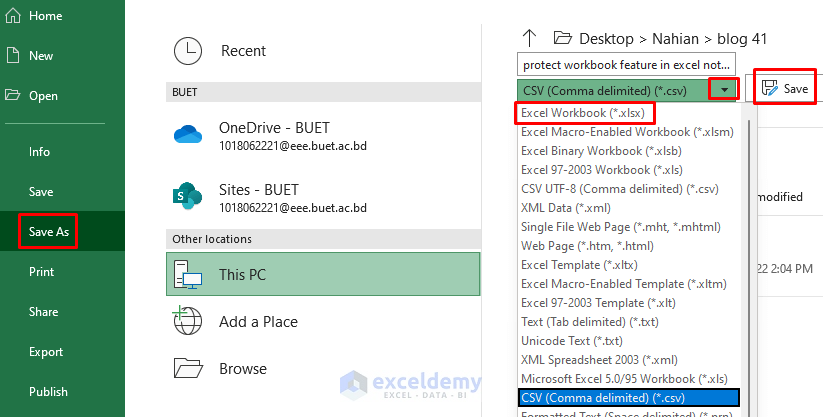
Step 1 – Save the File Using the Save As Feature
- Go to File and select Save As
- Choose the drop-down icon and select Excel Workbook (*.xlsx).
- Change the name of your file if you want.
- Click on Save.
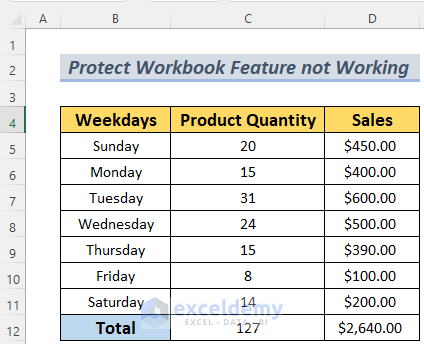
- Change the format of your data in the workbook.
Read More: How to Protect Excel Workbook from Editing
Step 2 – Making Protect Workbook Work Using the Excel Info Feature
- Go to File, then to Info.
- Select Protect Workbook and choose Encrypt with Password.
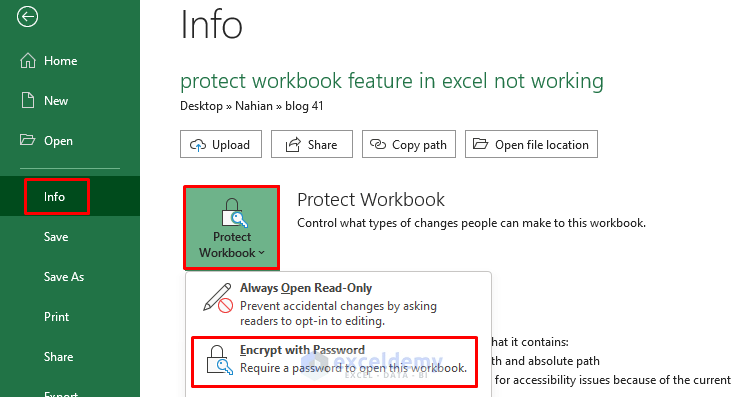
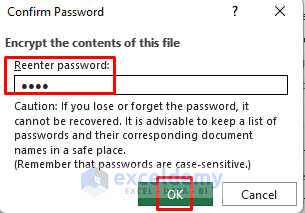
- A dialog box will show up. Put a password and then Reenter it to confirm
- Click OK.
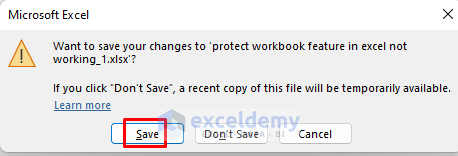
- Press Ctrl + S and close the workbook.
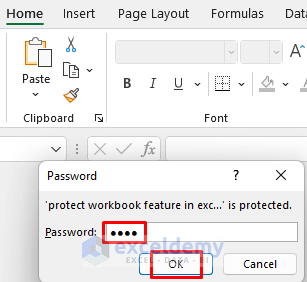
- Open the workbook that has the .xlsx extension. You will see it will require the password that you added to the workbook.
- Insert the password and click OK. In case you want to open our workbook, use the password 1234.
- You will see the protected data of the workbook.
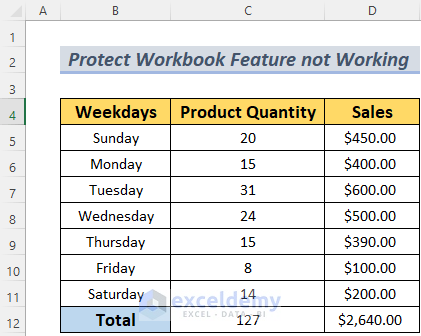
How to Properly Protect a Workbook with the CSV Extension in Excel
- Go to File and click on Info.
- Select Protect Workbook and choose Encrypt with Password.

- A dialog box will show up. Put a password and then Reenter it to confirm
- Click OK.

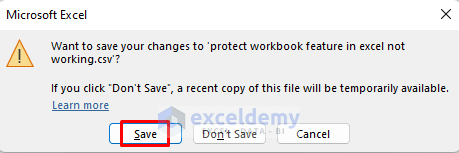
- Save the workbook before closing.
Read More: Protect and Share Excel Workbook
Practice Section
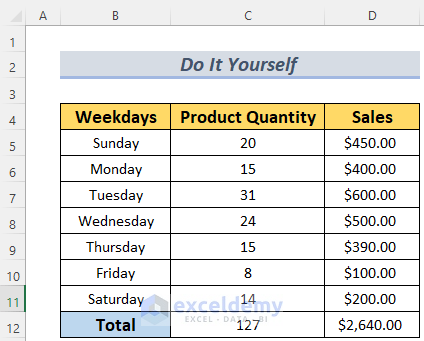
We’ve provided dataset of this article so that you can make a .csv file on your own and then protect the workbook with a password.
Download the Practice Workbook
The password to Unprotect the workbook is: 1234
Related Articles
- How to Mark Workbook as Final in Excel
- Difference Between Protect Sheet and Protect Workbook in MS Excel
<< Go Back to Protect Workbook in Excel | Excel Protect | Learn Excel
Get FREE Advanced Excel Exercises with Solutions!

