Method 1 – Using Excel Options to Remove Column Headers
Steps:
- Go to the Files tab from the Ribbon.
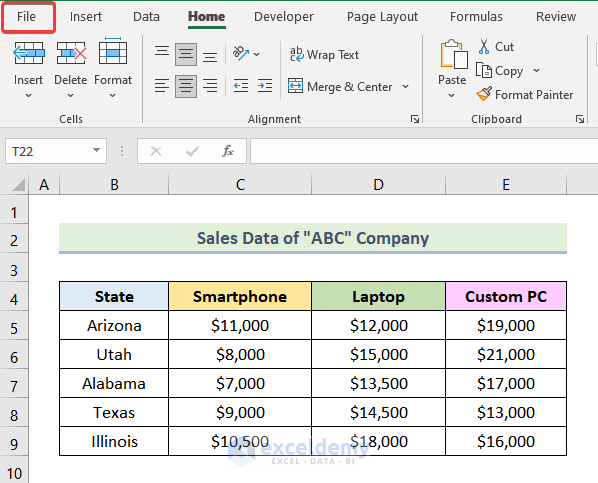
See the following image on your screen.
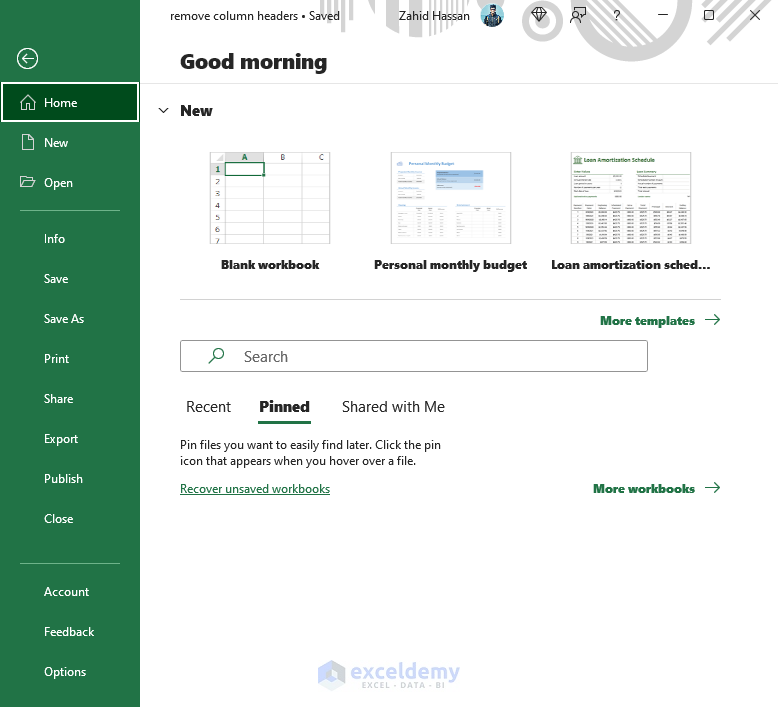
- Select the Options tab.
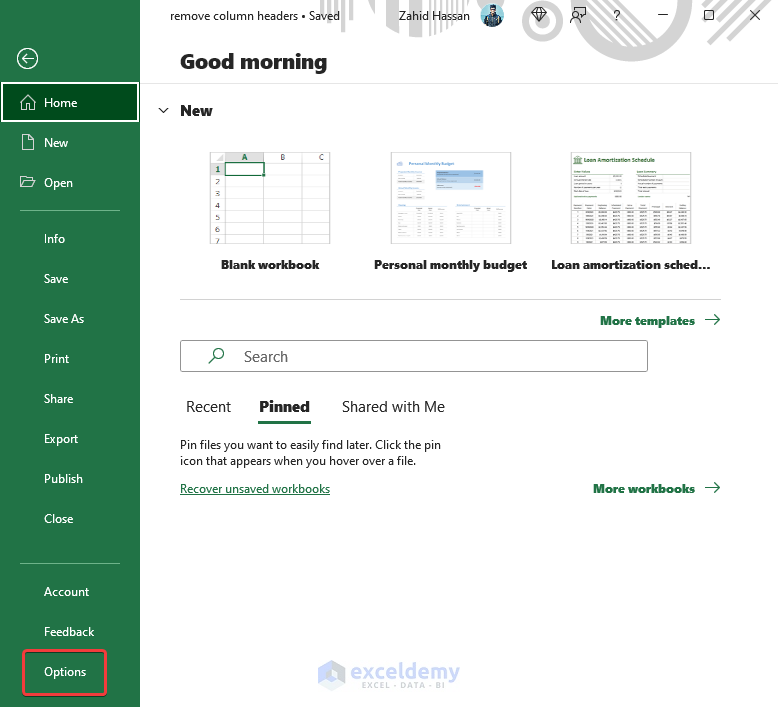
After selecting the Options tab, the following dialogue box will open, named Excel Options.
Note: You can press the ALT+F+T keyboard shortcut to directly open the Excel Options dialogue box from your worksheet.
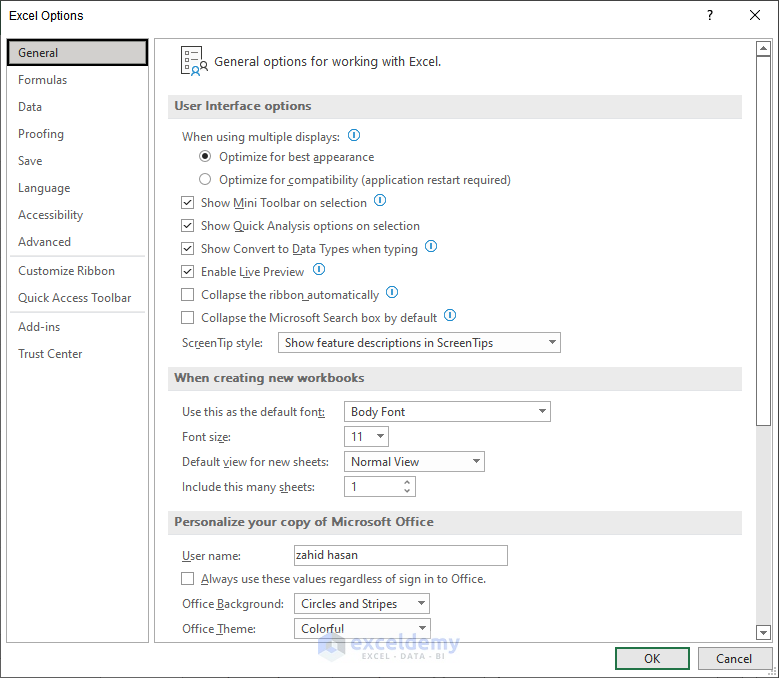
- From the Excel Options dialogue box, click Advanced.
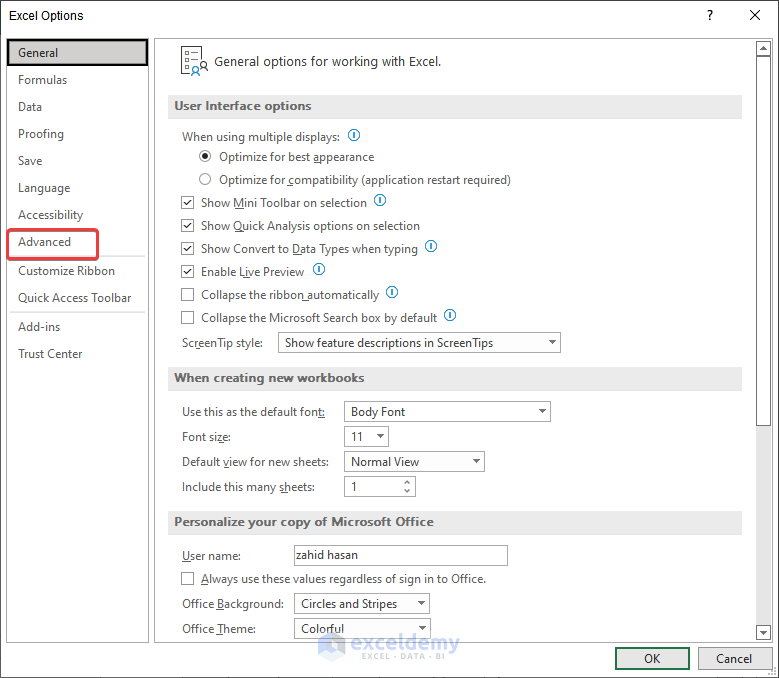
The following image will be available on your worksheet.
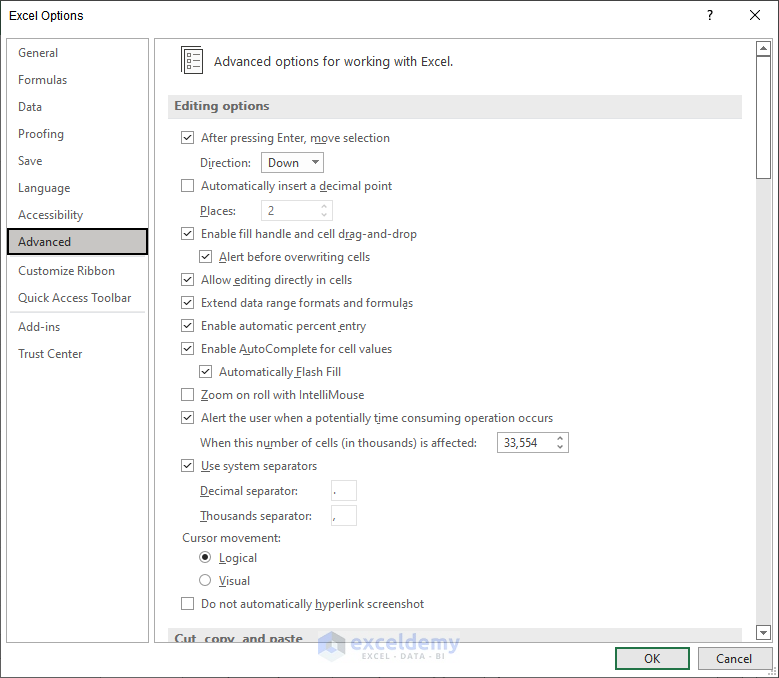
- Scroll down until you find Display options for this worksheet as marked in the picture given below.
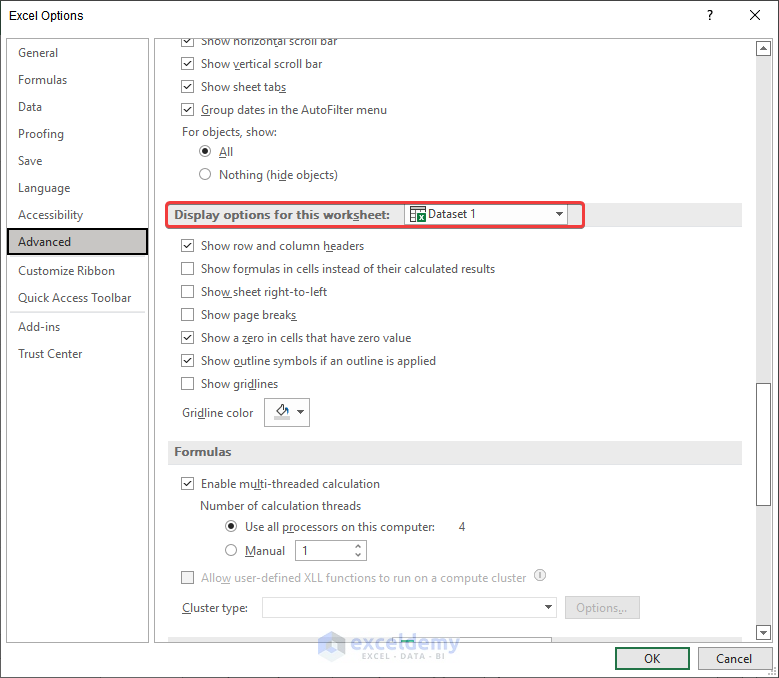
- Uncheck the box of Show row and column headers.
- Press Ok.
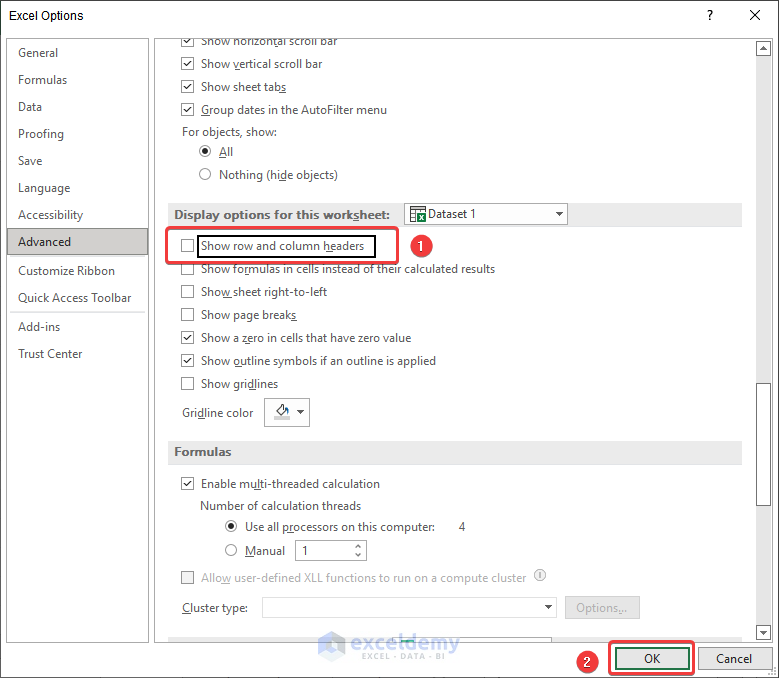
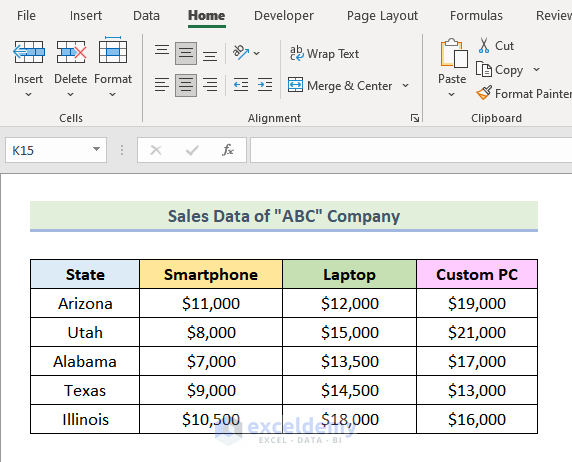
See those column headers are removed from your worksheet.
Method 2 – Utilizing View Tab to Remove Column Headers
Steps:
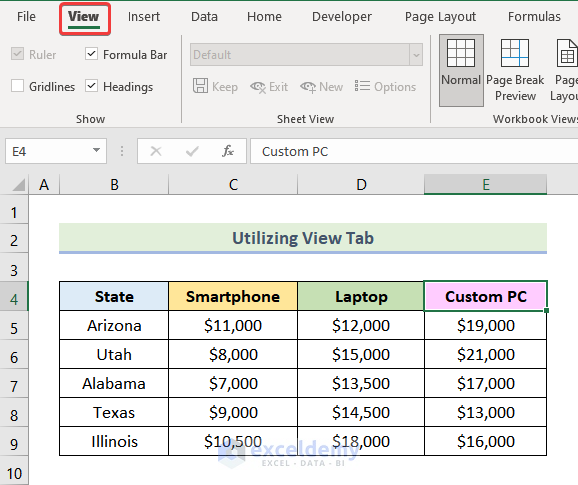
- Go to the View tab from the ribbon.
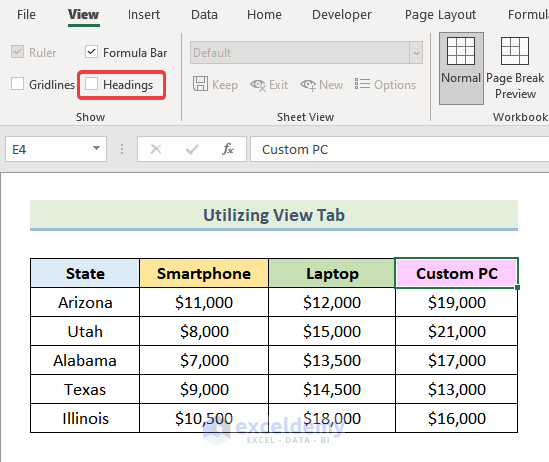
- Uncheck the box of Headings, as marked in the following image.
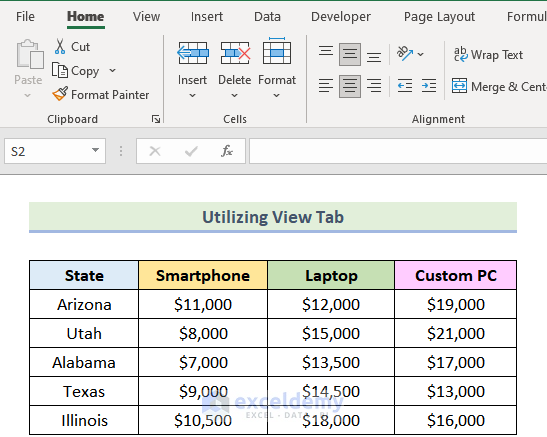
See that your column headers are removed from your worksheet like in the following picture.
How to Remove Column Headers from Table in Excel
Steps:
- Select the table as marked in the following picture.
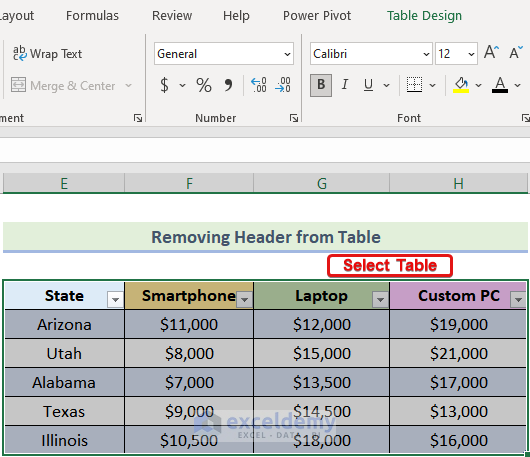
The Table Design tab will be available on the ribbon
- Click on the Table Design tab.
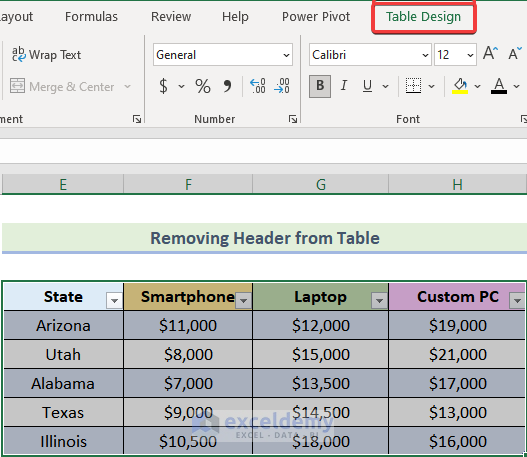
See the following image on your screen.
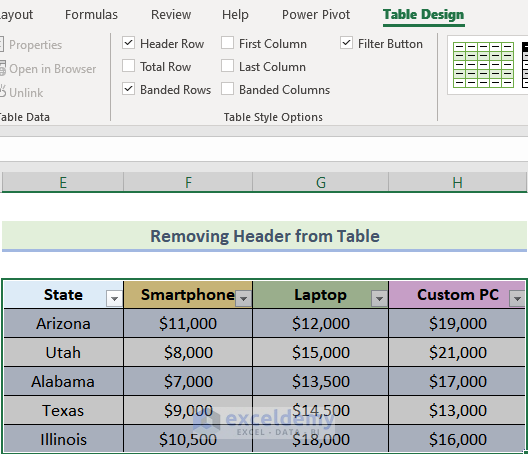
- Uncheck the box of Header Row from the Table Style Options group.
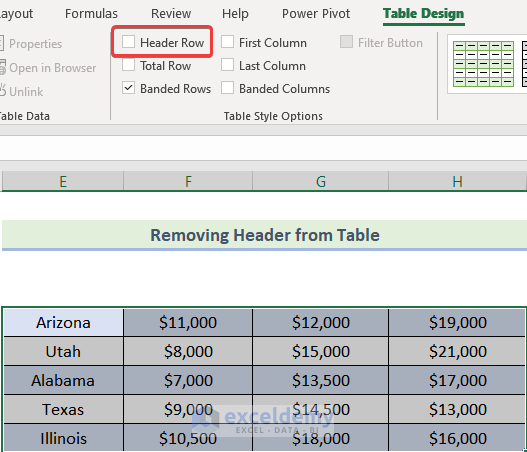
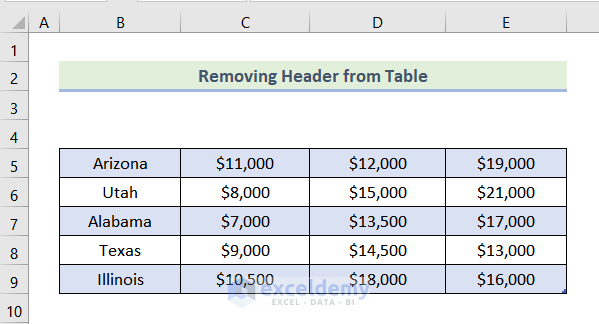
See that the column headers from your table are removed.
Download Practice Workbook
Related Articles
- How to Create Column Headers in Excel
- How to Title a Column in Excel
- How to Change Excel Column Name from Number to Alphabet
- How to Repeat Column Headings on Each Page in Excel
- How to Create Excel Table with Row and Column headers
- How to Change Column Header Name in Excel VBA
- [Fixed] Excel Column Numbers Instead of Letters
<< Go Back to Rows and Columns Headings | Rows and Columns in Excel | Learn Excel
Get FREE Advanced Excel Exercises with Solutions!

