Cutting off a page means the output will appear on several pages which makes the table less readable. To show all the methods, we take a dataset that includes sales details of some books.
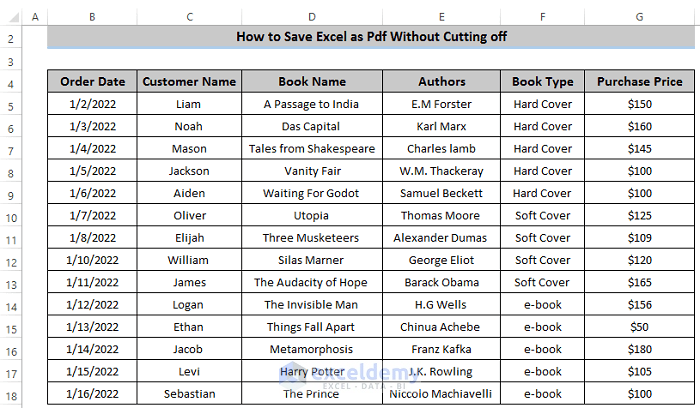
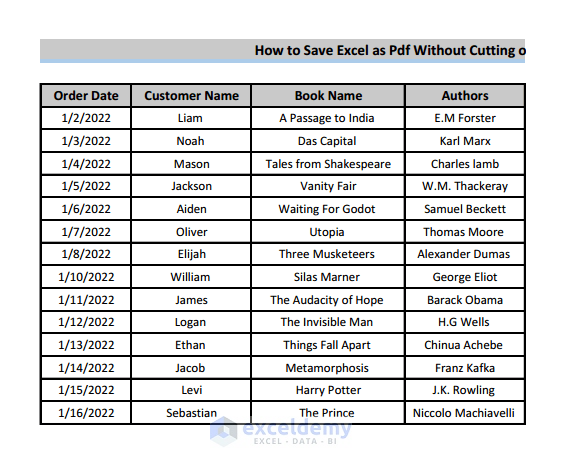
If we keep the default settings, the output will be divided into 2 different pages. We have six columns, but Excel will print only four columns on one page.
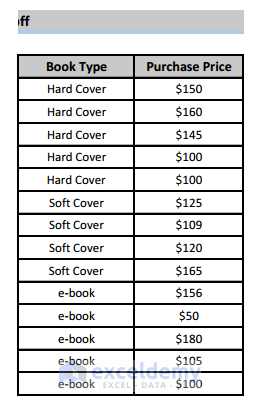
The last two columns are shifted to the next page.
Method 1 – Adjusting the Page Size to Save Excel as a PDF without Cutting Off
Steps
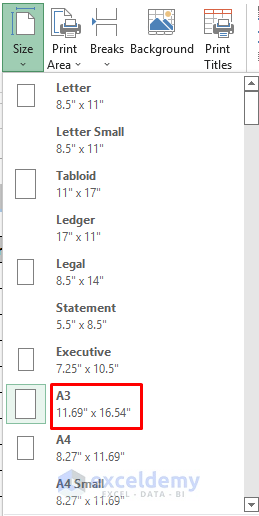
- Go to the Page Layout in the ribbon, and in the Page Setup group, select Size.

- From the Size option, select A3.
Note:
You can easily change the page size from the Print Settings in the File tab.
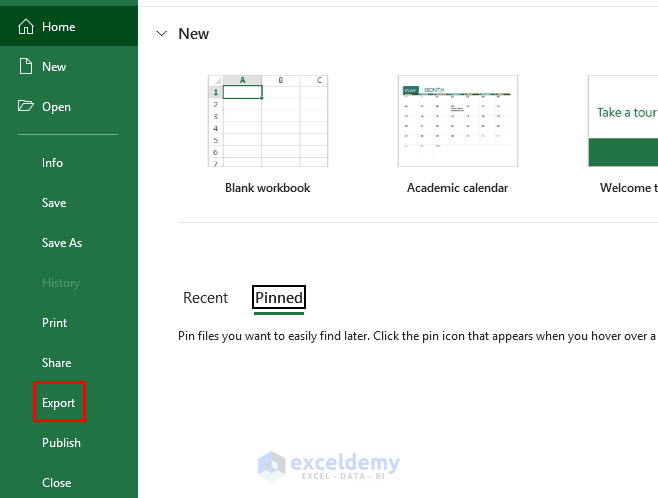
- To save the Excel as PDF, go to the File tab and select Export.
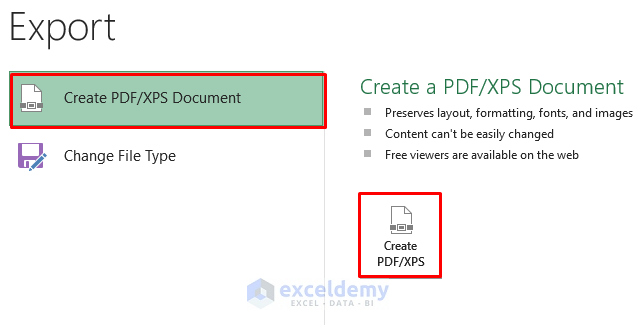
- In the Export option, click on Create PDF/XPS.
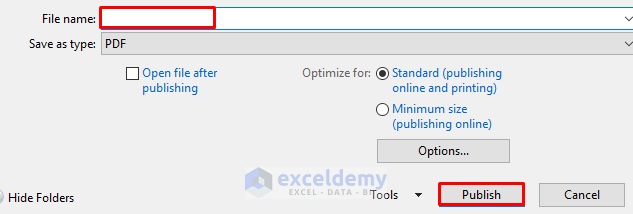
- Change the File Name and click on Publish to convert your Excel file into PDF.
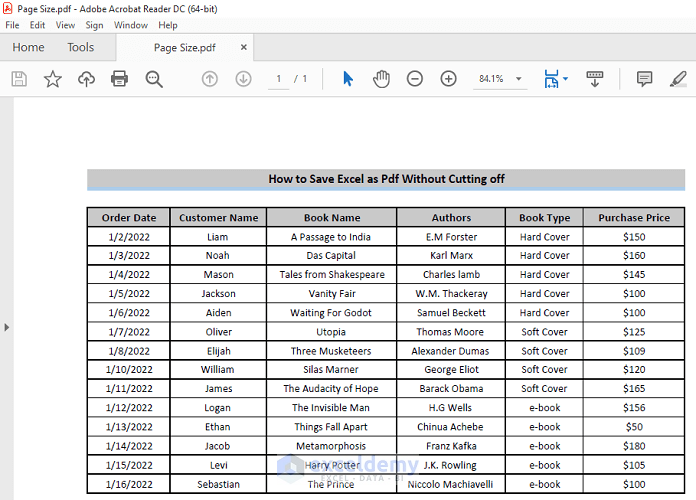
- We have a PDF file of your Excel without cutting off any columns or rows.
Read More: How to Convert Excel to PDF with All Columns
Method 2 – Save Excel as a PDF without Cutting Off by Changing the Orientation
By default, Excel will show your dataset in portrait mode. But, you can change the orientation according to your column and row numbers. For more columns, landscape can sometimes fit them on the same page.
Steps
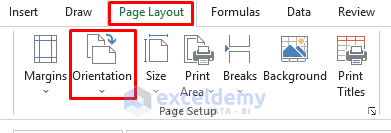
- Go to the Page Layout tab in the ribbon and select Orientation from the Page Setup group.
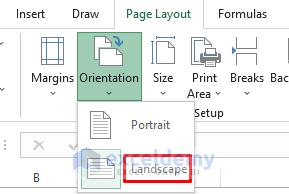
- Select Landscape from the Orientation For our dataset, Landscape orientation gives a proper output.
Note:
You can alter your page orientation from the Print option in the File tab.
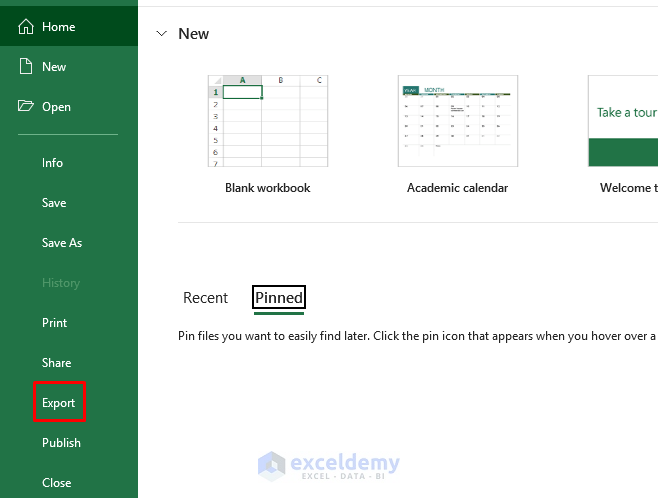
- Go to the File tab in the ribbon and select Export.
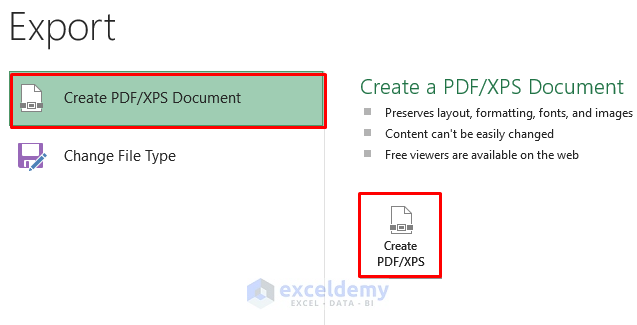
- In the Export option, click on Create PDF/XPS.
- A window will pop up where you can change your File name and click on Publish.
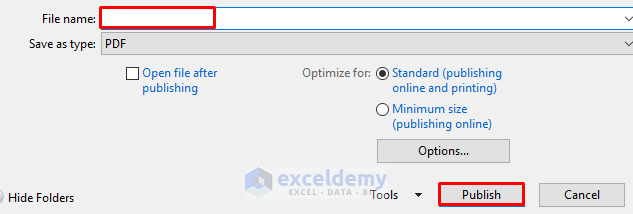
- That will save the Excel file as a PDF in the landscape orientation without any cut-off.
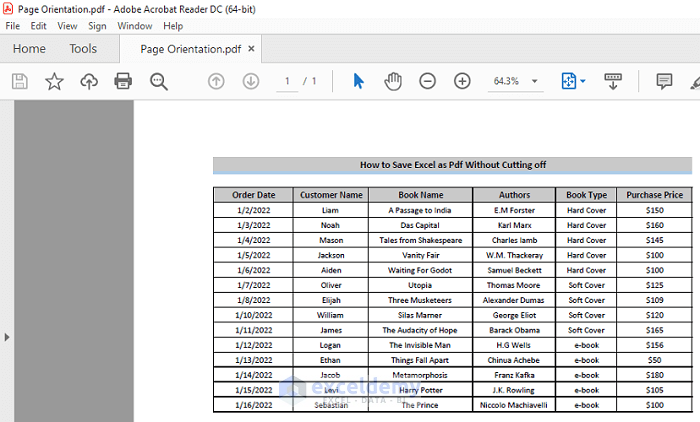
Read More: Export Excel to PDF with Hyperlinks
Method 3 – Using the Fit Sheet on One Page Option
Steps
- Go to the File tab in the ribbon and select the Print in the Settings options.
- Choose the sub-option called No Scaling.
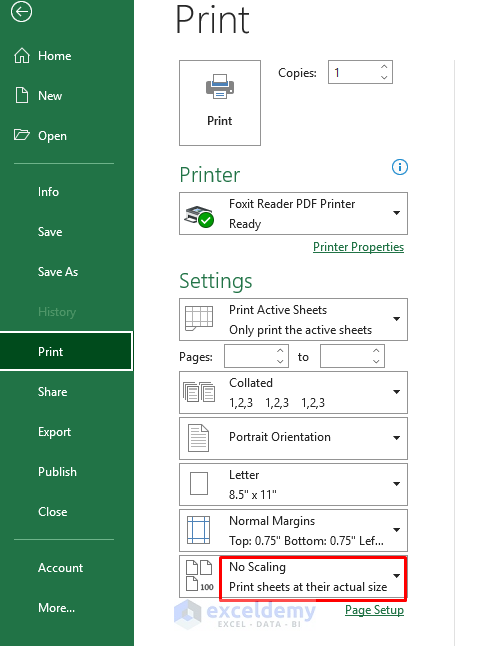
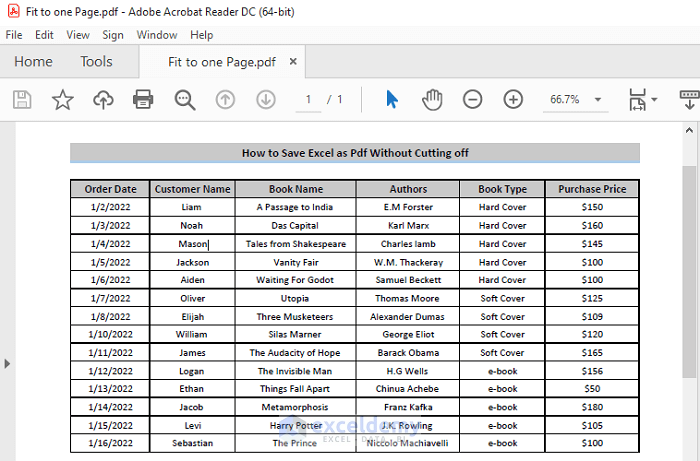
- In the No Scaling option, select Fit Sheet on One Page. It will shrink our dataset and fit it on one page which also helps to maintain the continuity of our dataset.
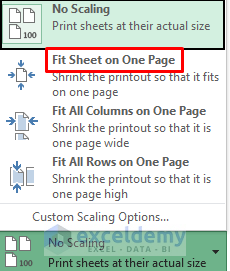
- Go to the File tab in the ribbon and select Export.

- In the Export option, click on Create PDF/XPS.

- A window will pop up where you can change your File name and click on Publish.

- We’ll get the PDF format of our dataset without cutting off.
Read More: How to Convert Excel to PDF without Converter
Method 4 – Scaling the Page to Save Excel as a PDF without Cutting Off
Steps
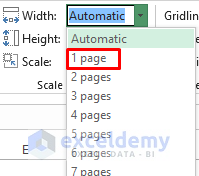
- Go to the Page Layout in the ribbon and, in the Scale to Fit group, alter the Width which is displayed as Automatic by default.

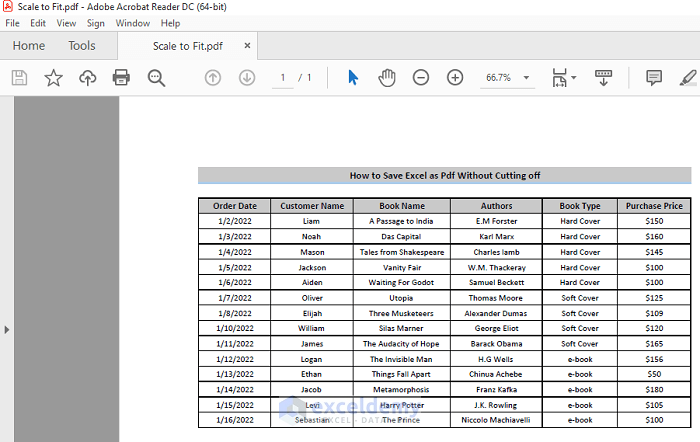
- Change the Width from Automatic to 1 page. This will adjust the whole dataset on one page.
- Go to the File tab in the ribbon and select Export.

- In the Export option, click on Create PDF/XPS.

- A new window will pop up where you can change your File name and click on Publish.

- This will convert the file to a PDF without cutting off.
Read More: How to Convert Excel to PDF without Losing Formatting
Download the Practice Workbook
Related Articles
- How to Save Excel as PDF on One Page
- How to Save Multiple Excel Sheets as One PDF
- How to Create a Fillable PDF from Excel
- How to Deal with Margin Problem While Converting Excel to PDF
- [Fixed!] Excel to PDF Size Problem While Printing
- [Fixed!] Excel to PDF Hyperlinks Not Working
<< Go Back to Export Excel to PDF | Export Data from Excel | Learn Excel
Get FREE Advanced Excel Exercises with Solutions!

