Reasons for Menus to Be Grayed Out
- Working on a cell / Editing a cell.
- Password-protected spreadsheet.
- Workbooks are safeguarded.
- Worksheets are organized into groups.
- Obscured objects (Advanced display option).
How to Unlock Grayed-out Menus in Excel: 5 Effective Ways
Method 1 – Press Enter
While editing a cell, all the menu options are grayed out. The menu options are locked because we are editing cell D10.
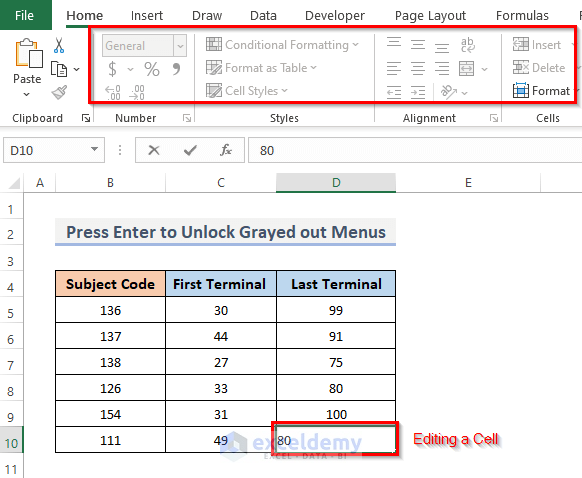
- Press Enter on your keyboard after editing.
- The grayed-out menus are now unlocked.
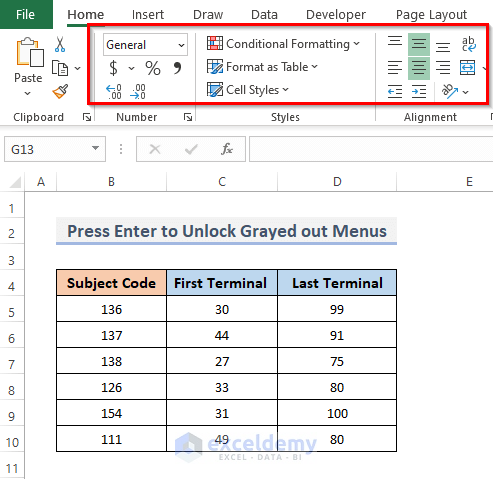
Method 2 – Unprotect Worksheet
If you are not editing any cell of your worksheet but still see locked grayed-out menus, it may be because of protected worksheets.
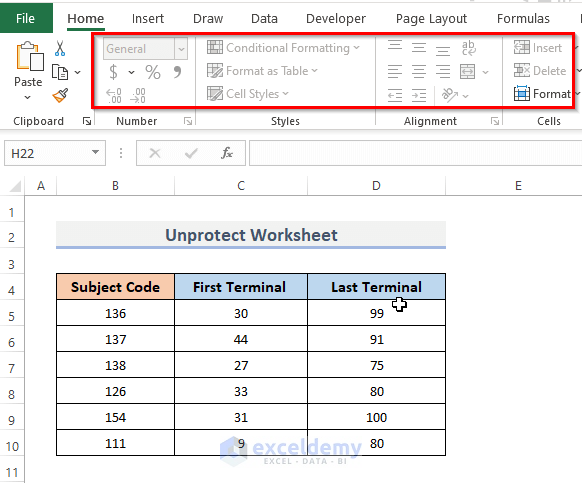
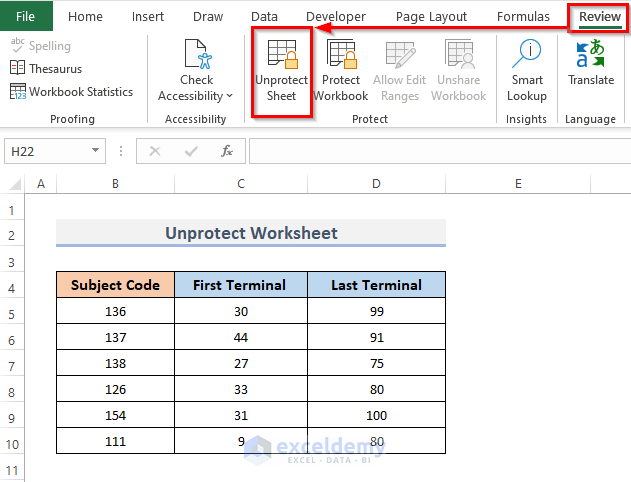
- Go to the Review tab from the ribbon.
- Under the Protect group, click on Unprotect Sheet.
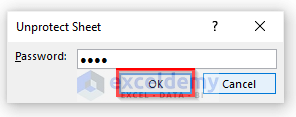
- You will get the Unprotect Sheet dialog box.
- Enter the password in the Password box.
- Click on the OK button.
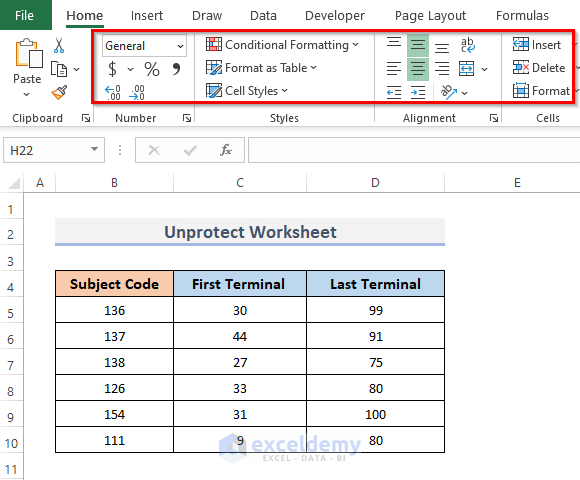
- Here’s the result.
Method 3 – Unlock Grayed-out Menus by Unprotecting the Workbook
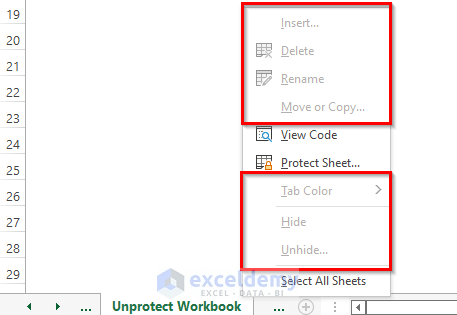
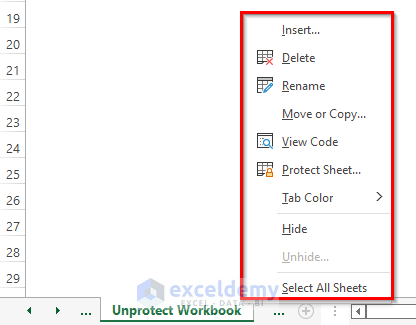
When we right-click on the sheet tab, many of the menus are grayed out. It is because of the protected workbook.
- Click the Review tab on the ribbon.
- Choose Protect Workbook from the Protect category.

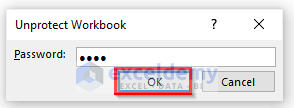
- The Unprotect Workbook dialog will display.
- Type the password into the Password field.
- Press the OK button.
- It will unlock all of the options.
Method 4 – Ungroup Sheets to Activate Excel Menus
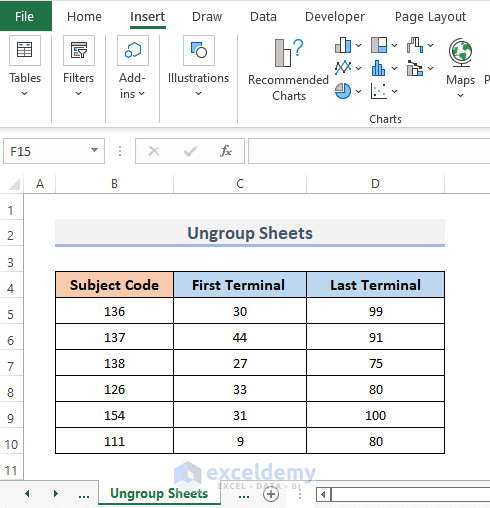
You may have grouped your sheets to perform common functions or transformations.

- Right-click on the sheet.
- Click on the Ungroup Sheets.

- You will see all the active menus.
Method 5 – Excel Advanced Option to Unlock Grayed-out Menus
If you’ve tried all of the preceding techniques and the menu is still inactive.

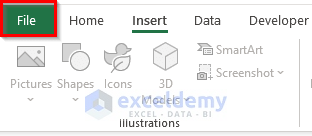
- Go to the File tab from the ribbon.
- Click on Options in the bottom-left corner.

- This will open the Excel Options window.
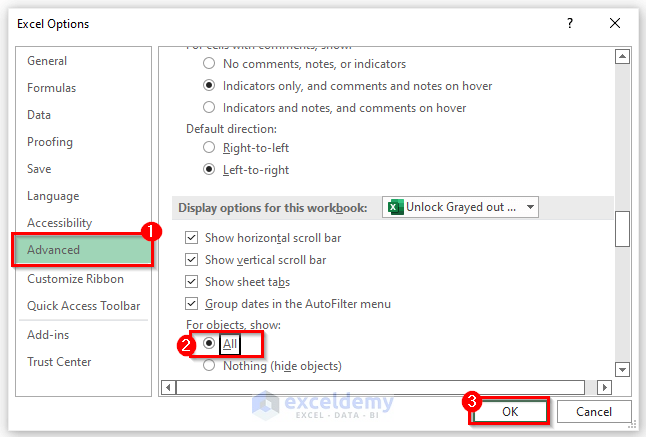
- Click on Advanced.
- Scroll down a little bit and you will find an option Display options for this workbook.
- From the For objects show selection, pick All.
- Click OK to complete the procedure.
- All the menus are now visible.

Important Note
If you are using the older version of Microsoft Excel like 2010, you may still face grayed menus for two more reasons.
Shared Workbook
- Go to the Review tab from the ribbon on your Excel file.
- You will find a group name Changes.
- Click on Shared Workbook and uncheck the box beside Allow changes by more than one user at the same time under the Editing option.
- Click OK. This will unlock the grayed-out menus.
Enable Change Tracking
- Go to the Review tab from the ribbon. Under the Changes group, click on the Track Changes drop-down menu and select Highlight Changes.
- Uncheck the Track changes while editing.
- Clicking the OK button might solve the problem.
Download the Practice Workbook
Related Articles
- How to Unprotect Excel Sheet with Password
- How to Unprotect Excel Sheet Without Password
- How to Unprotect Excel Sheet If Forgot Password
- How to Unlock Excel Sheet for Editing
<< Go Back to Unprotect excel sheet | How to Unprotect in Excel | Learn Excel
Get FREE Advanced Excel Exercises with Solutions!


Thankyou so much. It worked.
Dear Shanmuga Raja V S,
Thanks for your appreciation. Stay in touch with ExcelDemy.
Regards
Shamima Sultana | Project Manager | ExcelDemy
Thank you for the article. However, none of these suggestions enable the items on the Query tab.
Hi DOUG KIMZEY,
Thank you for your comment. I am replying on behalf of ExcelDemy. Power Query sometimes shows grayed-out menus if you try to perform mathematical operations in multiple columns at the same time.
• To solve that problem, you can select the column >> select Standard >> select Divide (or whatever operation you want).
• Select the Value according to your preference. Here, I want to divide by 200 because these scores are in 200 >> select OK.
• Now, you can see the values in the column are divided by 200.
• In the formula bar, add your preferred operations >> click on the Tick mark.
• Finally, you will see that you have performed the grayed-out features without using them.
If this tip doesn’t work for you then please share a screenshot of your problem or the Excel file with us so that we can see what is causing the problem and solve it.
Regards,
Mashhura Jahan
ExcelDemy.
In case someone comes here looking for a solution, thought I should add another thing to try / be aware of, which I discovered after all of the above had failed to un-gray the “Outline” options drop-down on the Data tab.
I had a cell selected within a table. When I clicked somewhere outside the table, it immediately became available. I unchecked “Summary rows below detail”, and the change I needed was instantly applied to the table too. Sometimes the simplest things… 🙂
Hello Kevin,
Thanks for your solution. Hope it will be helpful for our Excel users. Thanks for contributing. Let’s explore Excel with ExcelDemy!
Regards
ExcelDemy